About this Page
This page details the process for cloning Jira configurations, specifically when migrating one or more projects between instances. Use the Restore Spaces (Projects) feature when you need to ensure that a project's settings, including its unique issue type schemes, screen schemes, and field configurations, are accurately copied to the destination environment alongside the project data.
What is the use case?
Use this when you need to move one or more specific projects to another instance and want to ensure all their associated settings (like issue type schemes, screen schemes, and field configurations) are migrated with them.
This feature is applicable to:
command center for jira config manager for jira
What is Restore Spaces?
With this feature, you can copy all specific configuration schemes that are linked to one or more of your selected projects.
-
Use Case: Use this when you need to move one or more specific projects to another instance and want to ensure all their associated settings (like issue type schemes, screen schemes, and field configurations) are migrated with them.
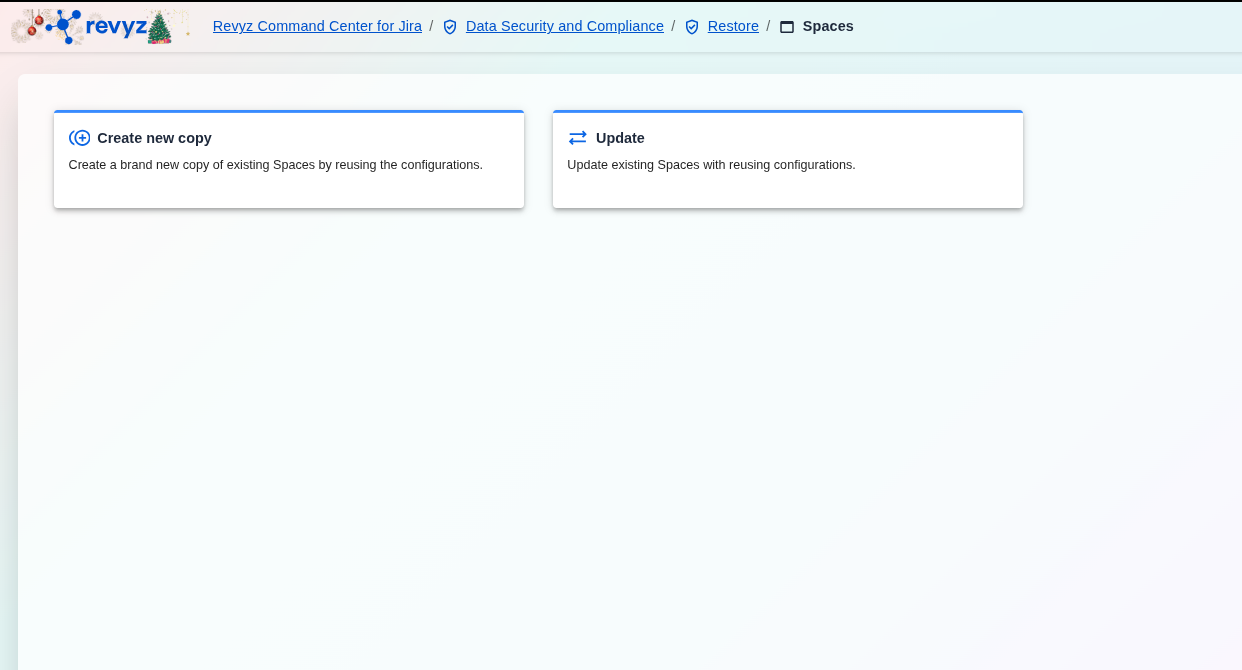
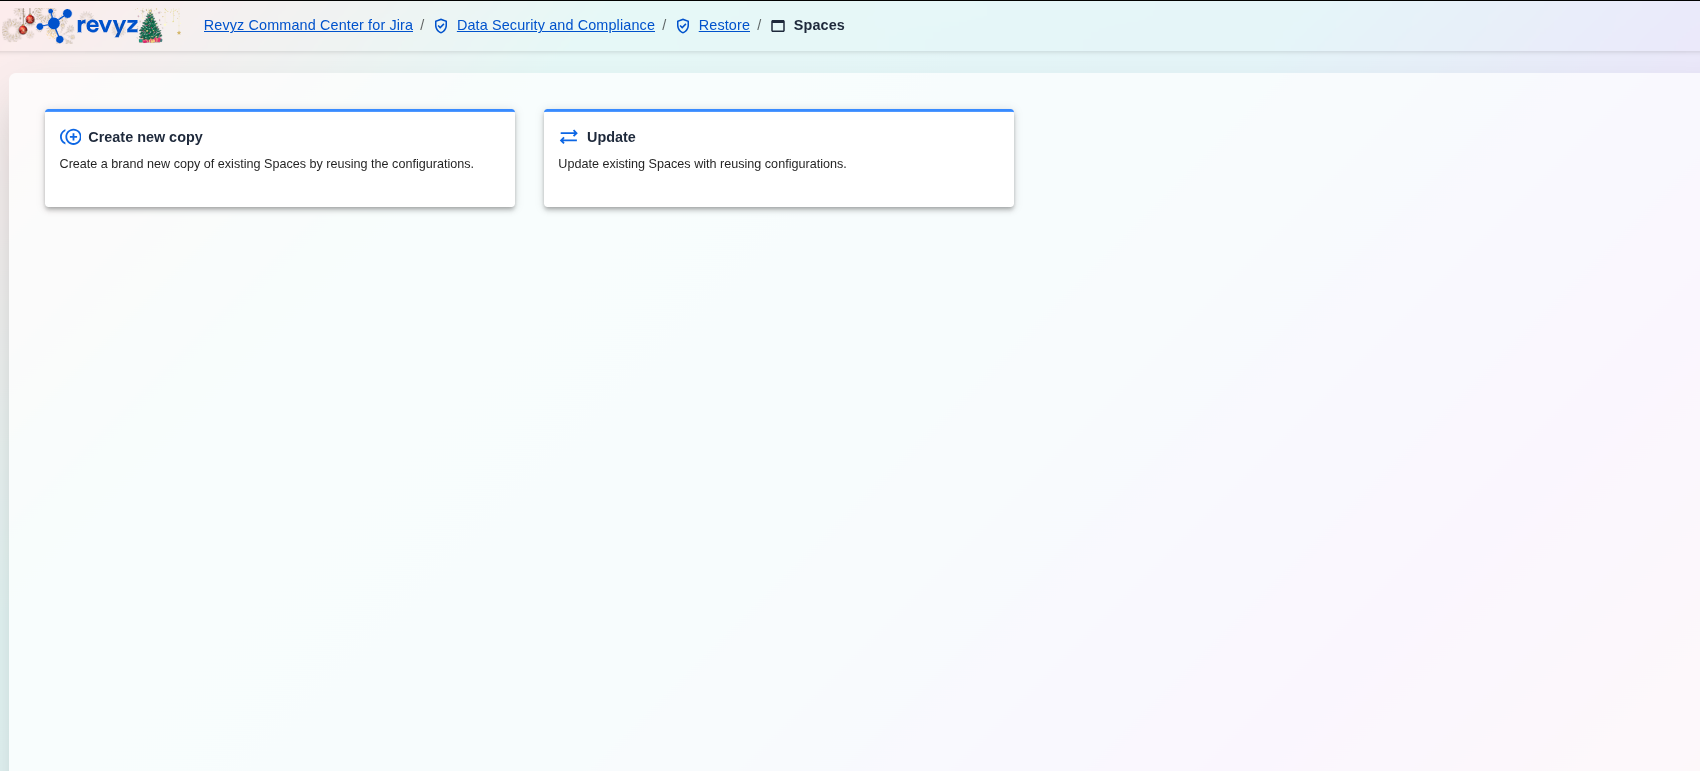
This page serves as the entry point for the Restore spaces functionality, which allows users to manage and reuse project configurations efficiently. Users have two distinct options to choose from:
How to Clone Configurations Associated with Projects? (Create New Copy)
Step 1: Initiation
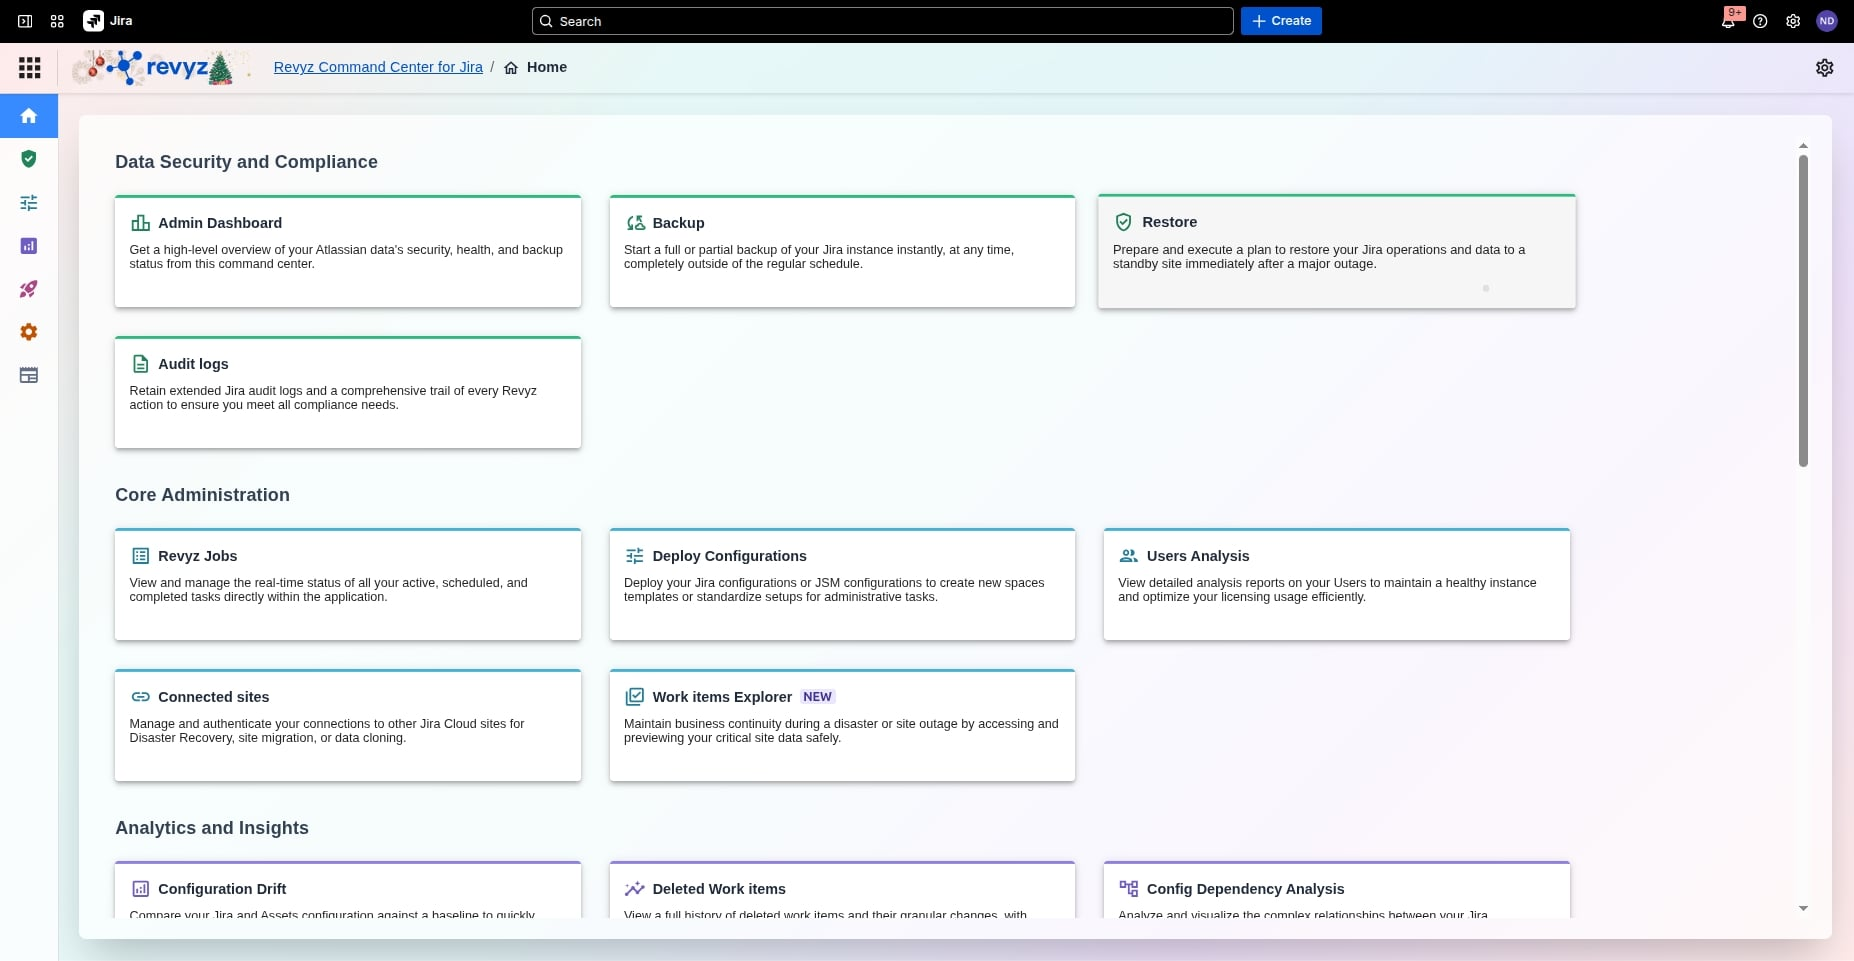
Access the Revyz Command Center for Jira to begin the process of duplicating existing spaces with their associated configurations to a new destination. To begin, click the Restore card to prepare your Jira recovery plan. Locate the Restore card on the Admin Dashboard to access the high-level overview of your restoration options.
Step 2: Access Restore Dashboard
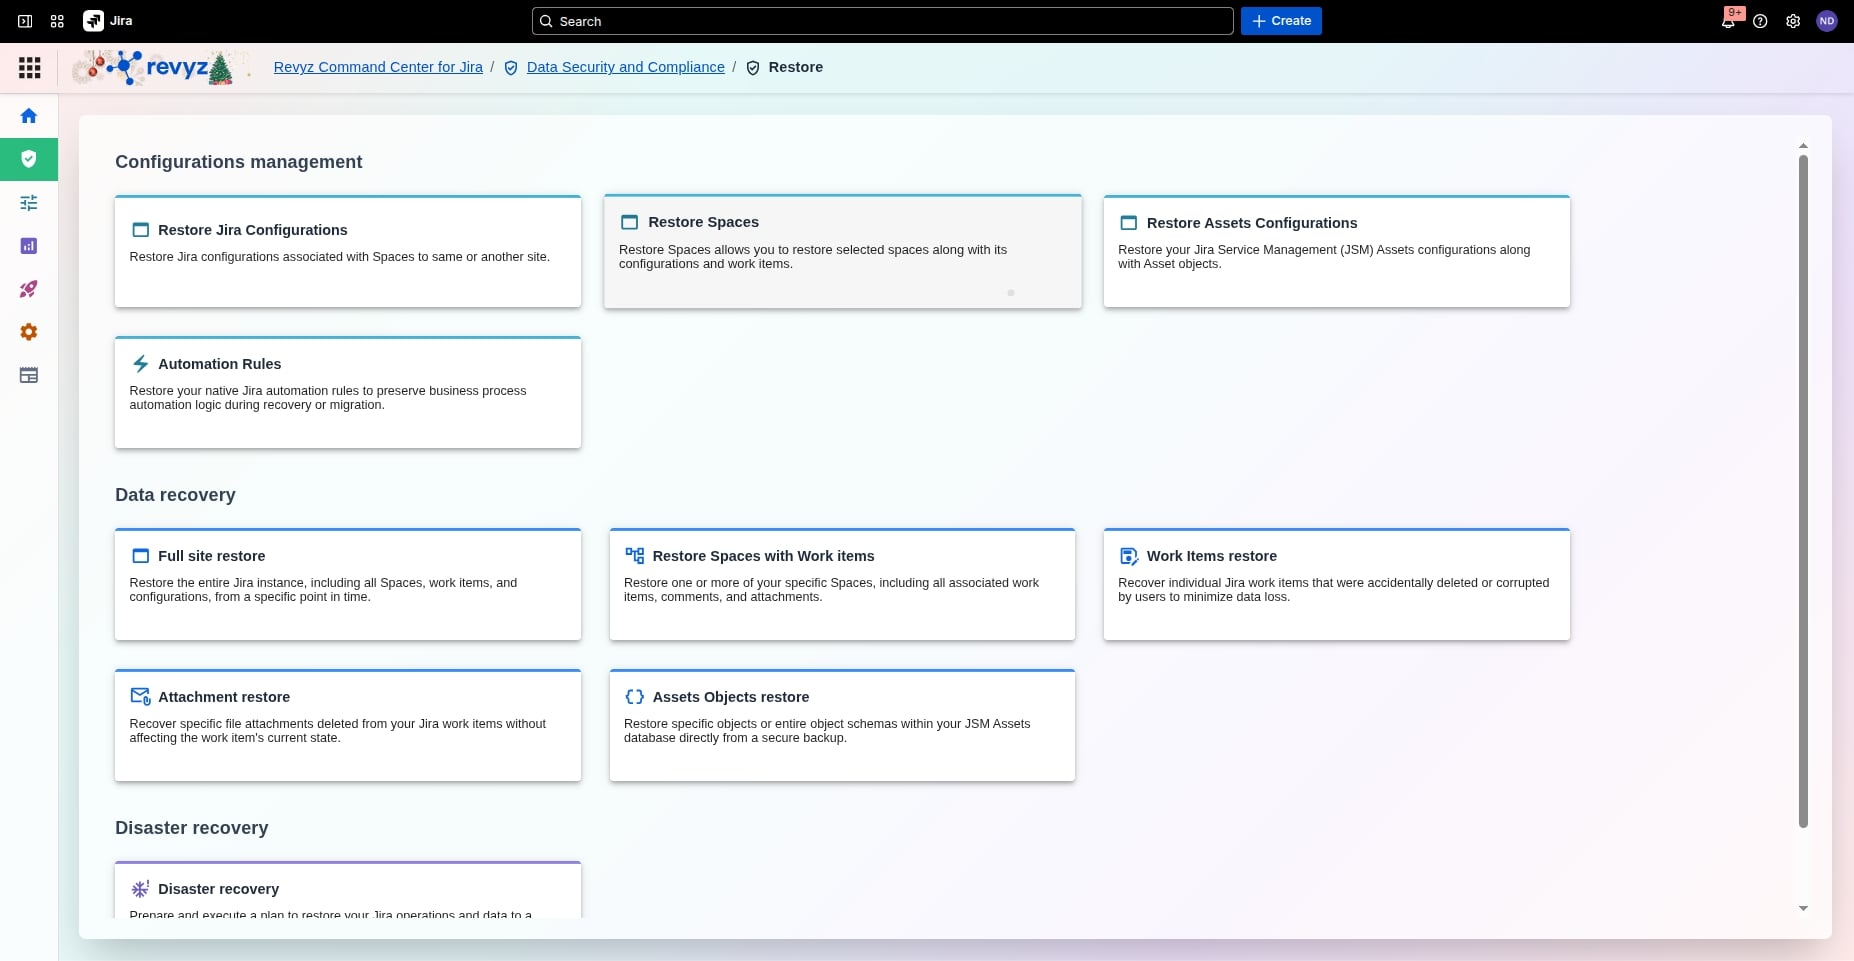
Following that, click the Restore Spaces card to restore selected spaces with configurations. In the Configurations management section, select Restore Spaces to initiate the recovery of specific spaces along with their work items.
Step 3: Choose Restoration Method
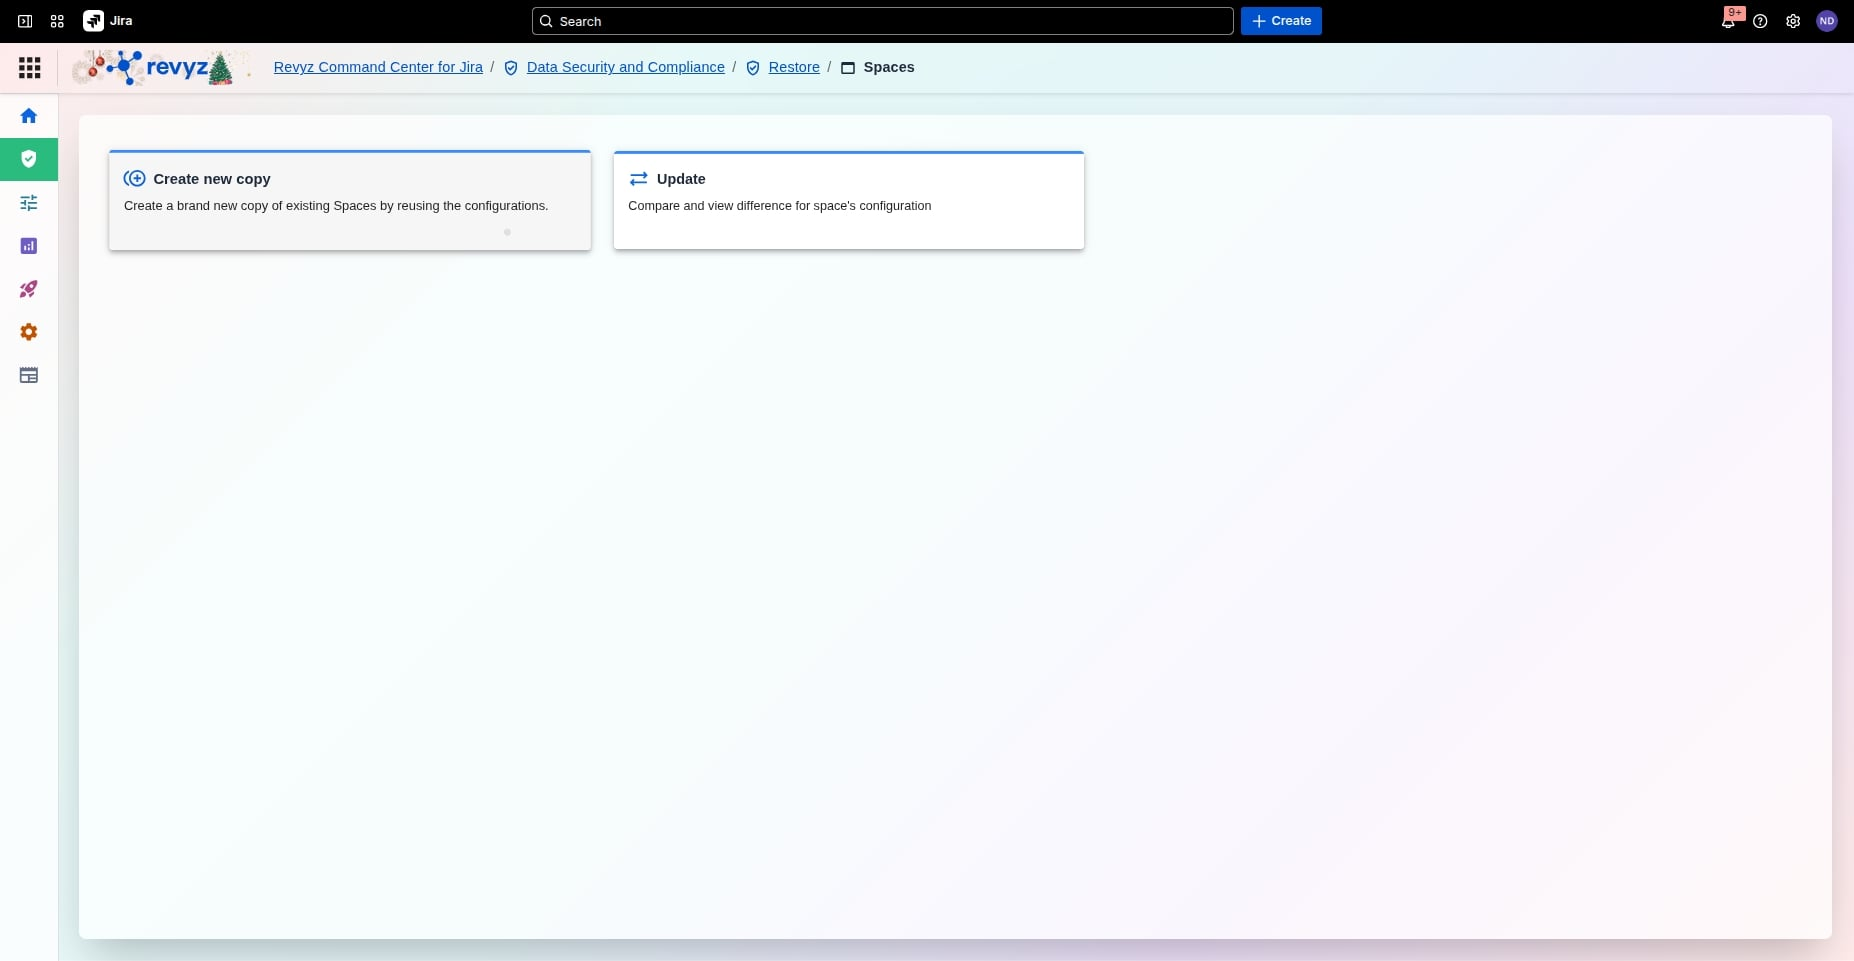
Then, click the "Create new copy" card to duplicate existing Spaces with configurations. Select Create new copy to generate a brand-new version of your existing spaces by leveraging their current configurations.
Step 4: Select Destination Site
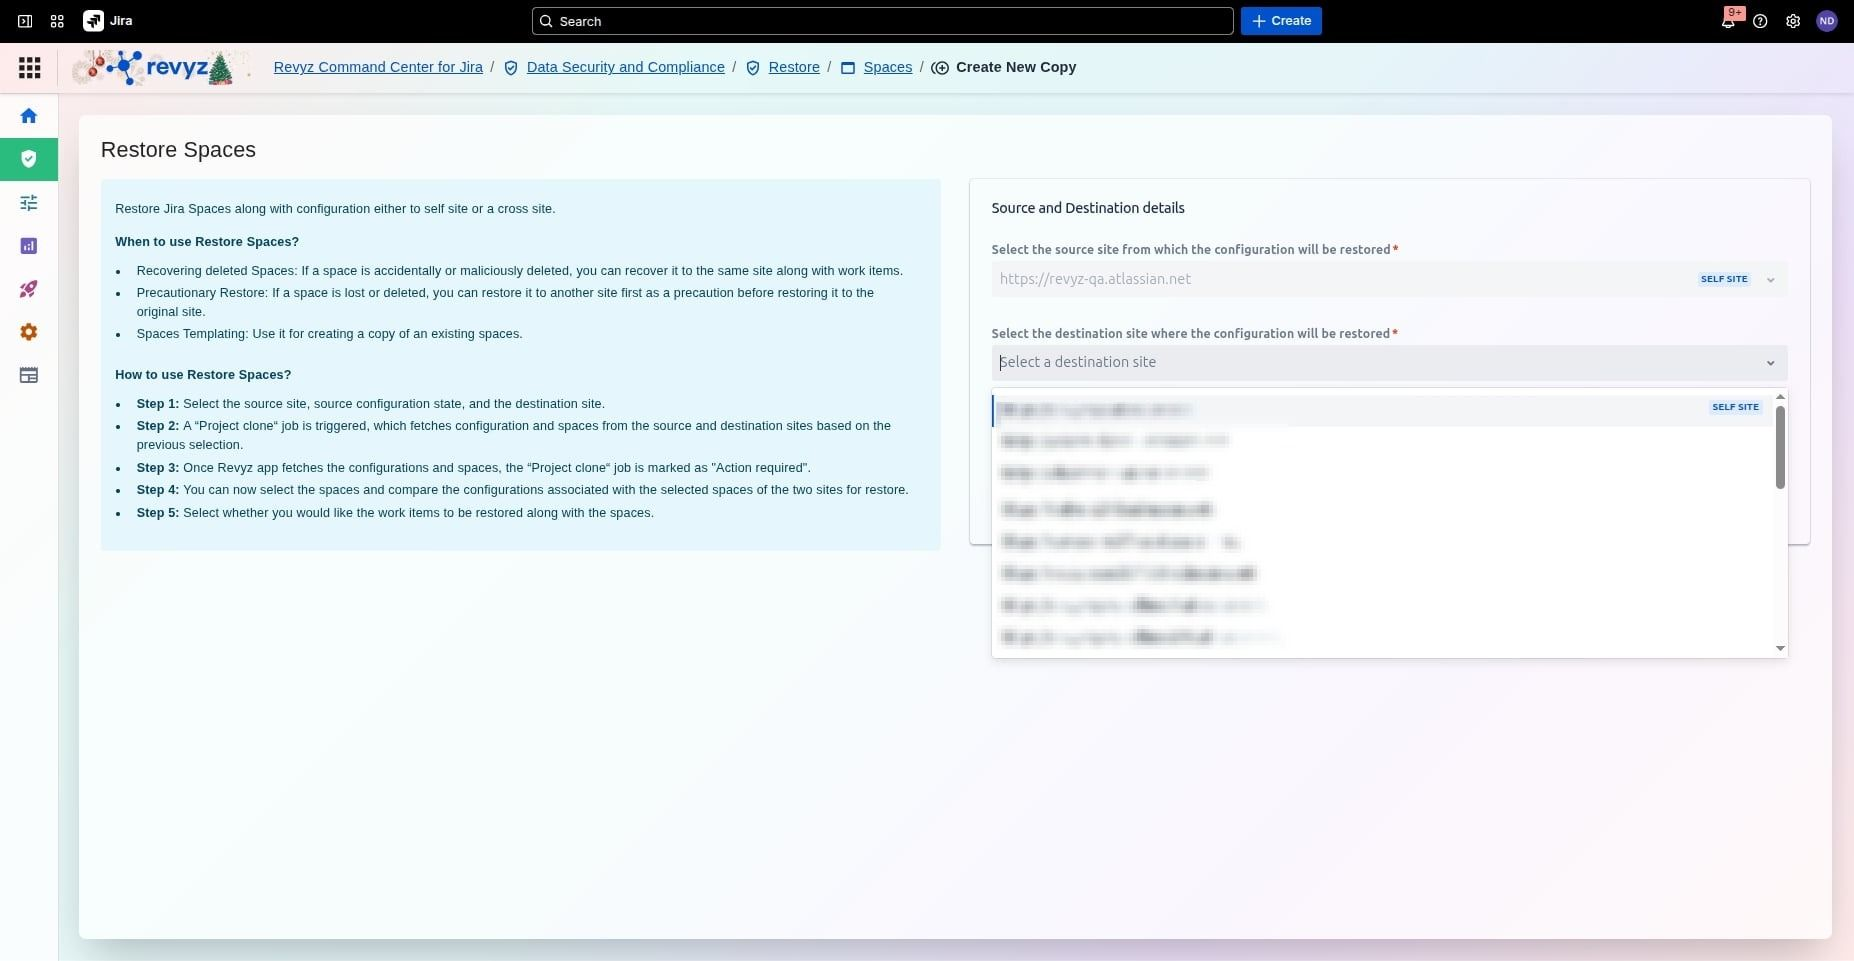
Then, click the dropdown arrow to expand the destination site selection list. Under Source and Destination details, expand the dropdown to choose the target Jira Cloud site where the configurations will be restored
Step 5: Choose Configuration State

Following this, select the desired backup state from the list to restore your configuration. Pick the specific point-in-time state, such as Current state, to define which configuration version you wish to clone.
Step 6: Proceed to Analysis

Next, click the Next button to proceed with restoring your Jira spaces configuration. Review your site selections and click Next to trigger the analysis phase.
Step 7: Monitor Restore Job
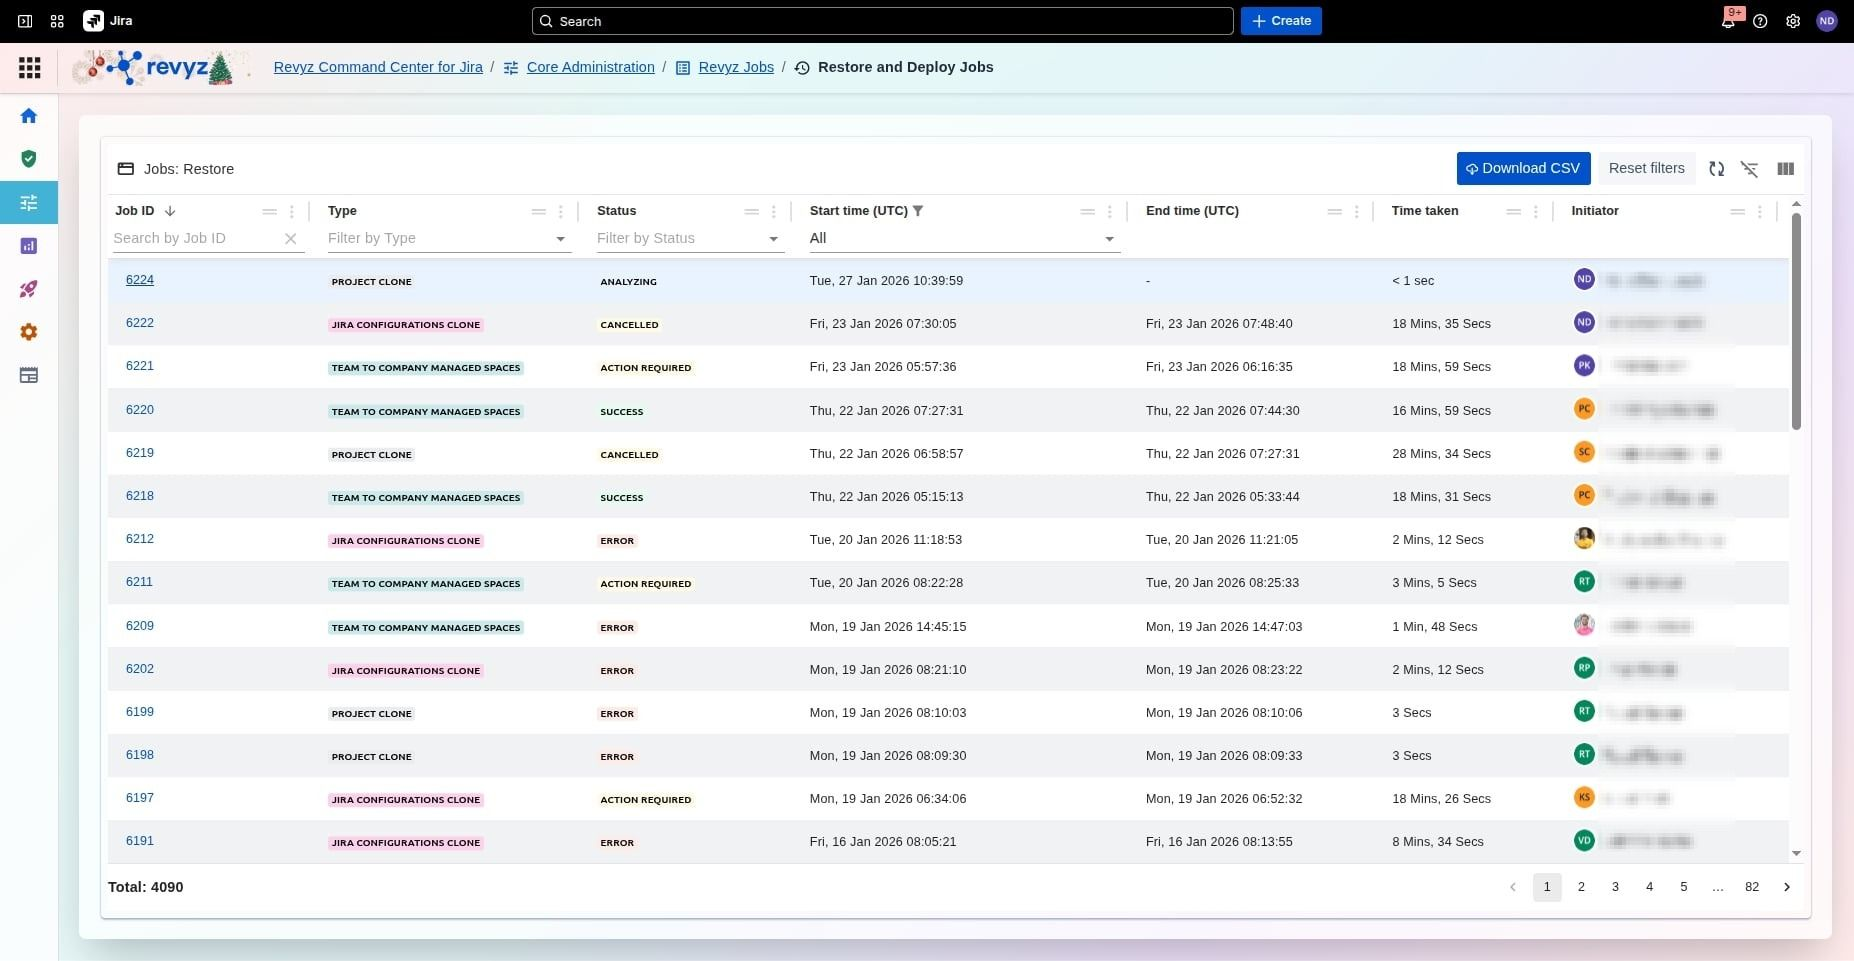
To end, click on the relevant job ID to view the project clone restore job details. Navigate to the Restore and Deploy Jobs table and select the specific Job ID to monitor its real-time status.
Step 8: Click on Next
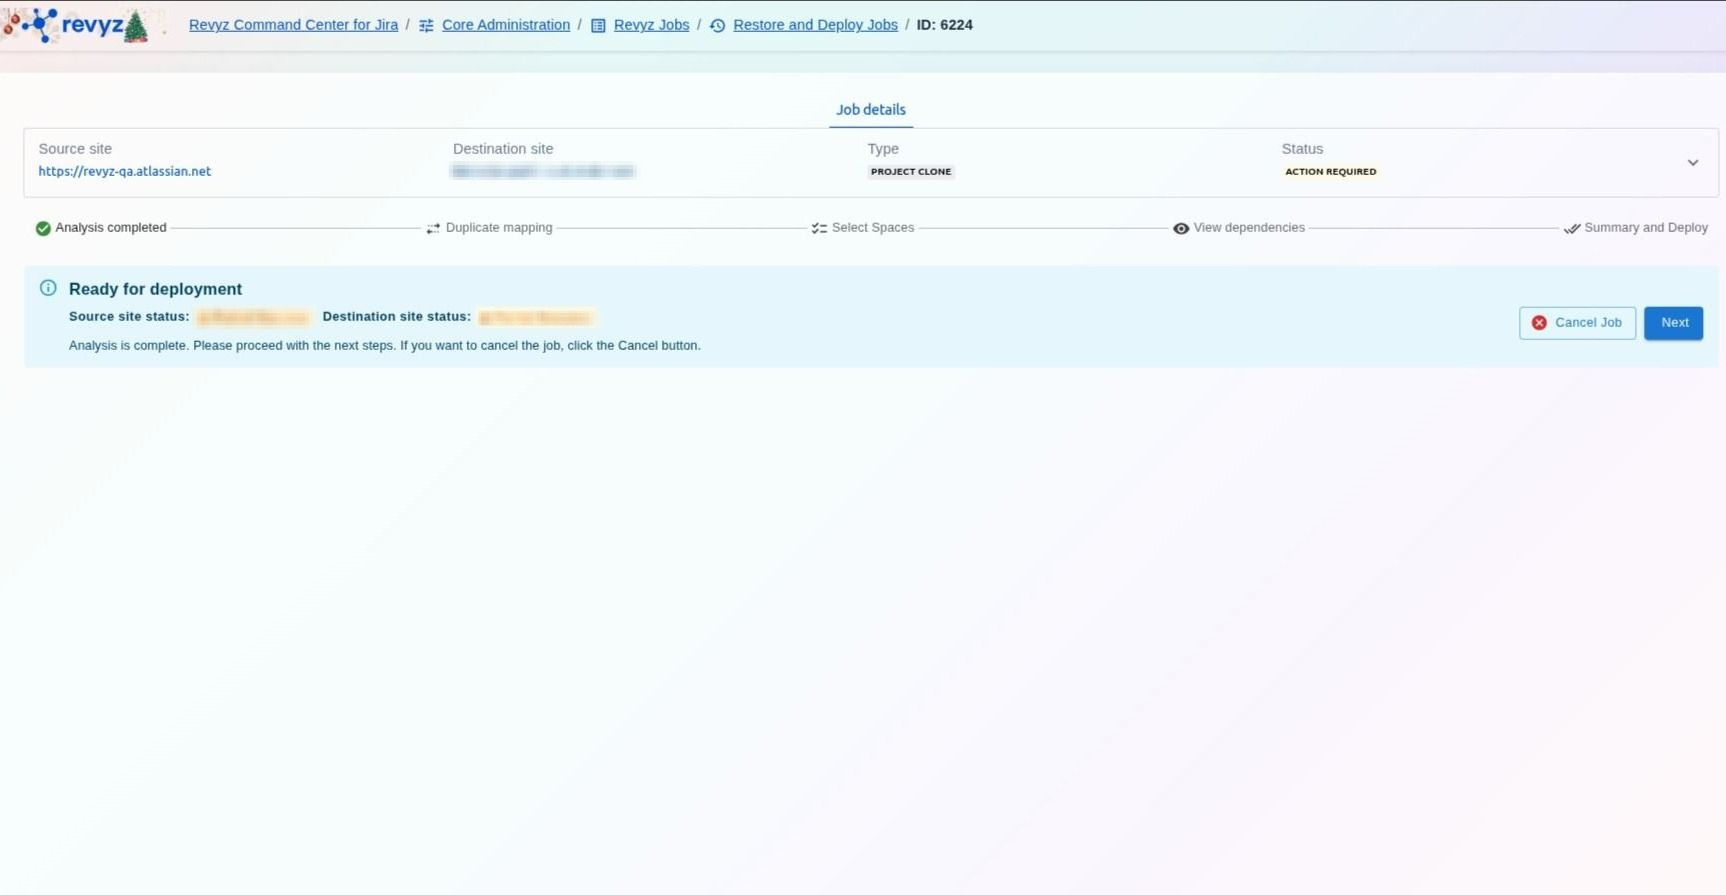
Once the analysis is marked as Action Required, click the Next button to move into the configuration mapping stage.
If the job is marked as an Error (instead of Action Required):
This error may occur because the incremental backups that were triggered for either of the sites might have failed. To understand why the job is an error, go to the logs. If they are unclear, you can reach out to support.
Step 9: Resolve Mapping Conflicts

Resolve identified conflicts between the source and destination sites. Review Duplicate configurations mapping. For each duplicate field, select a specific destination field or choose "Don't map field" to prevent overwriting errors.
Step 10: Display Space Selection

Click on "Show Spaces" After resolving field conflicts, click Show Spaces to view the individual projects available for restoration.
Step 11: Review Dependencies
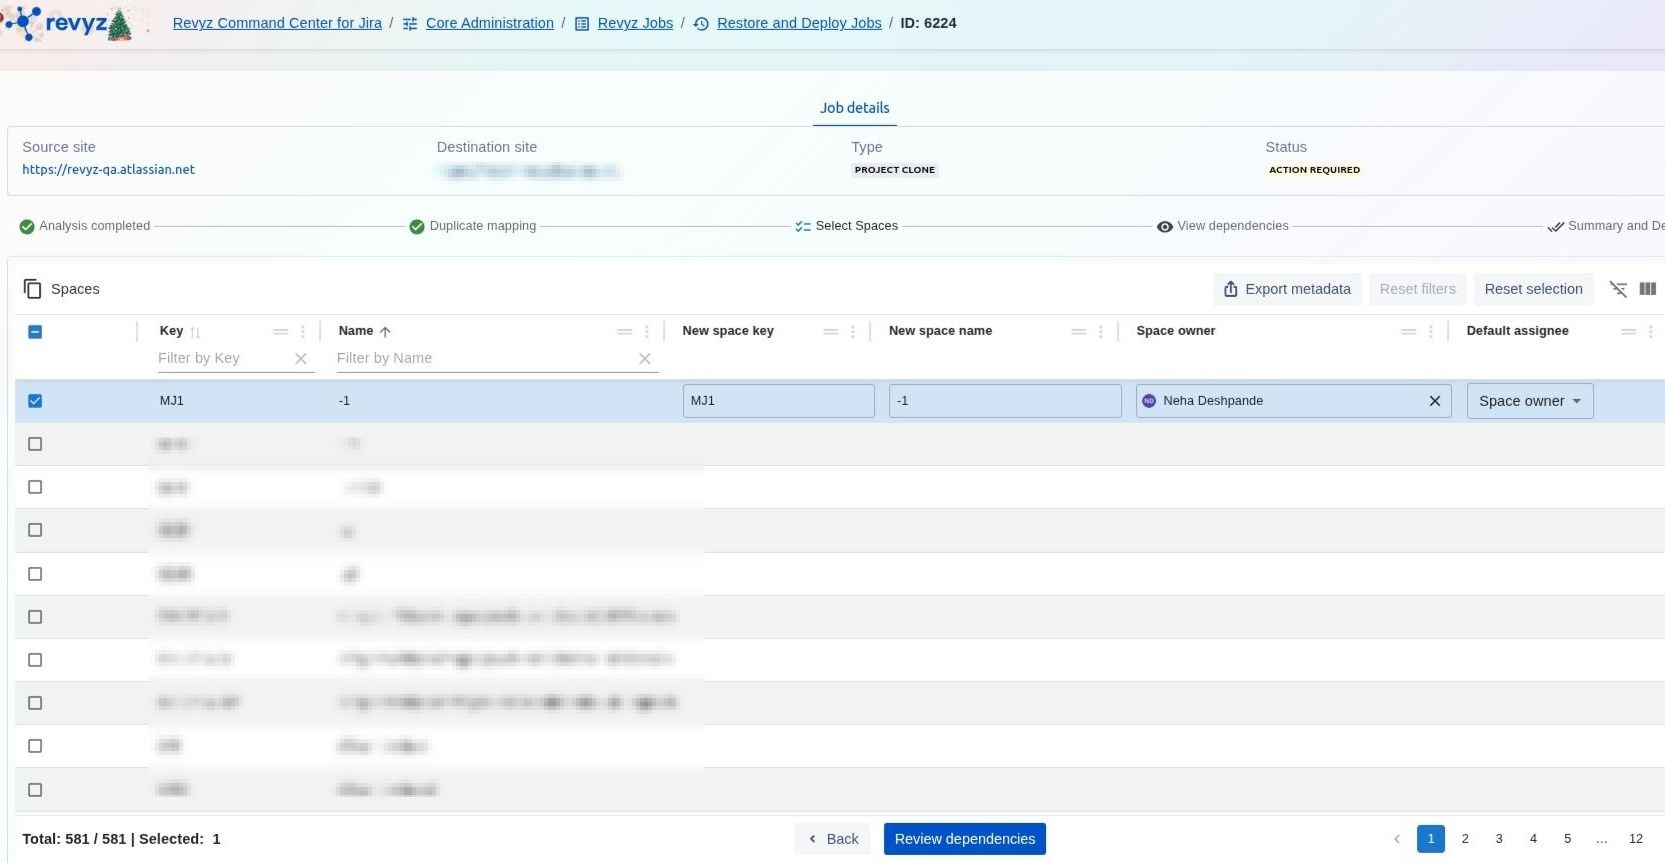
Click on Review Dependencies. Select your spaces (e.g., Key: MJ1) and click Review dependencies to ensure all associated workflows, screens, and fields are correctly identified.
Step 12: Finalize Selection
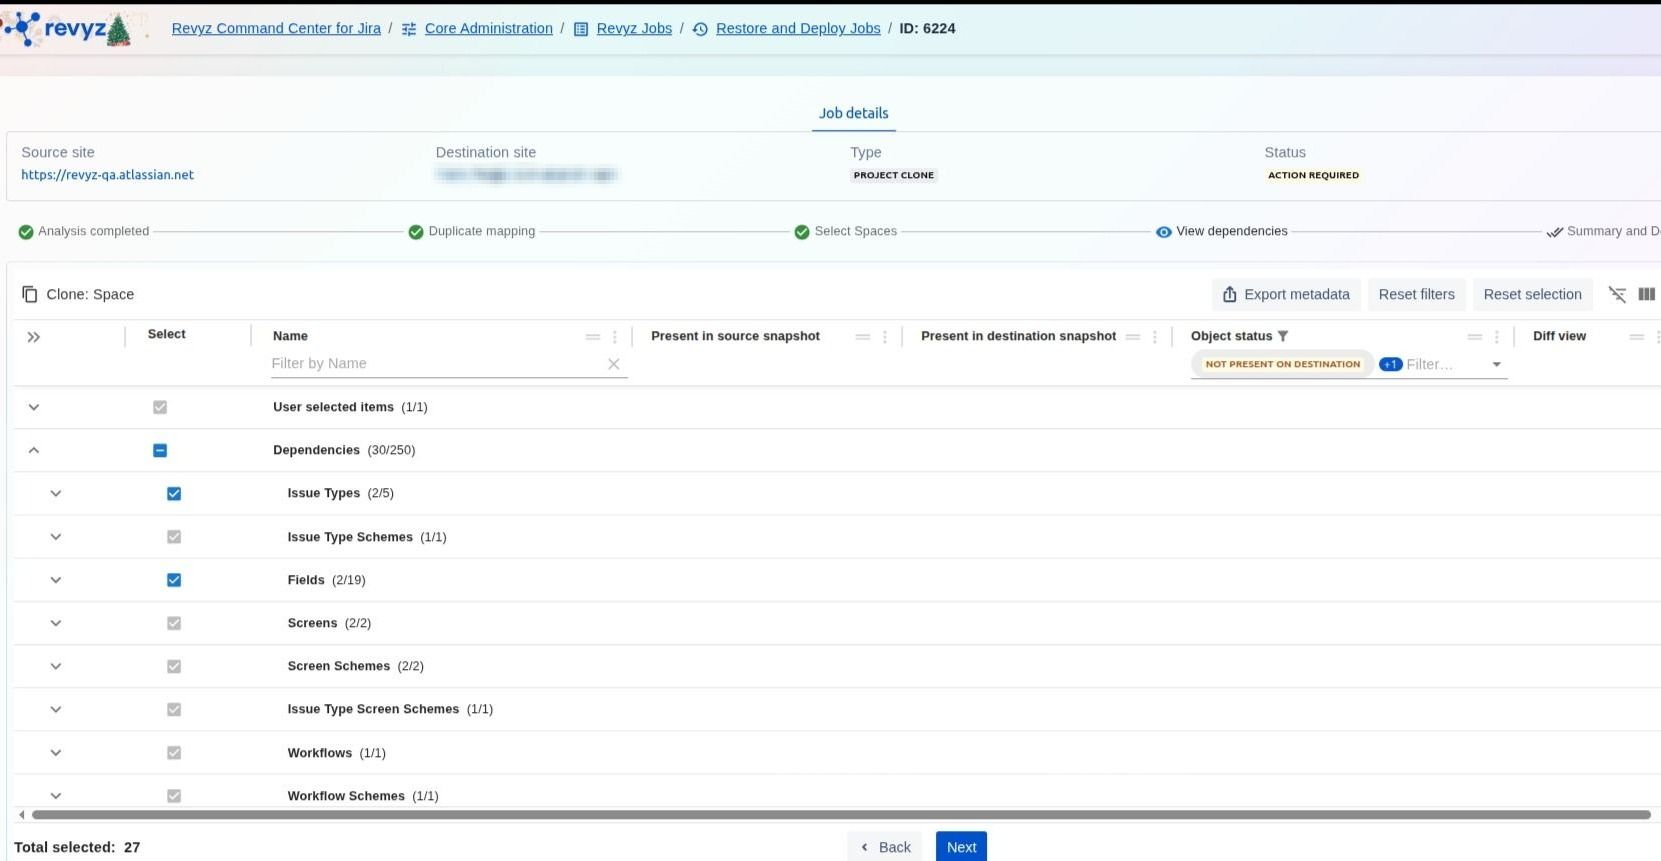
Click on "Next". Review the clone status for the selected spaces and dependencies, then click Next to proceed to the final deployment screen.
Step 13: Deploy with Security Verification
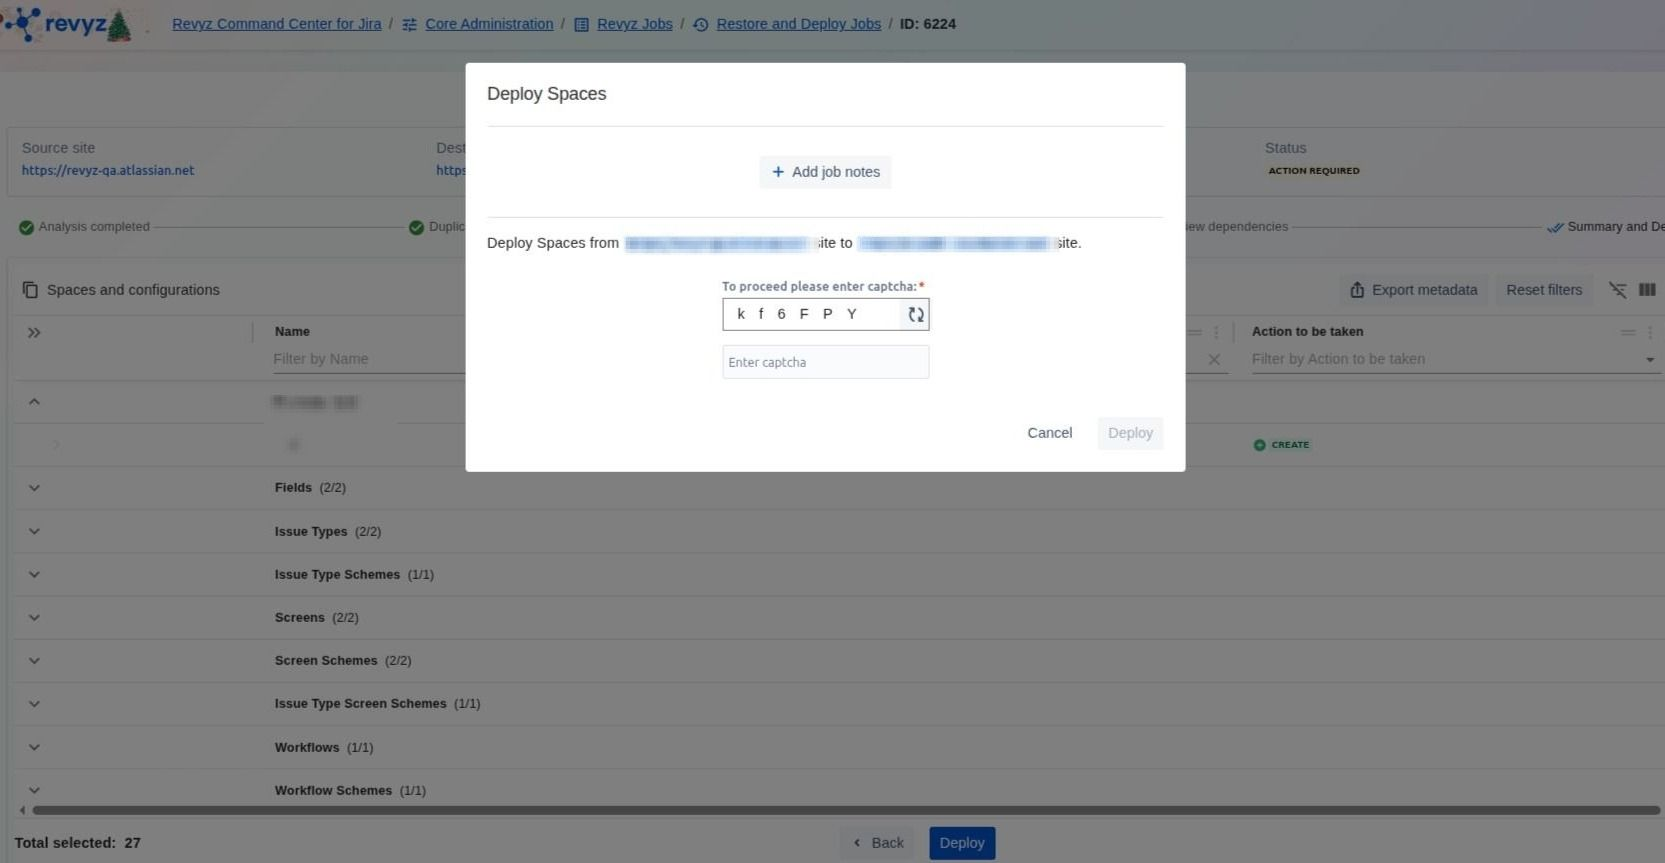
Add job notes and enter the CAPTCHA code to complete the deployment process. Provide optional job notes for your audit trail and enter the required CAPTCHA to authorize and initiate the restoration
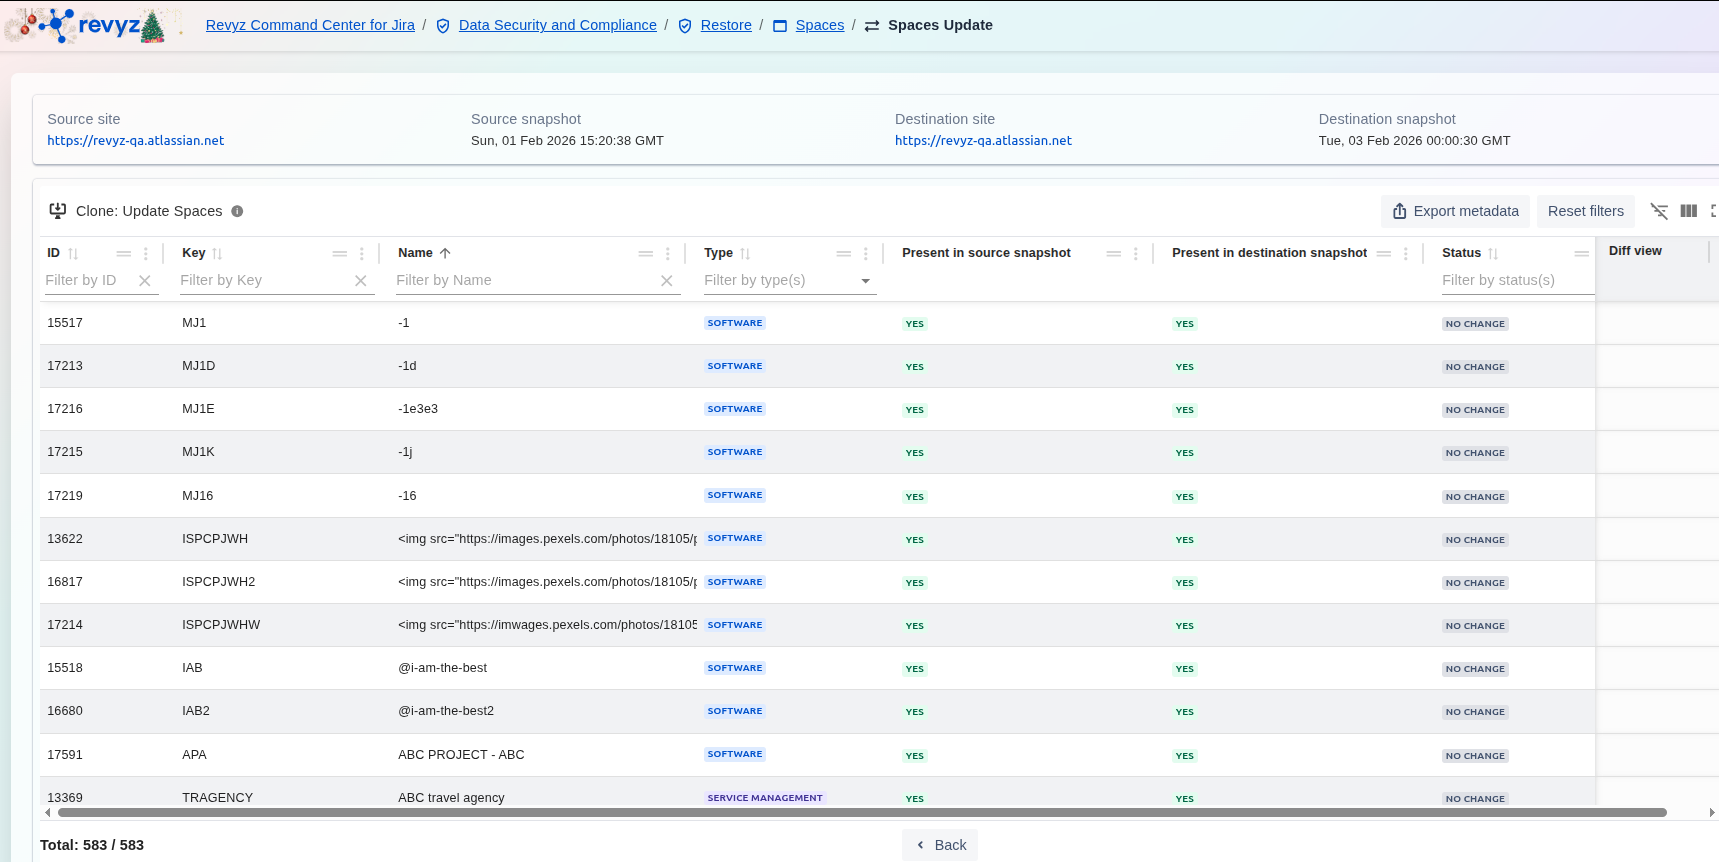
How to Restore Spaces? (Update)
This feature is applicable to:
command center for jira *Advanced config manager for jira *Advanced
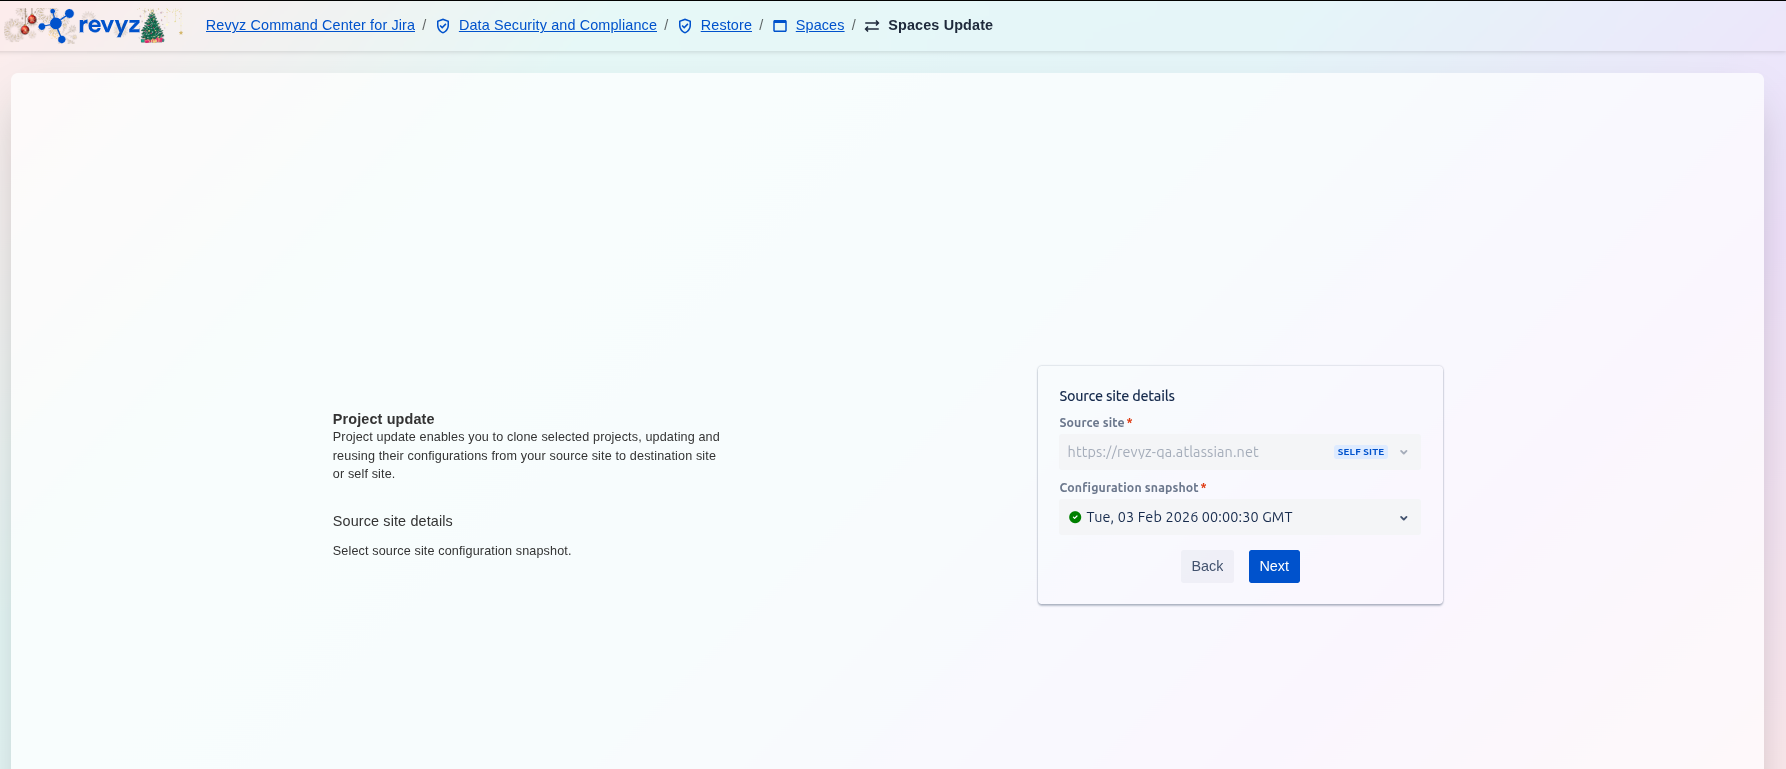
Step 1: Select Source Site details
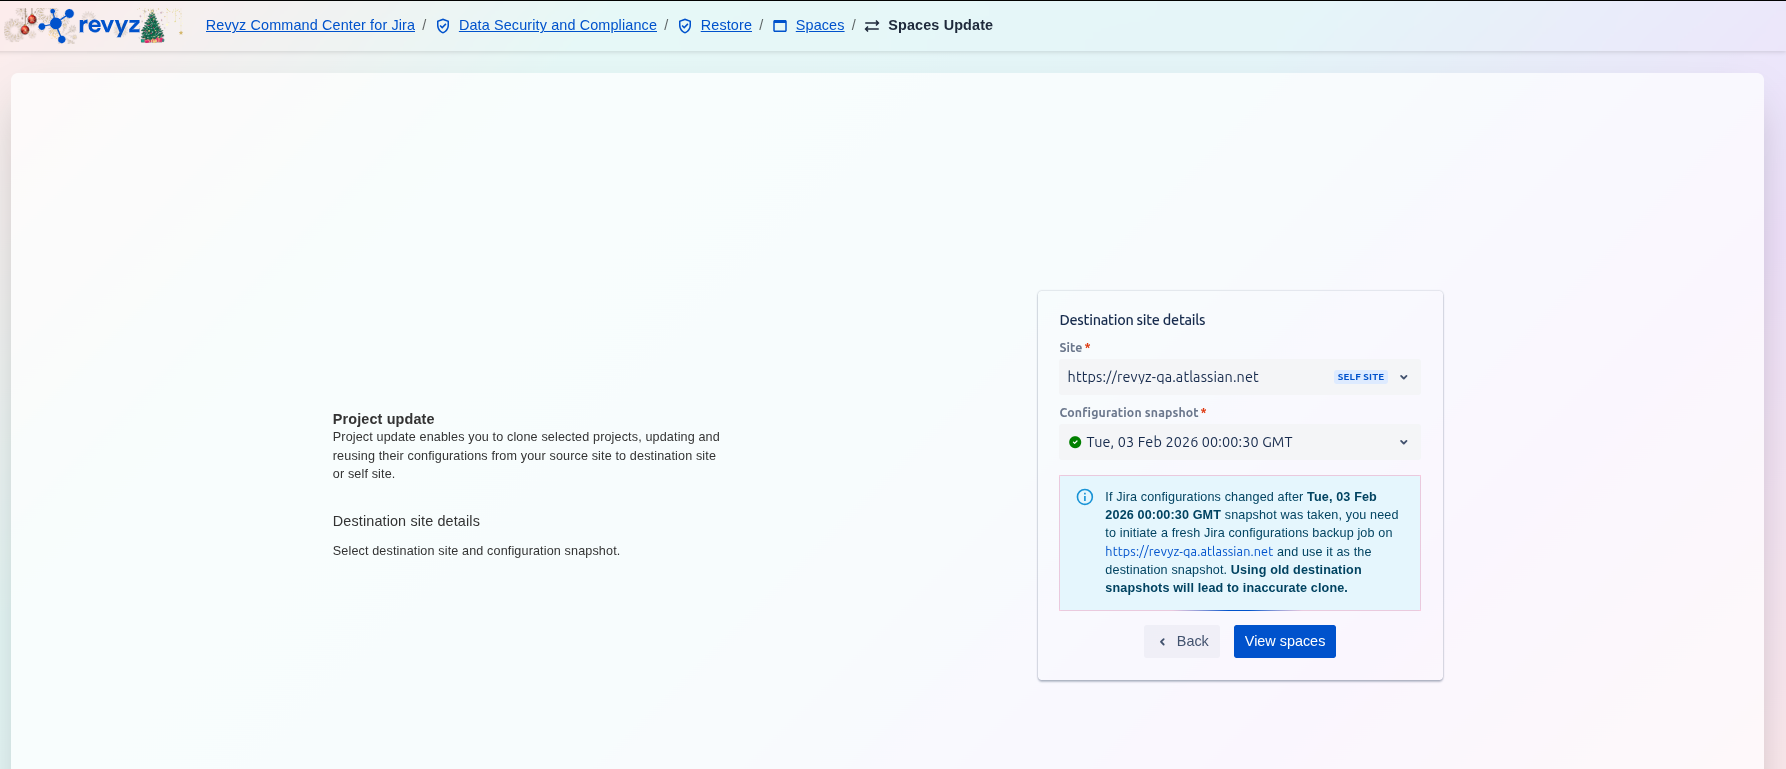
Step 2: Select Destination Site Details
Step 3: Spaces Update