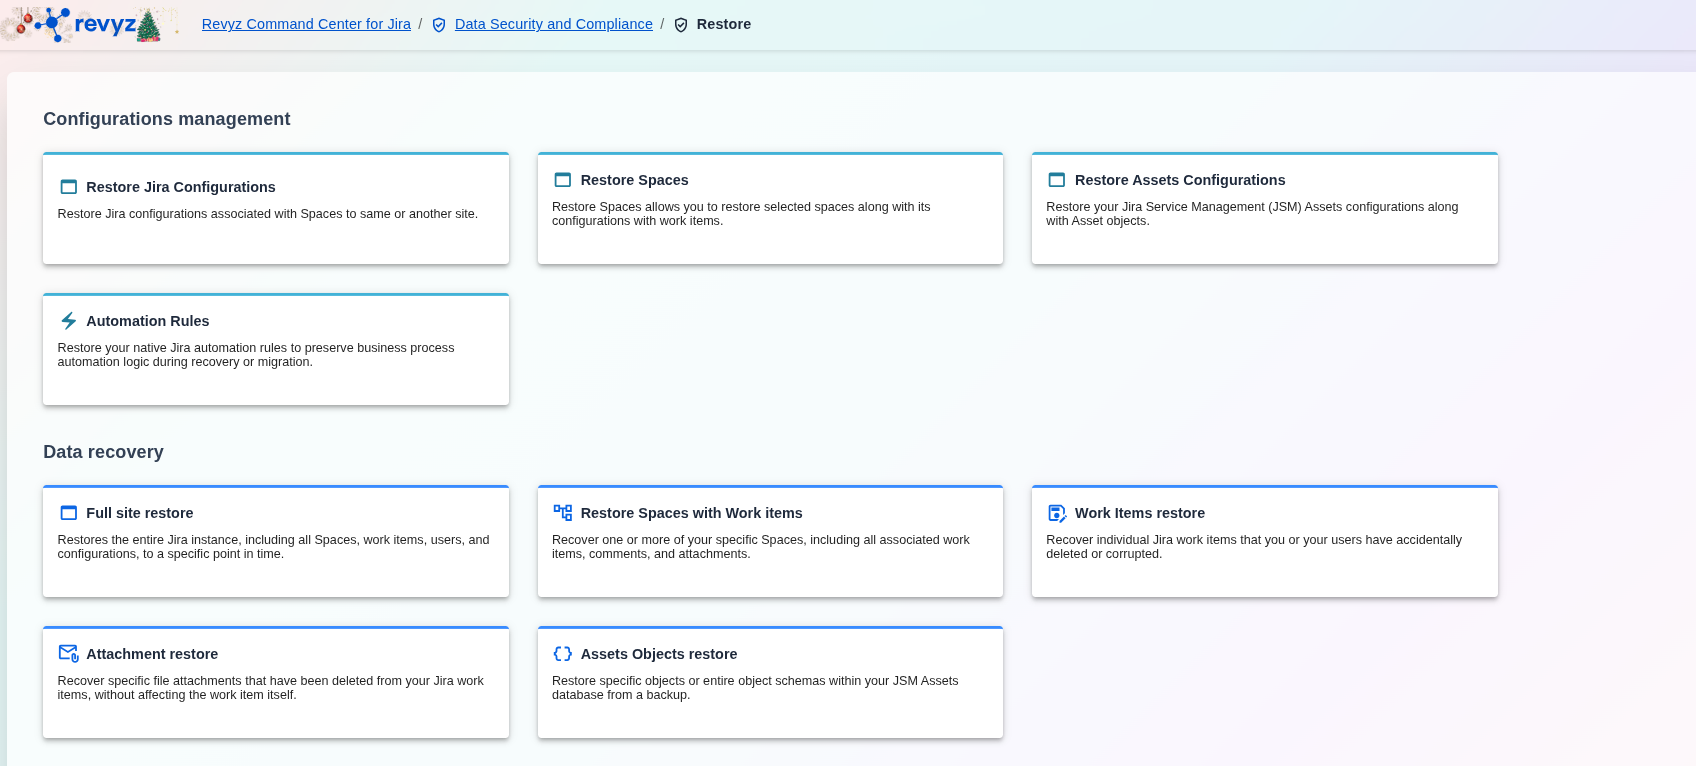
About this Page
This feature is a data recovery tool that allows you to select one or more specific projects from a backup. It restores the chosen projects along with all their data, including every associated issue, comment, and attachment.
What is the Use Case?
Use this to recover specific projects that were accidentally deleted or became corrupted, without needing to perform a full site restore. It's the ideal solution for targeted project-level data recovery.
This feature is applicable to:
command center for jira config manager for jira
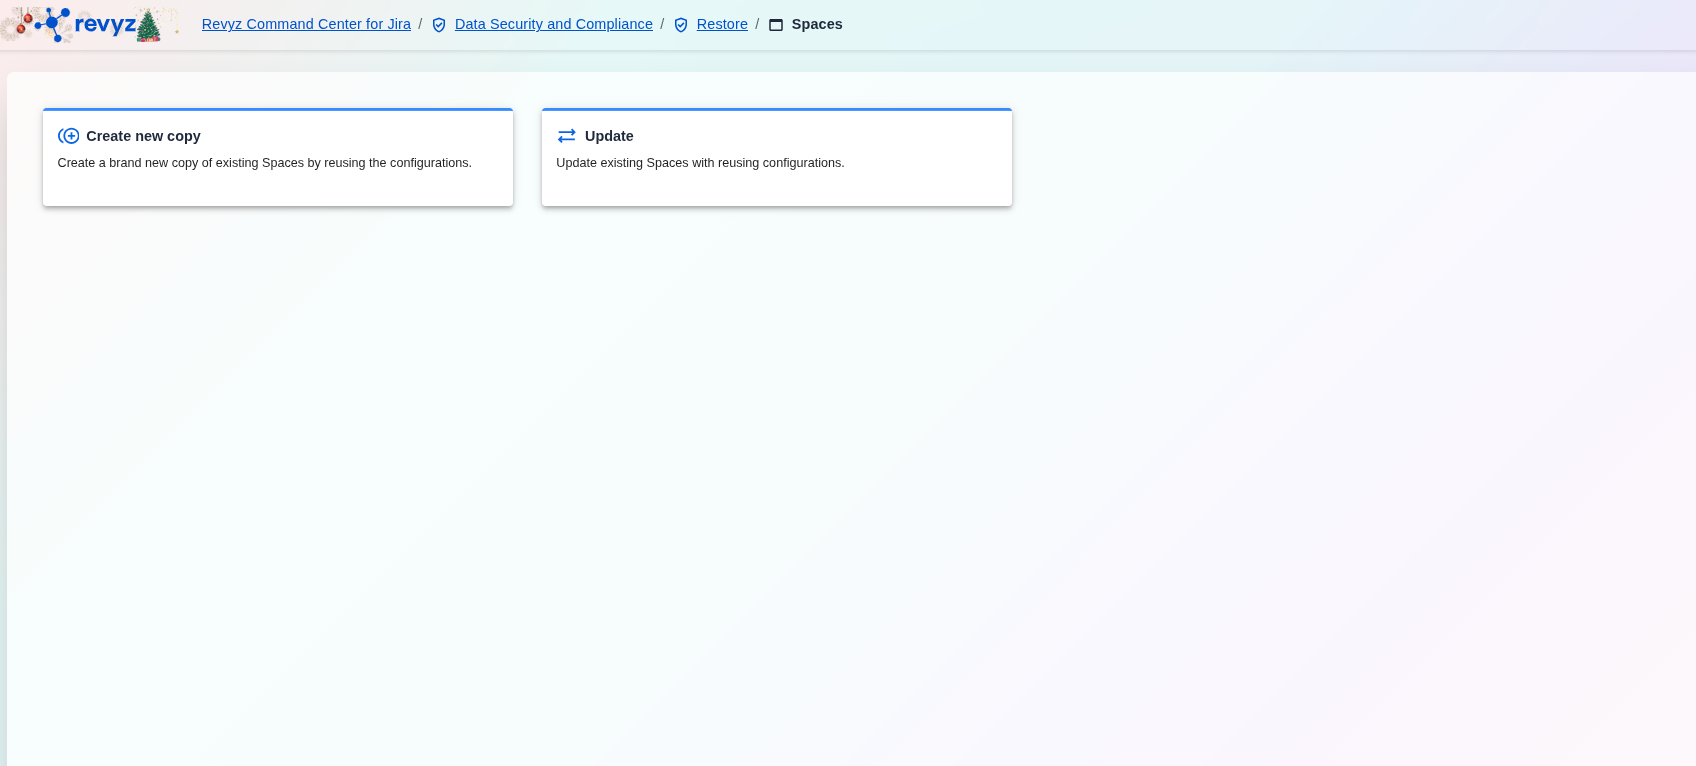
How to restore spaces with work items? (Create New Copy)
1. Step 1: Select Source Details

Select Source
This is the first step in the Project clone process. This feature allows you to clone a selected project, along with its associated configurations, from a source site to either a new destination site or back onto the current site (self site).
This initial step requires you to define the source of the project data you wish to clone.
-
Project clone: This tool enables you to create a copy of an entire project and its configurations from a backup.
-
Source site details: You must select a configuration snapshot from a source site to begin the cloning process.
Source site details
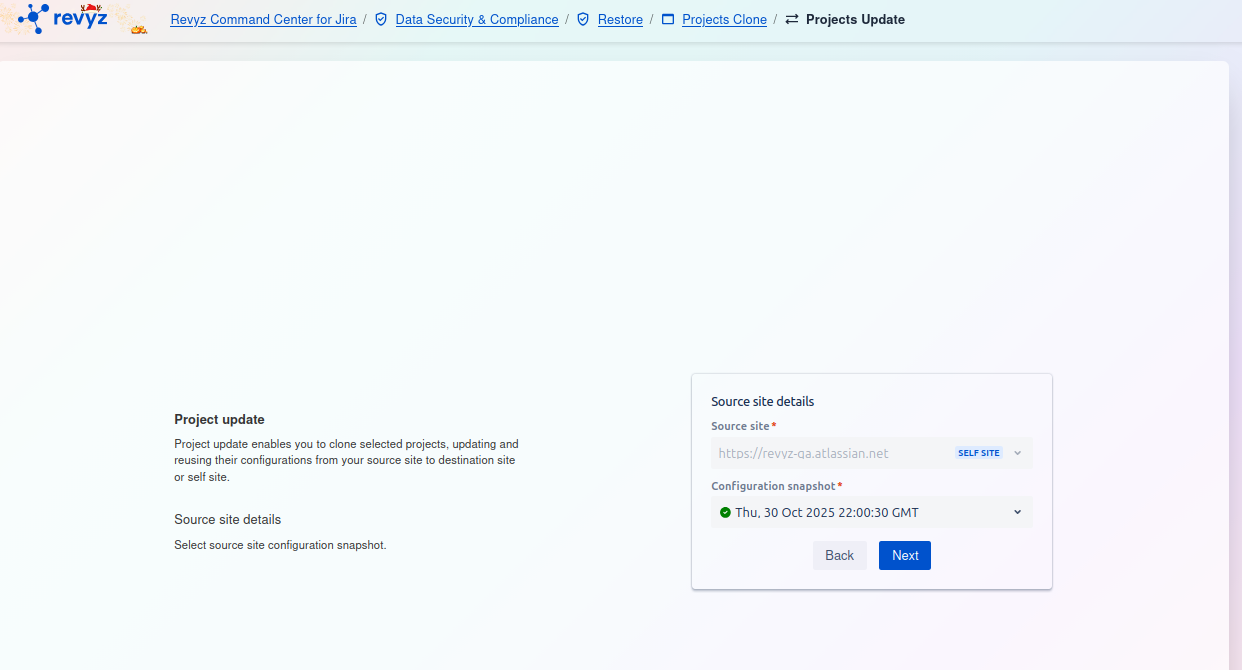
On the right side of the screen, you must complete the Source site details card:
-
Source site
*:-
This is a required field. Click the dropdown menu to select the Jira instance that contains the project you want to clone.
-
In the screenshot,
https://revvz-qa.atlassian.netis selected, which is tagged as theSELF SITE(meaning the current instance).
-
-
Configuration snapshot
*:-
This is a required field. Once the source site is selected, click this dropdown menu to see a list of available backup snapshots.
-
You must select the specific snapshot that contains the project and configuration data you wish to copy.
-
After selecting both the Source site and the Configuration snapshot, the "Next" button will become active. Click Next to proceed to the next step. The "Back" button is disabled as this is the first page of the process.
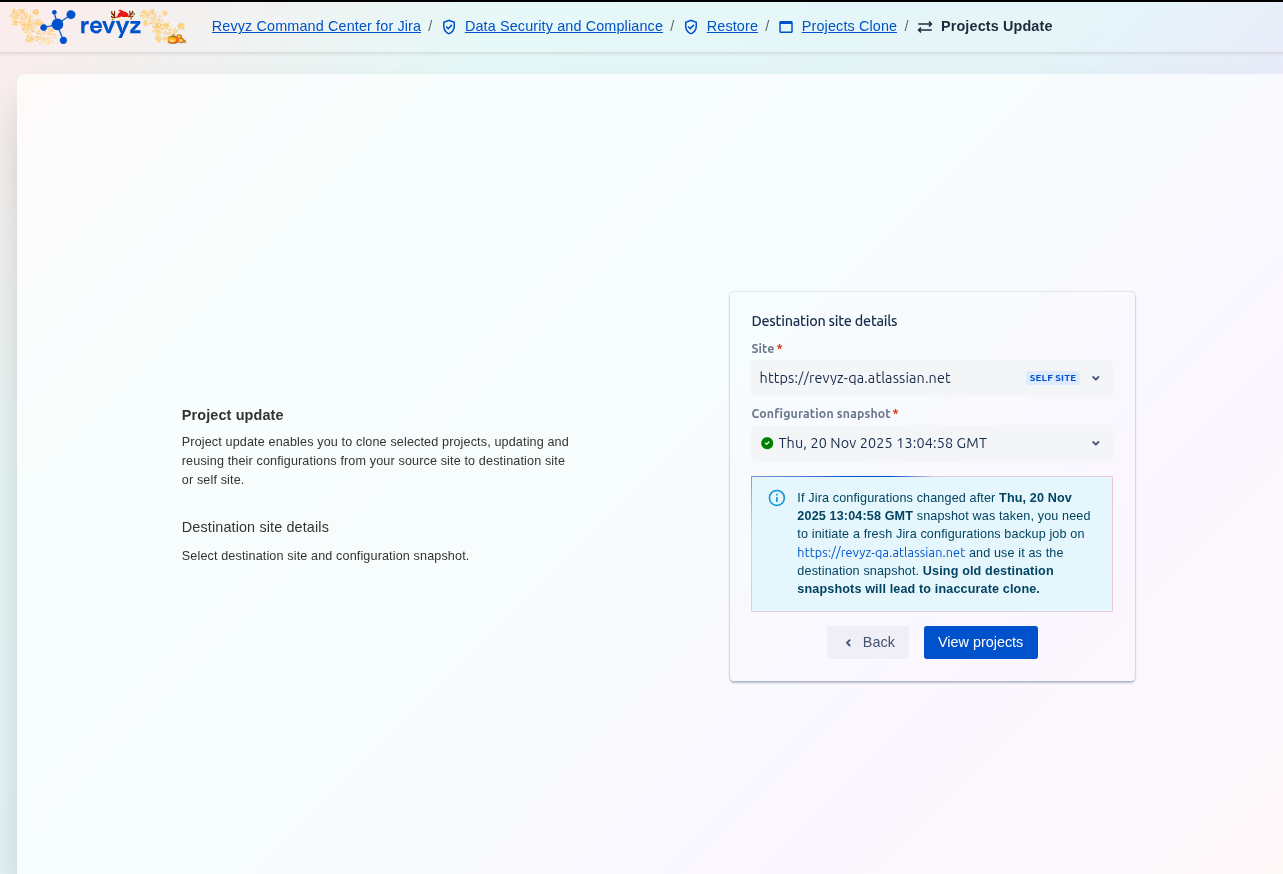
Step 2: Select Destination site details
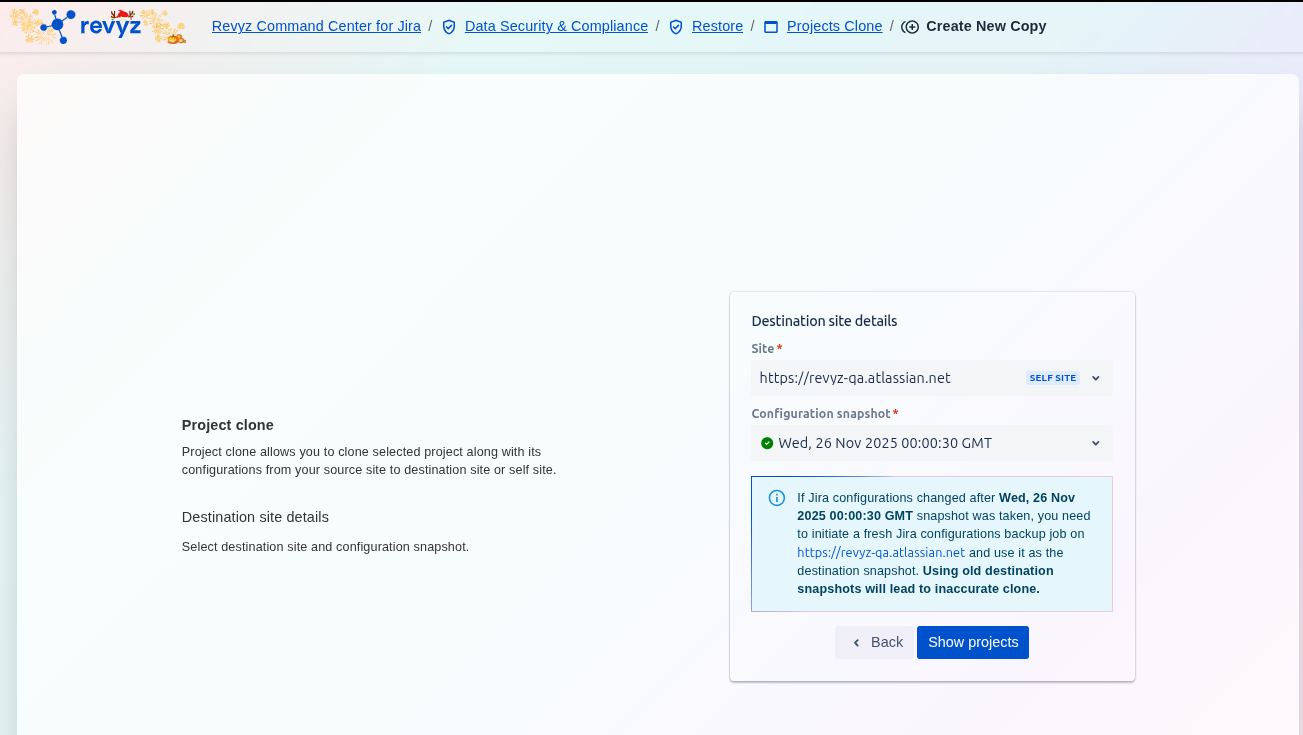
Define the Destination Site Details. Select the Site (the target Jira environment) and choose a current Configuration snapshot* to ensure the project configurations are applied accurately. After selecting the required details, click Show projects to continue.
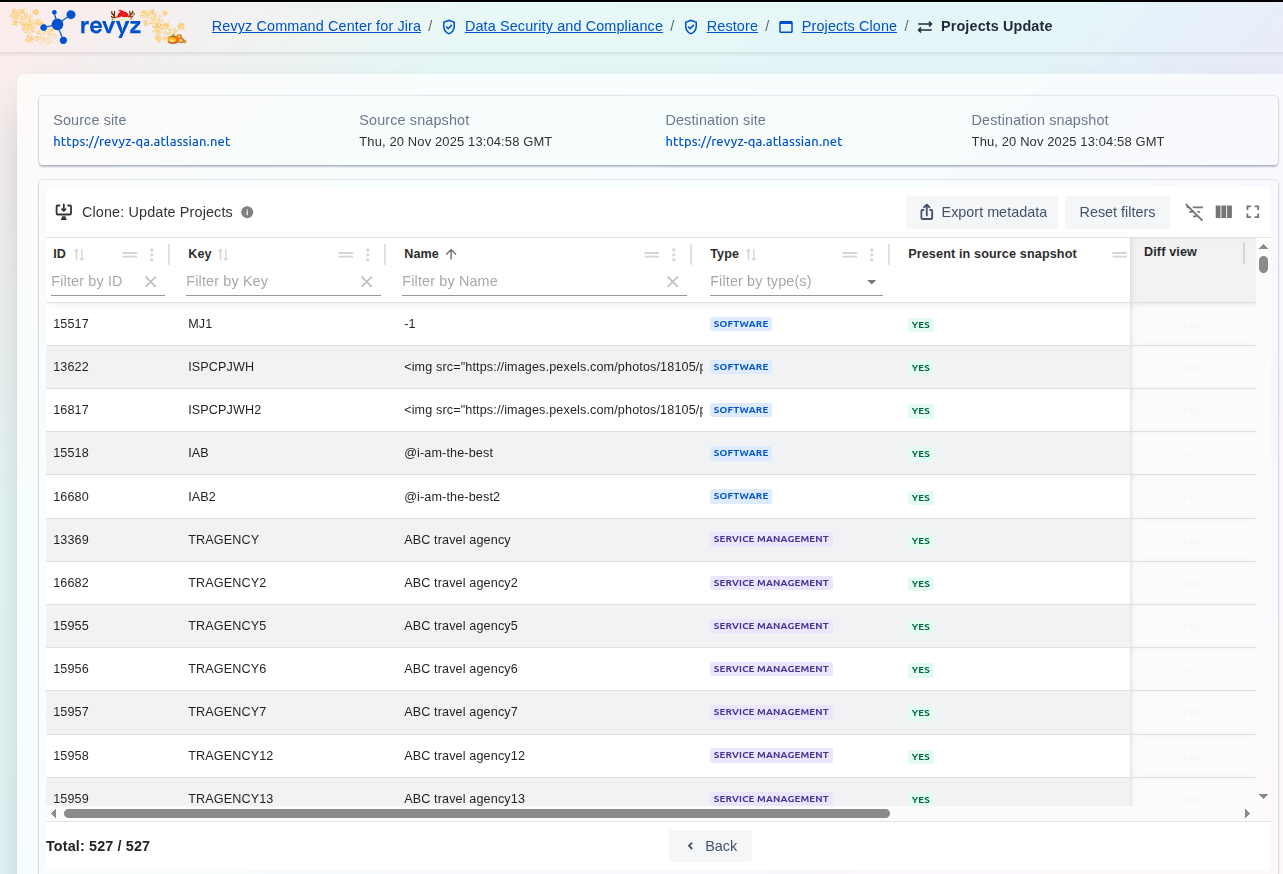
Step 3: Start Reviewing Dependencies
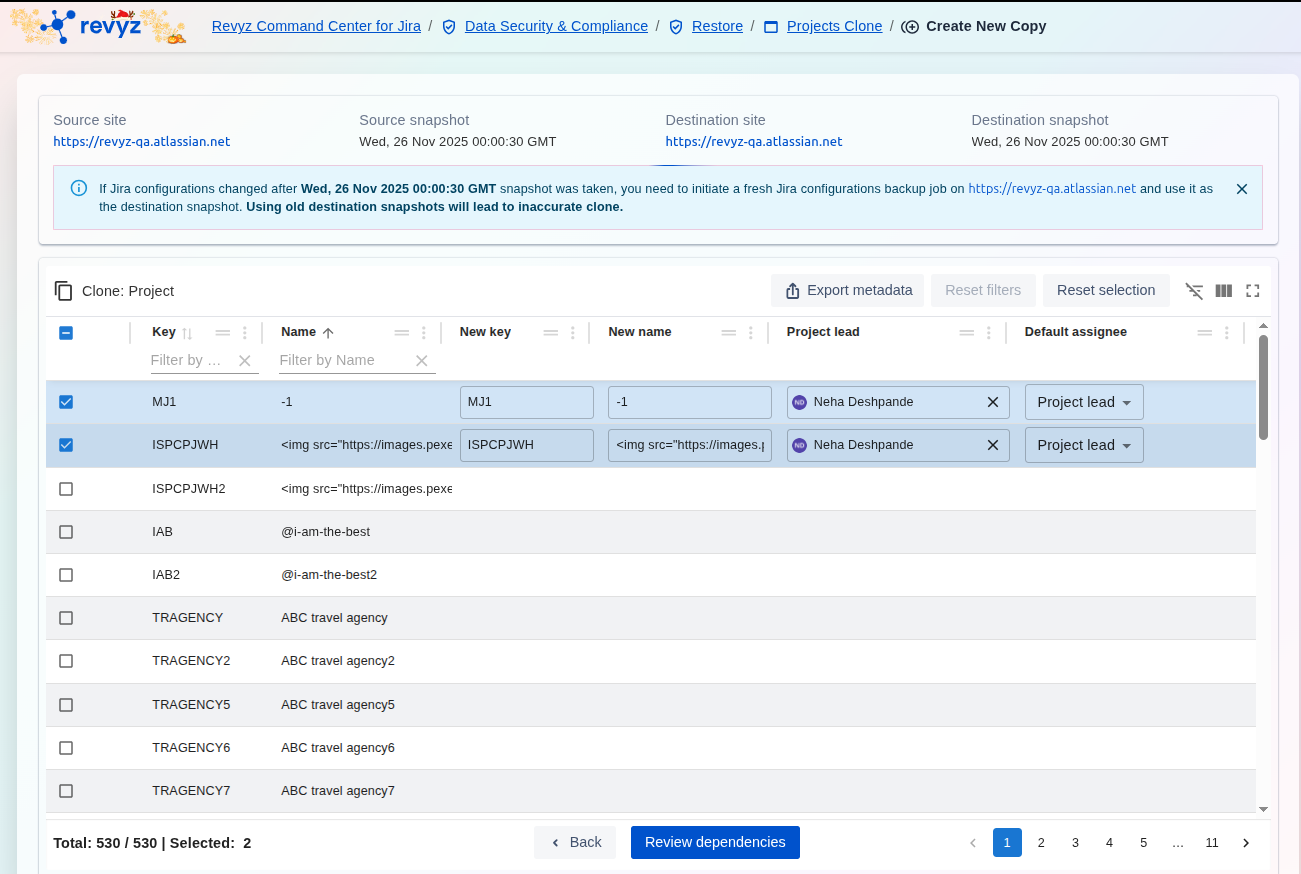
This screen represents the Project Selection and Mapping step of the cloning process, following the source and destination configuration. Select the projects you wish to clone and customize their properties, such as defining a New key and New name on the destination site, before proceeding to Review dependencies.
Step 4: User selected items
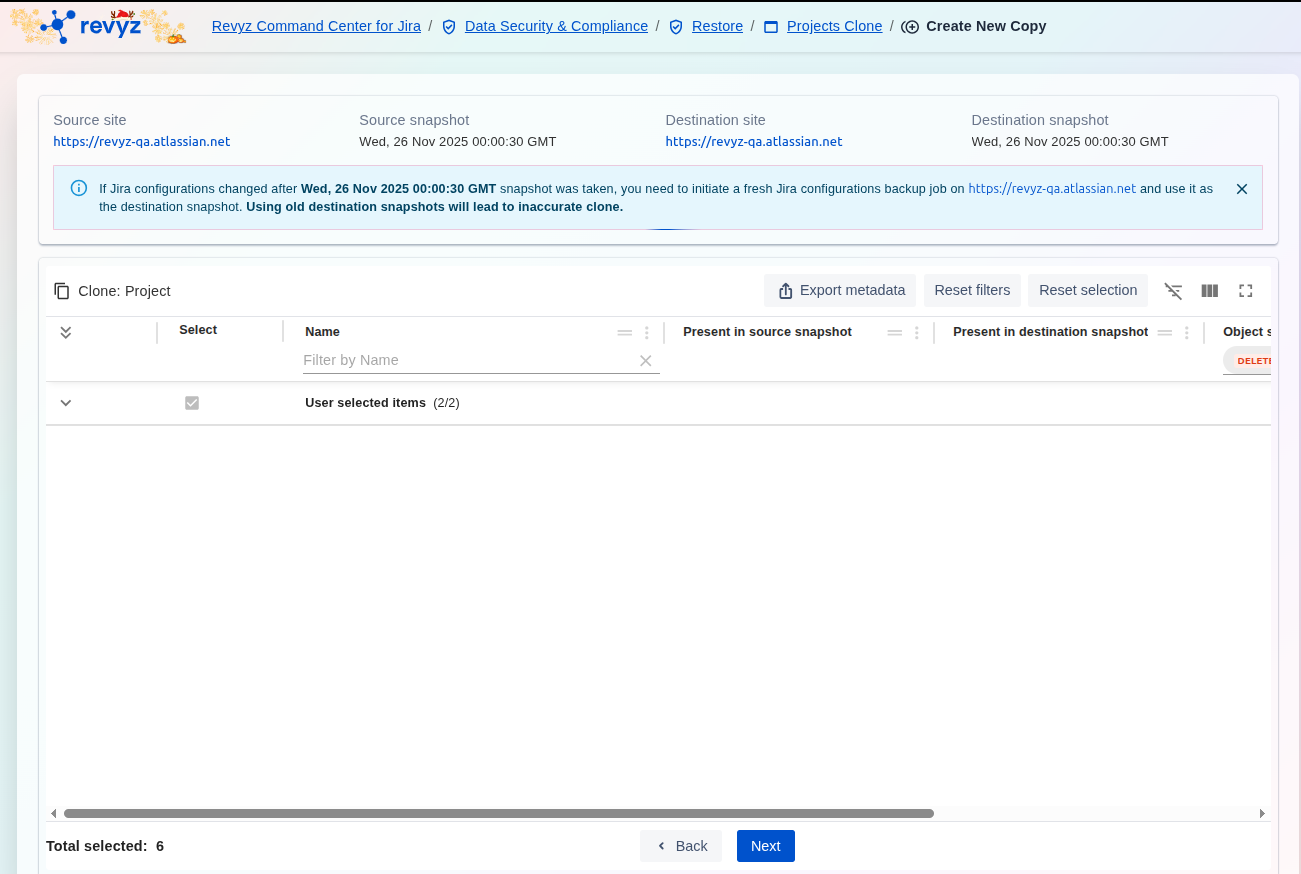
Step 5: Restore Issues
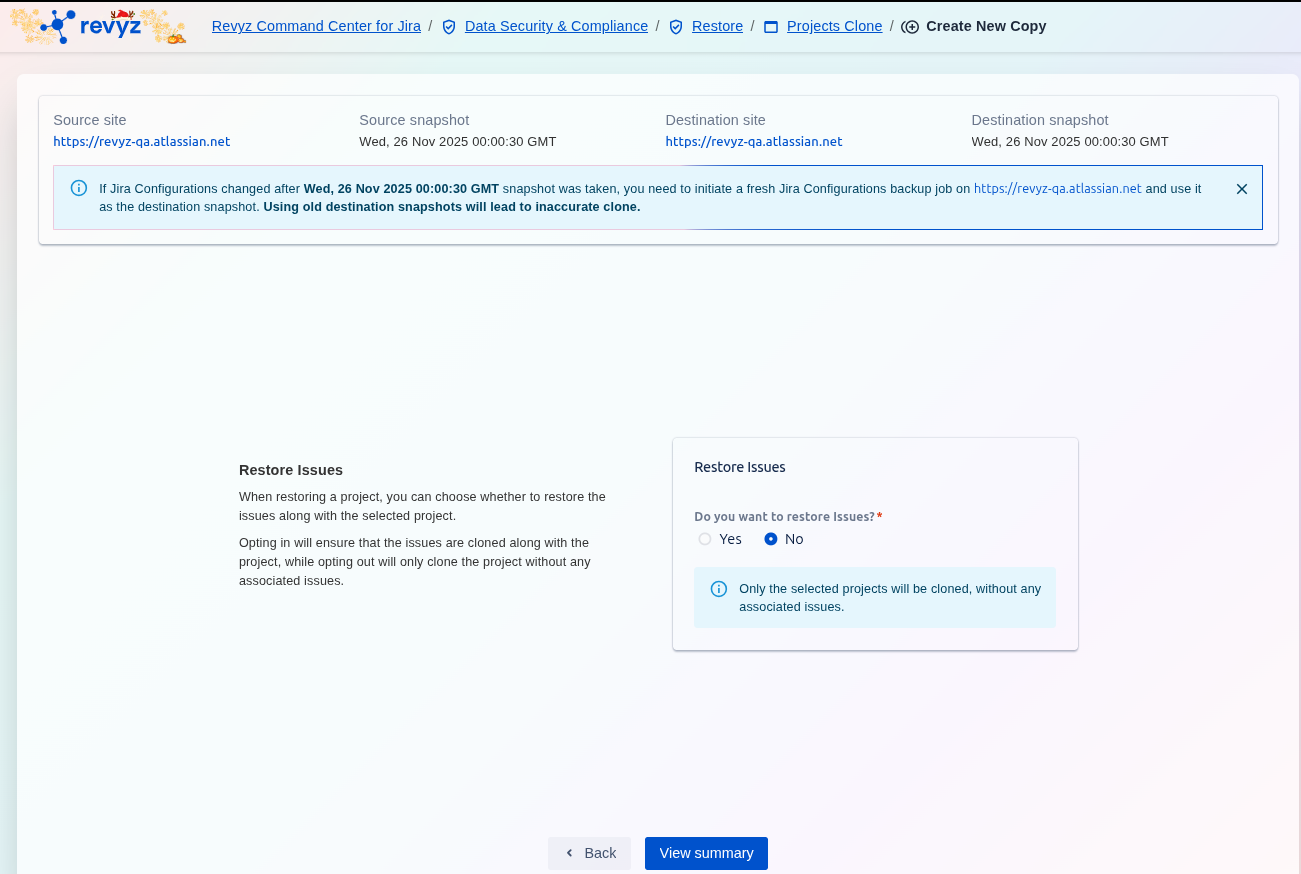
Click on yes, if you want to restore associated issued with the selected projects.
Step 6: Create New Copy
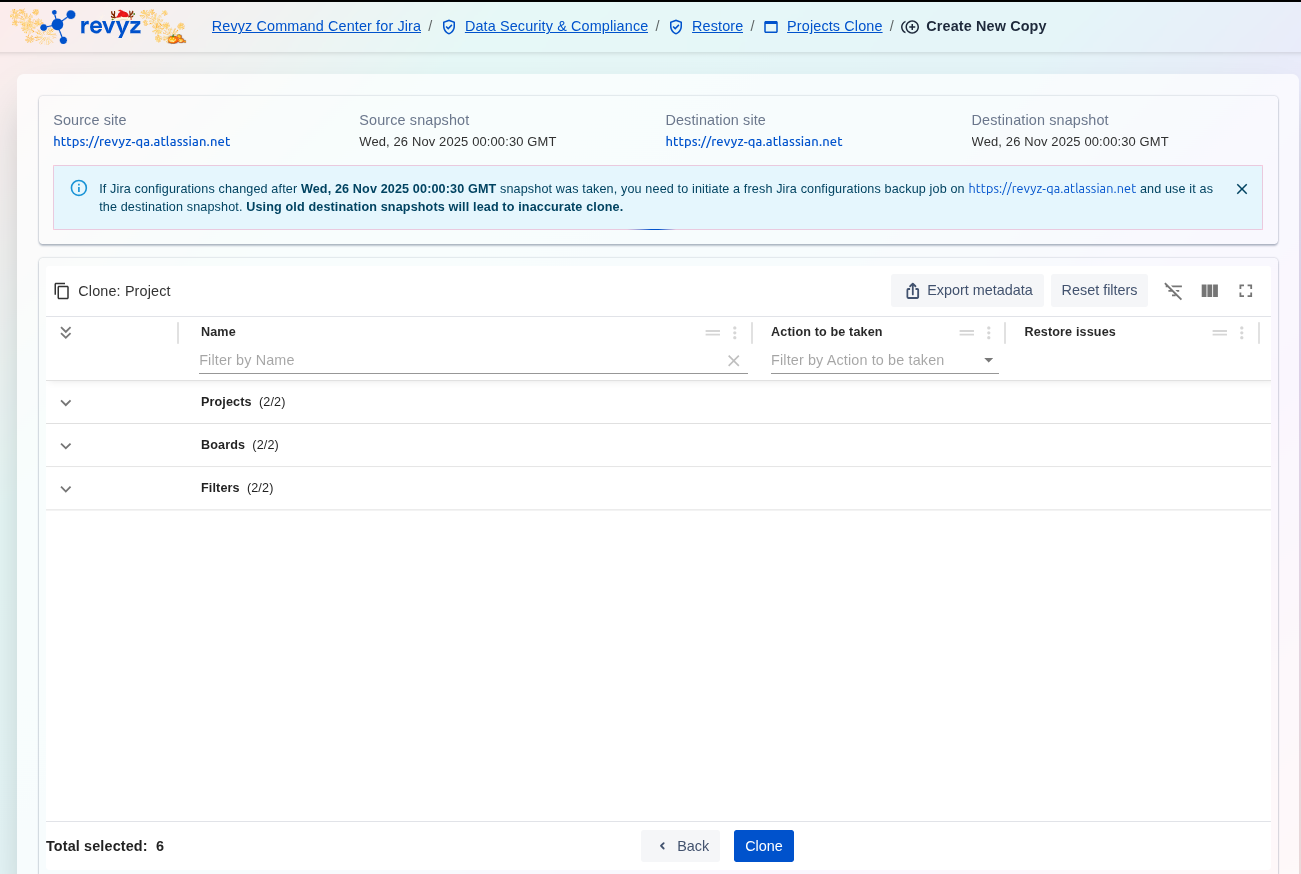
Click on “Clone” to go ahead.
Step 7: Projects Clone Completion
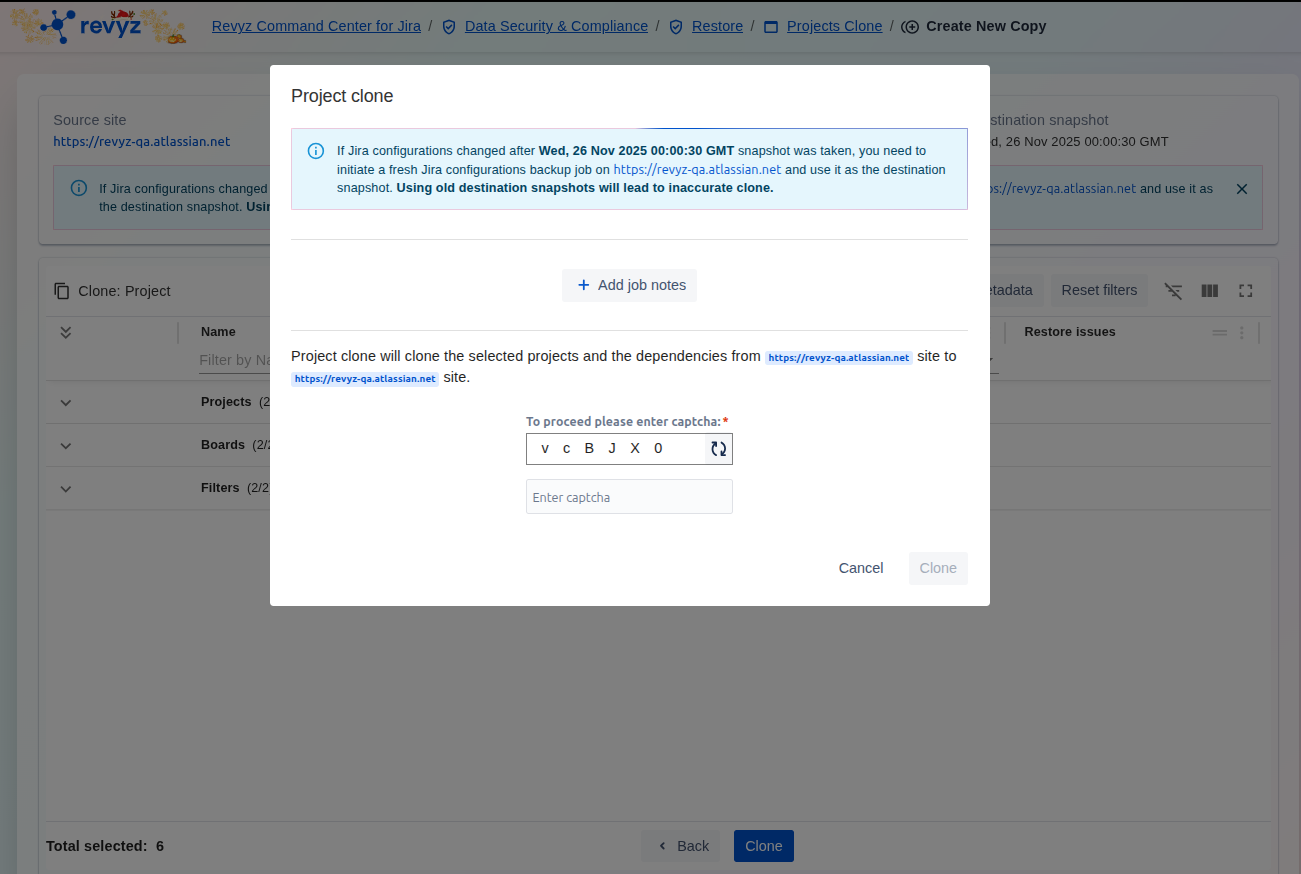
Enter the CAPTCHA code to complete cloning of selected projects.
How to Clone Projects? (Update)
Step 1: Source Site Details
How to Update a Project?
Select Source Details
The Project update feature enables you to refresh or update an existing cloned project. This process involves selecting a project and updating or reusing its configurations by pulling the latest settings from a source site snapshot. This can be applied to a project on a destination site or the current (self) site.
This first step requires you to define the source of the configuration data you wish to use for the update.
-
Project update: This tool allows you to select already cloned projects and update them using configurations from a source site snapshot.
-
Source site details: You must select a source site configuration snapshot to begin the update process.
Source site details
On the right side of the screen, you will find the Source site details card. You must complete the following required fields:
-
Source site
*:-
This field specifies the Jira instance from which you want to pull the configuration data.
-
Click the dropdown menu to select the source. In the screenshot,
https://revvz-qa.atlassian.netis selected, tagged as theSELF SITE(meaning the current instance).
-
-
Configuration snapshot
*:-
This field specifies which backup snapshot contains the updated configurations you want to apply.
-
-
Click the dropdown menu to see a list of available snapshots for the selected source site.
-
Select the specific snapshot you want to use (e.g.,
Tue, 21 Oct 2025 22:00:24 GMT). The green checkmark indicates the snapshot is valid and accessible.
Once you have selected both the Source site and the Configuration snapshot, click the Next button to proceed. The "Back" button is disabled as this is the first step.
Step 2: Click on View Projects
Step 3: Click on Projects Update
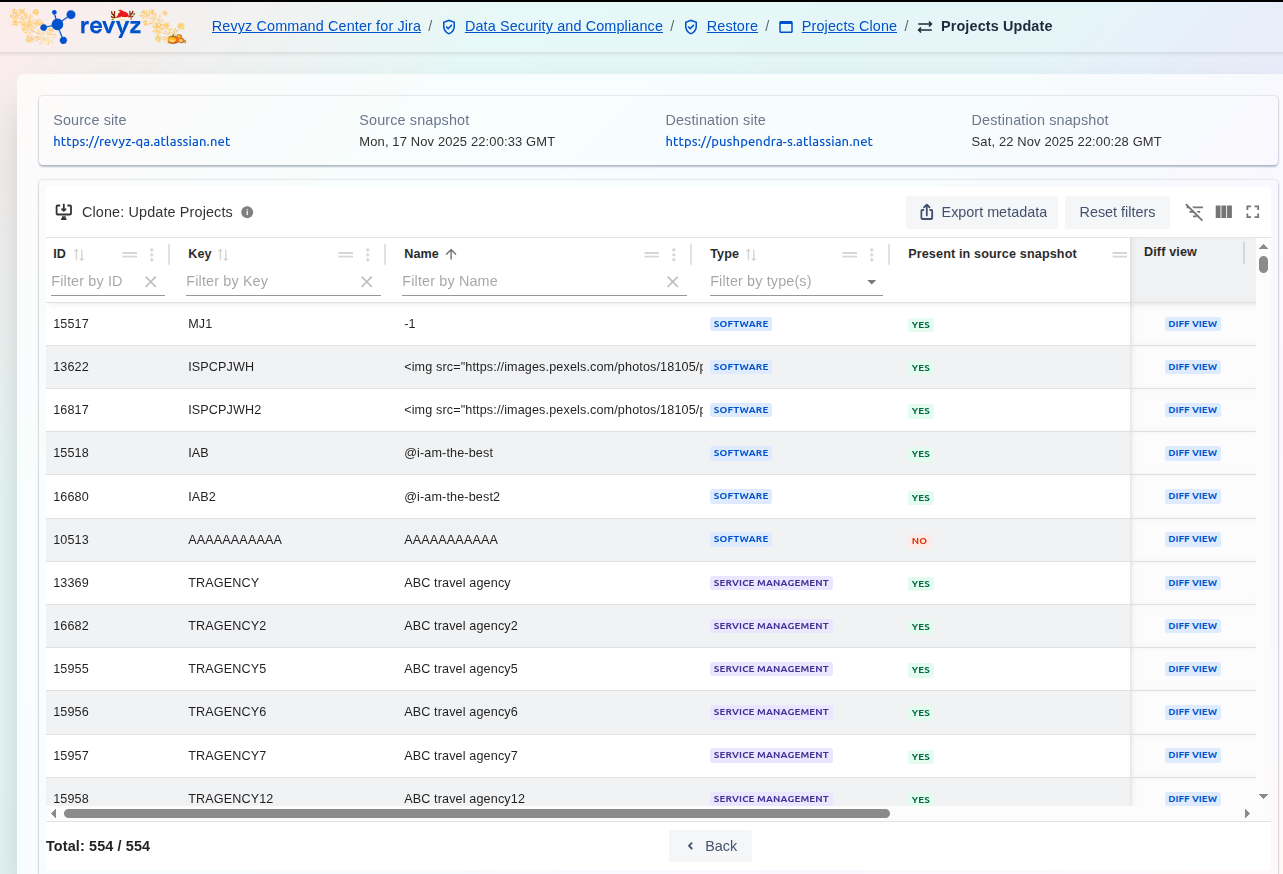
If there is a difference, the “DIFF VIEW” is blank, else, you can click on the “DIFF VIEW” to view the differences.