About this Page
The Restore Jobs page provides a comprehensive view of all running, scheduled, completed, and failed backup tasks, allowing administrators to monitor job status, track progress, and manage the data protection lifecycle.
What is the use case?
-
Monitoring Restoration: Track the progress and completion status of vital recovery and cloning tasks in real-time.
-
Error Management: Quickly identify failed jobs (ERROR) or those needing intervention (ACTION REQUIRED) to facilitate rapid troubleshooting by the Initiator.
-
Auditing and Compliance: Maintain a record of all restoration activities, verifying who performed the action and when, with the option to export this data using Download CSV.
This feature is applicable to:
Command center for jira config manager for jira assets data manager for jira
How to view Restore Jobs?
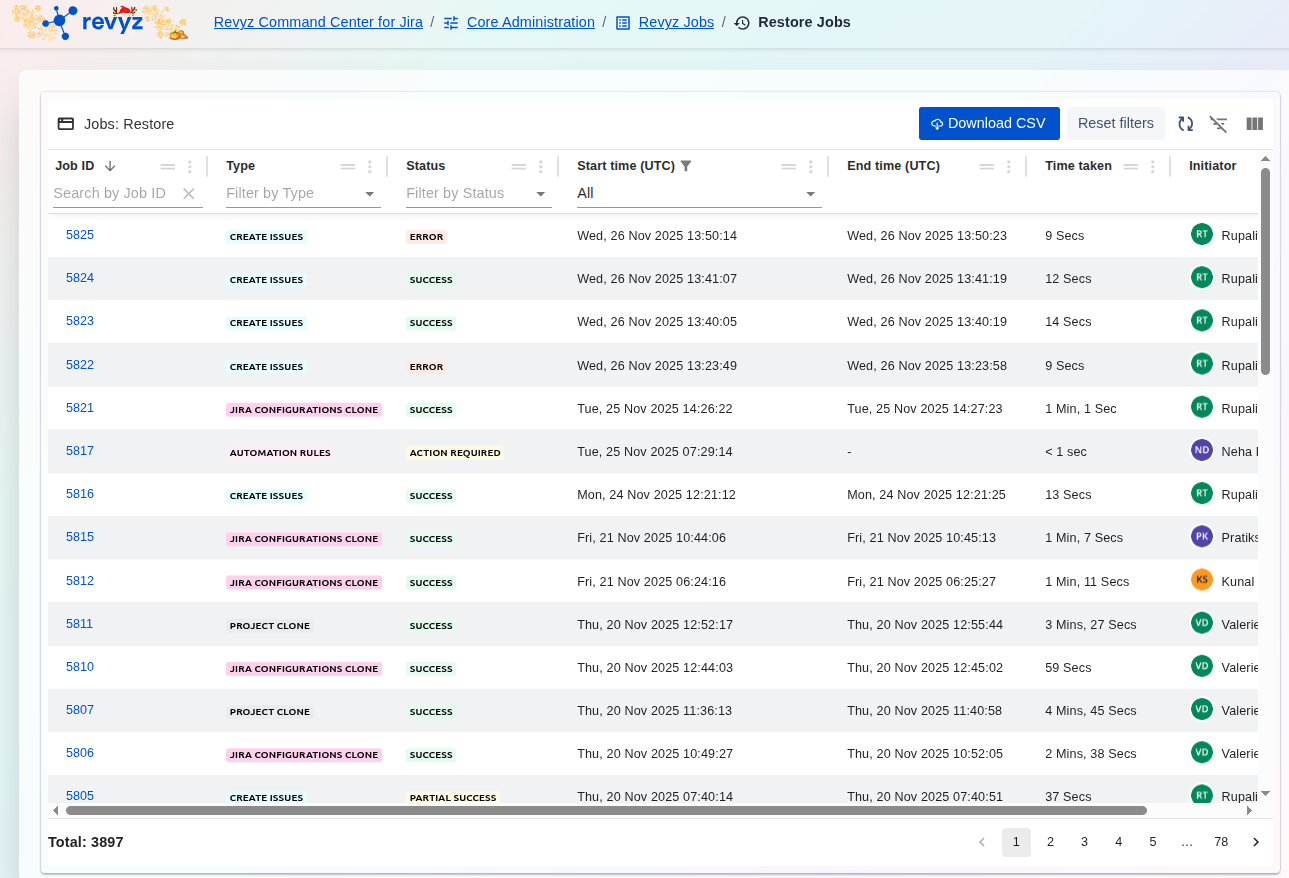
The Restore Jobs dashboard is your central audit log for all data recovery and cloning operations. It provides a detailed, real-time list of every restore job run by your team, showing its status, duration, and what specific data (Type) was recovered or cloned.
Key Data at a Glance
-
Type: Shows what action was performed (e.g.,CREATE ISSUES,JIRA CONFIGURATIONS CLONE,ASSETS OBJECT SCHEMA CLONE). -
Status: The most important column.ERRORorPARTIAL SUCCESSindicates the restore did not fully complete and requires immediate investigation. -
Initiator: Shows which administrator triggered the restore job. This is critical for security and change management tracking. -
Job ID: A unique, clickable link to see the detailed log and output for that specific restore. -
Time taken: Useful for understanding how long different types of data recovery take.
How to Use This Report?
To Audit Restore Activities:
This screen is your primary tool for security and compliance. You can instantly see who (Initiator) restored what (Type) and when (Start time). This is essential for tracking all data changes and recovery events on your instance.
To Investigate a Failed Restore:
-
Use the "Filter by Status" dropdown and select
ERRORandPARTIAL SUCCESS. This immediately isolates all problematic jobs. -
Find the job you need to investigate.
-
Click the blue link in the
Job IDcolumn. This opens the detailed log output, which will contain specific error messages telling you why the job failed.
To Export Logs for Auditing:
-
Click the
Download CSVbutton in the top-right corner. -
This exports the entire list of restore jobs, which is essential for creating permanent change management records, security audits, or incident reports.
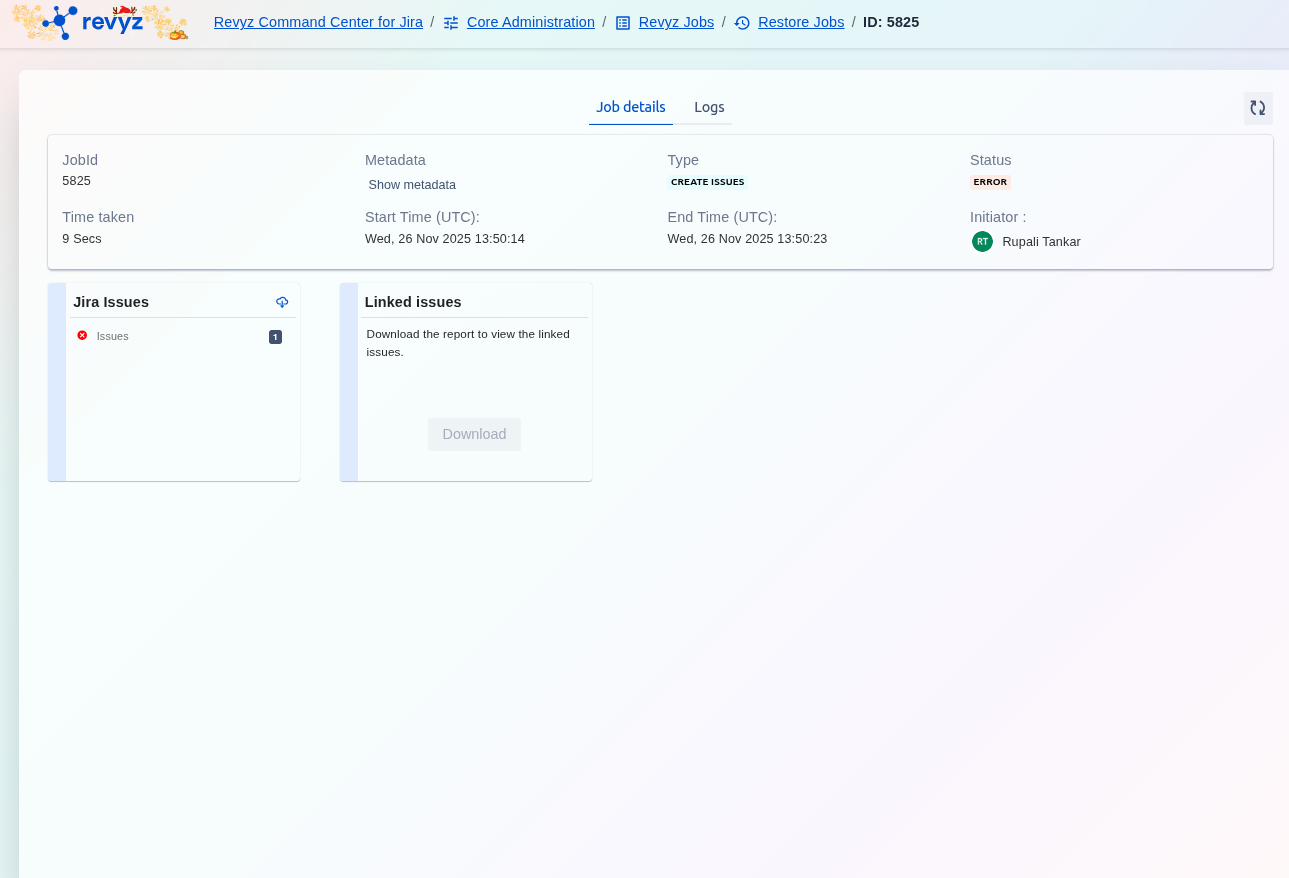
To inspect the details of a specific restore or clone operation:
-
Filter/Search: Utilize the filter bars (e.g., Job ID, Type, Status, or Initiator) to efficiently locate the job you are looking for.
-
View Details: Click on the hyperlinked blue Job ID (e.g., 5825) to access the detailed transaction logs, error messages, and metadata associated with that specific restoration.