About this Page
This document provides a step-by-step guide to cloning a company-managed project along with its issues from one site to another. It covers the necessary pre-requisites and how to perform a successful project clone while ensuring all associated configurations are cloned.
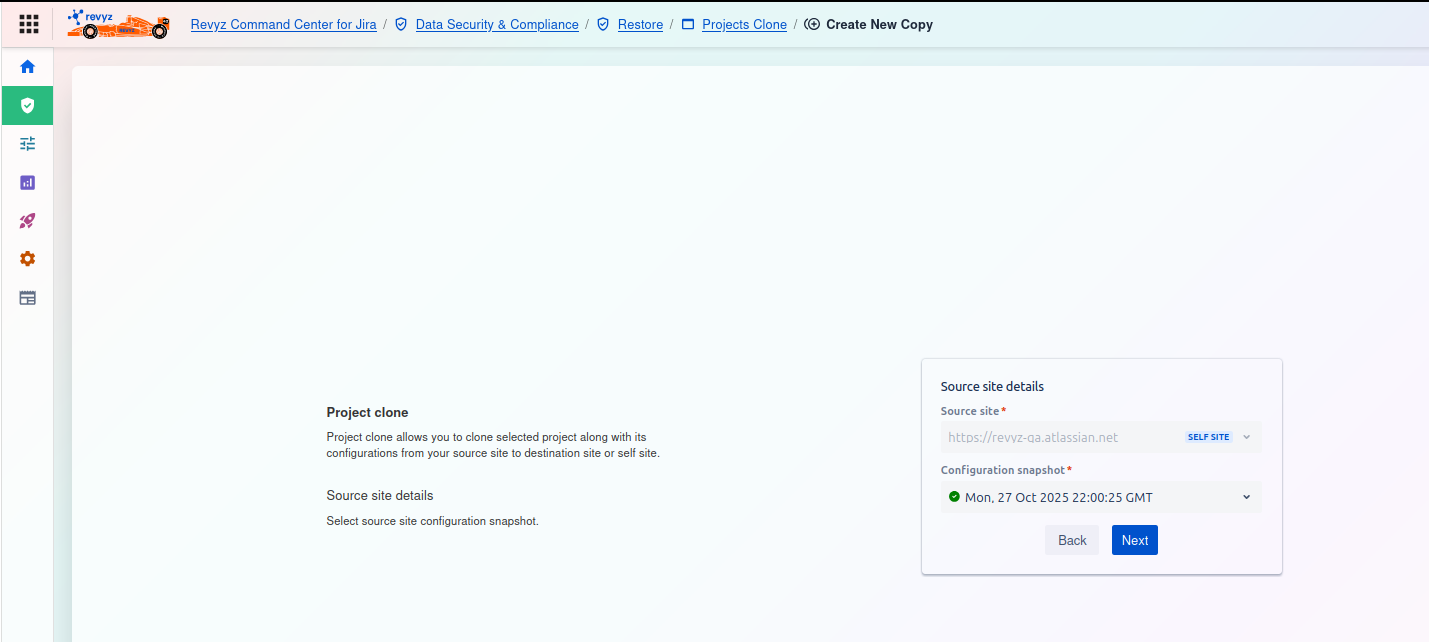
Pre-requisites
-
Two Atlassian sites: The first site is referred to as https://site-1.atlassian.net and the second as https://site-2.atlassian.net. Learn how to create an Atlassian site
-
The Revyz app must be installed on both newly created Atlassian sites (https://site-1.atlassian.net and https://site-2.atlassian.net). Learn how to install the Revyz app
-
Cross-site connection between the two sites in the Revyz app, which allows cloning from one site to the other. Learn how to configure a cross-site connection
Before Clone
-
On the first Atlassian site (https://site-1.atlassian.net), create a company-managed project with issues. For reference, let’s call this project “Project1.” Learn how to create a company-managed project
-
Take a fresh backup of Jira issues and configurations on both sites (https://site-1.atlassian.net and https://site-2.atlassian.net) before cloning the project. Learn how to trigger a backup
Clone project to a cross-site
Follow these steps:
-
Go to the Atlassian site (https://site-1.atlassian.net) that contains the company-managed project (referred to here as “Project1”).
-
Navigate to Apps → Revyz Command Center for Jira app → Data Security & Compliance → Restore
-
Select the “Project restore with issues” card.
-
Source Site Details:
-
Source site: The site that has the project to be cloned, in this case, https://site-1.atlassian.net
-
Configuration snapshot: Choose the latest snapshot, which includes the project you want to clone.
-
-
Destination Site Details:
-
Destination site: The site where you want to clone the project, in this case, https://site-2.atlassian.net
-
Configuration snapshot: Select the latest snapshot.
-
-
Click on Show projects.
-
Select the project you want to clone, which is "Project1"
-
The New key, New name, Project lead, and Default assignee will be auto-populated.
-
If the auto-populated key or name already exists on the second Atlassian site (https://site-2.atlassian.net), modify the New key or New name.
-
-
Toggle the "Restore issues" option to clone the issues along with the project.
-
Click on Review dependencies. The app will automatically calculate and display the configurations related to the project, which are referred to as dependencies.
-
Review the dependencies and click on View summary.
-
Review the clone summary and click on Clone.
-
(Optional) Add job notes for future reference.
-
Enter the CAPTCHA in the command prompt and click Clone.
-
You’ll be redirected to the Jobs tab in the Revyz app.
-
Click the refresh icon to view the latest status of the job.
After the job is completed
-
Click on the job ID.
-
Job details will be displayed in the cards. You can download the details by clicking the download icon.
To view the cloned project
-
Go to the second Atlassian site (https://site-2.atlassian.net).
-
Open the Projects section and search for the cloned project using the new name provided during the cloning process.