
About this Page
This page explains the Export Data feature: what it does, when to use it, and how to set it up. It also lists what you'll need before you start.
This feature is applicable to:
Command Center for Jira: Advanced Edition (BYOS only)
What is Export Data?
Export Data is Revyz's native UI solution for accessing your Jira work items, work logs, comments, X-ray attachments, etc. when Atlassian its elf is unreachable.
Standard restore procedures are insufficient during critical Atlassian outages or local site failures. This feature ensures your team can still access vital data offline, directly from your own storage, without needing an active connection to an Atlassian site.
Once your exported data is hosted on a server, your team gets a familiar, in-browser experience—no active connection to your Atlassian site required. This feature is only available to customers who have opted for their own storage (BYOS).
-
Global Atlassian Outages: When Atlassian is completely down and even your alternate Disaster Recovery (DR) site cannot be reached.
-
Local Site Outages (No DR): When your specific Jira production site is down and you do not have an active DR connection configured to switch over to the End User Portal.
-
AWS Outages: When the outage happens at the AWS level, since Atlassian Cloud itself runs on AWS. This can bring down Jira and Confluence even though Atlassian's own systems are fine. If your DR site also runs on AWS, it can go down at the same time.
Prerequisites:
To enable Offline Access, your environment must be configured for Bring Your Own Storage (BYOS). By utilizing your own AWS S3 or Azure Blob Storage, your organization maintains absolute custody of the exported data. This feature is not available for Revyz-managed storage.
What is the Use Case?
Export Data is built primarily for a global Atlassian outage, and also helps your team keep working with recent Jira data.
How to Export Data for Offline Access
Use this feature to manually trigger an export of your Jira data into a human-readable format stored within your custom storage.
Note: Prerequisites for Export Data feature
-
Plan Requirement: Your Jira site must be on the Advanced plan, as Bring Your Own Storage (BYOS) is an advanced feature.
-
Initial Backup Requirement: You must have at least one successfully completed issue and configuration backup job before you can start an export job.
-
Environment Setup: Ensure you have a local machine running Linux or MAC.
Navigate to export data
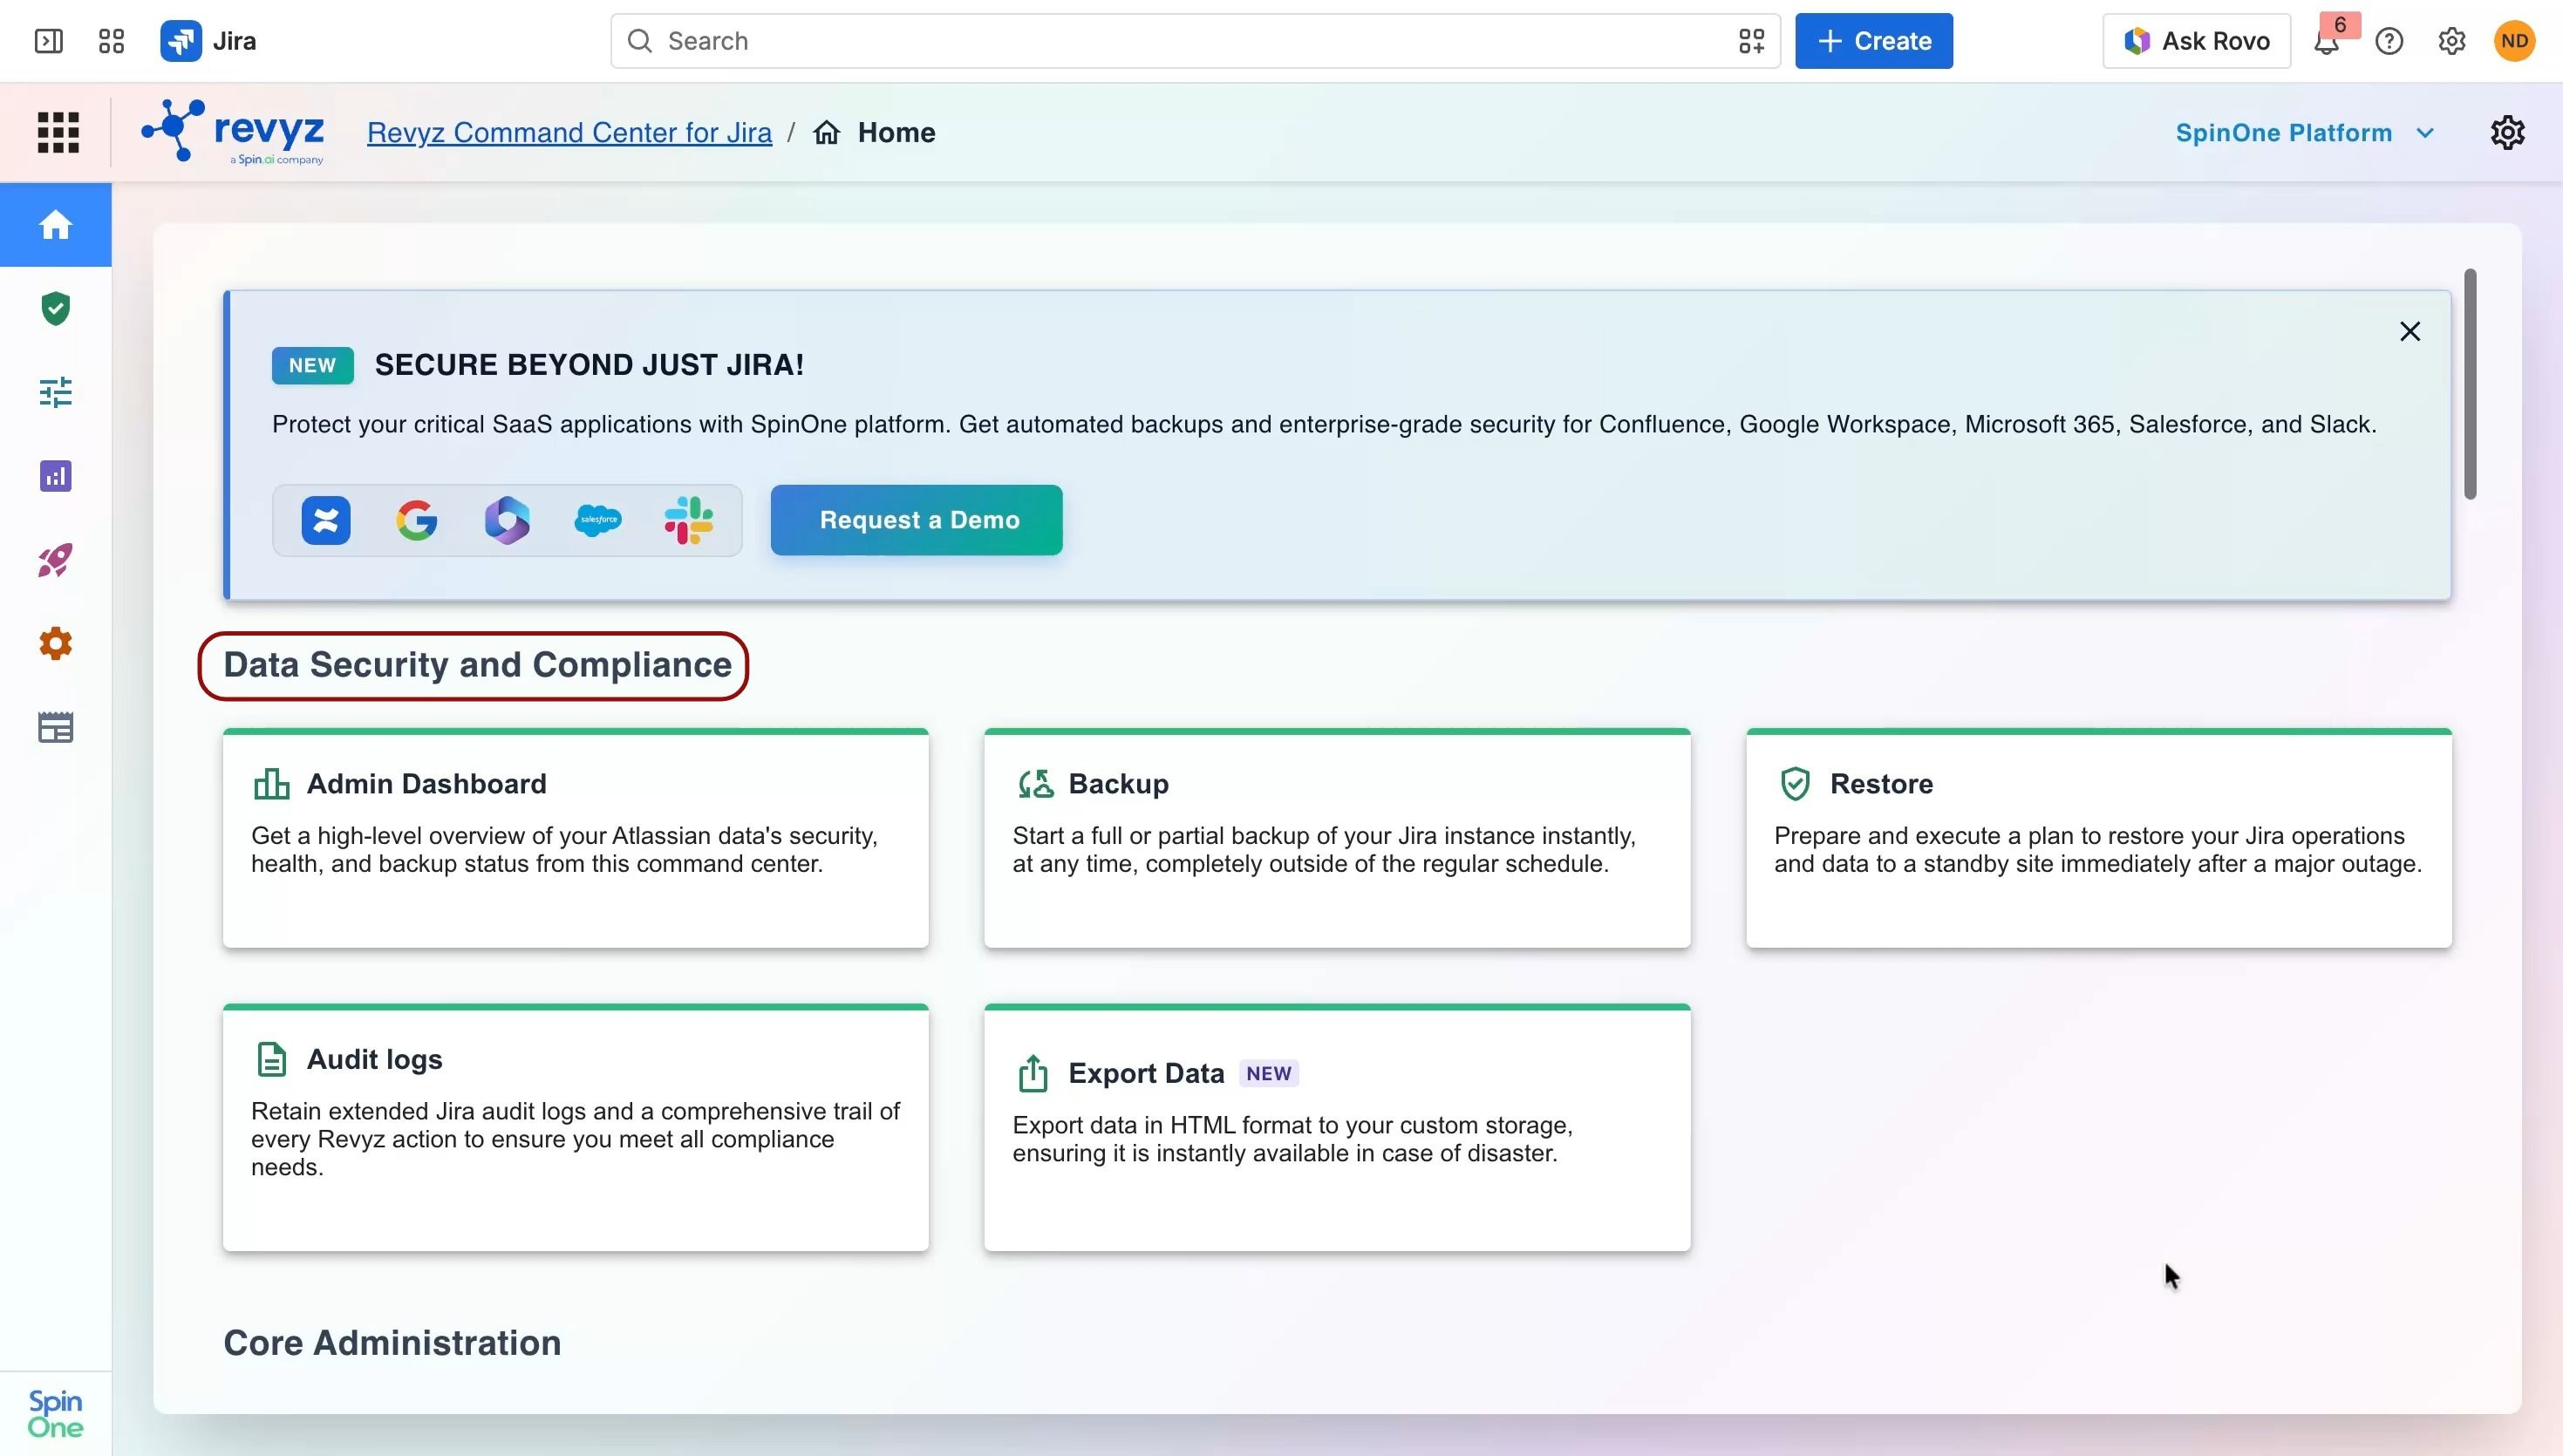
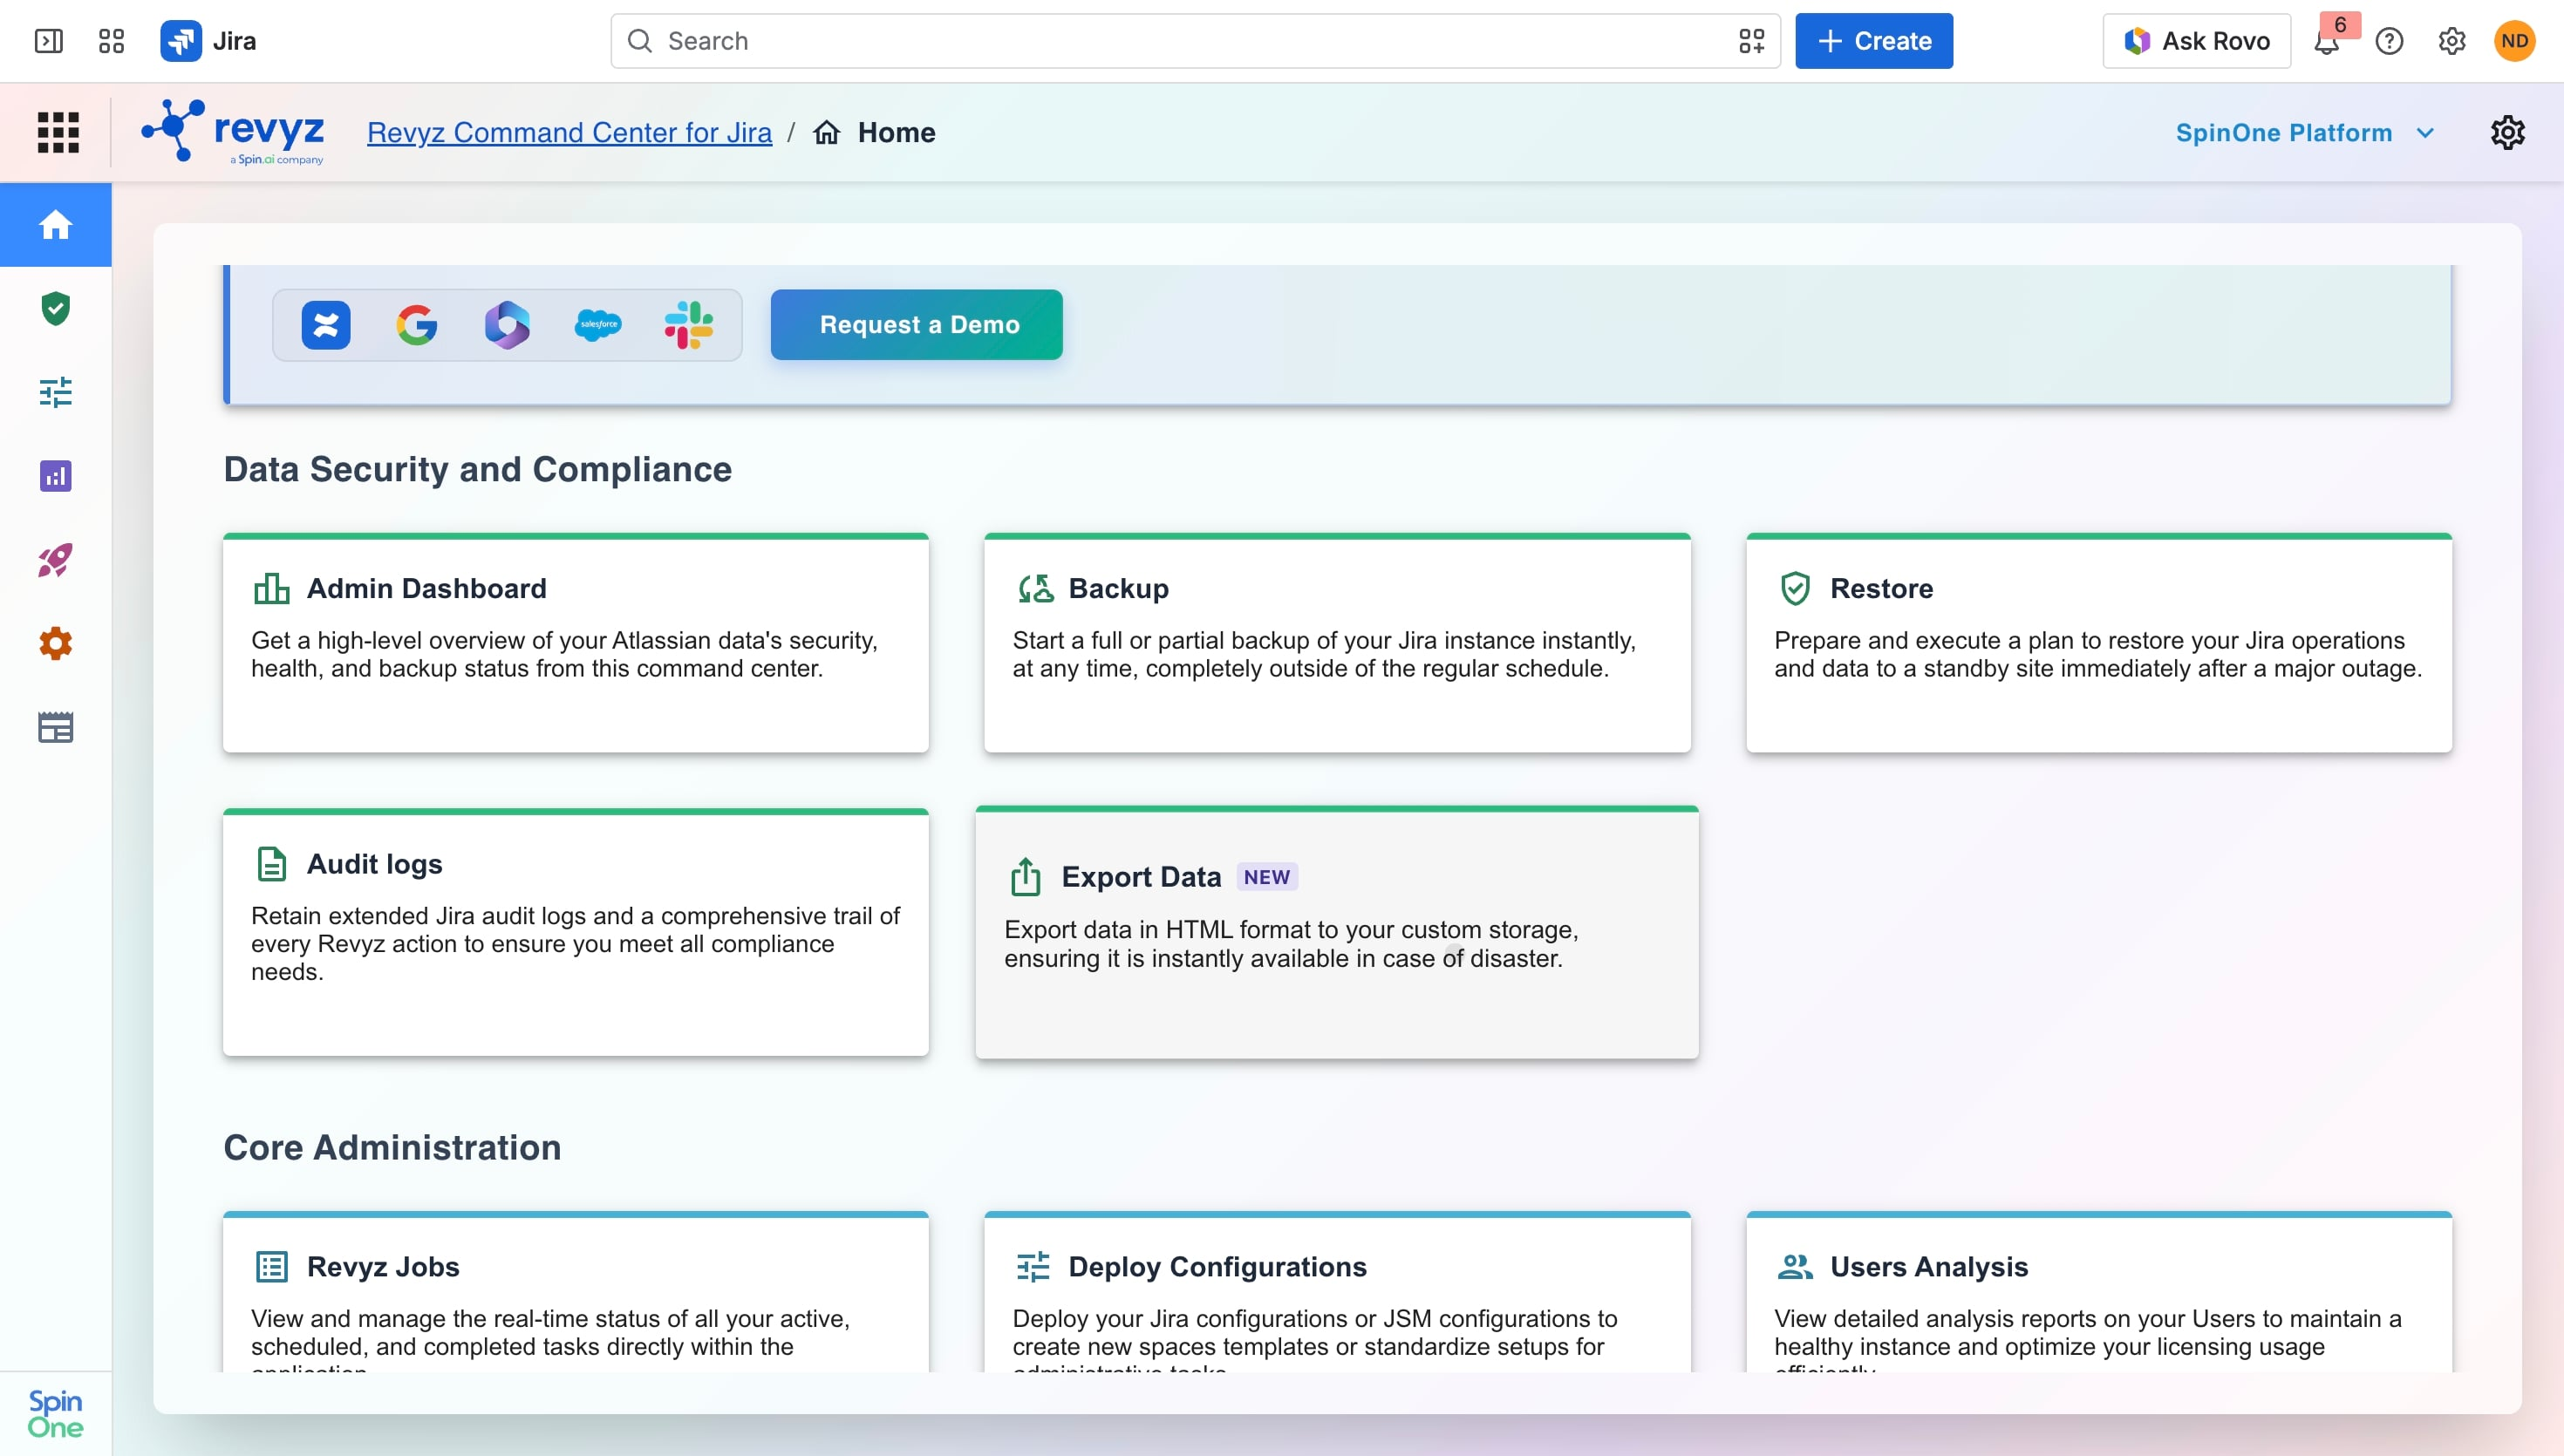
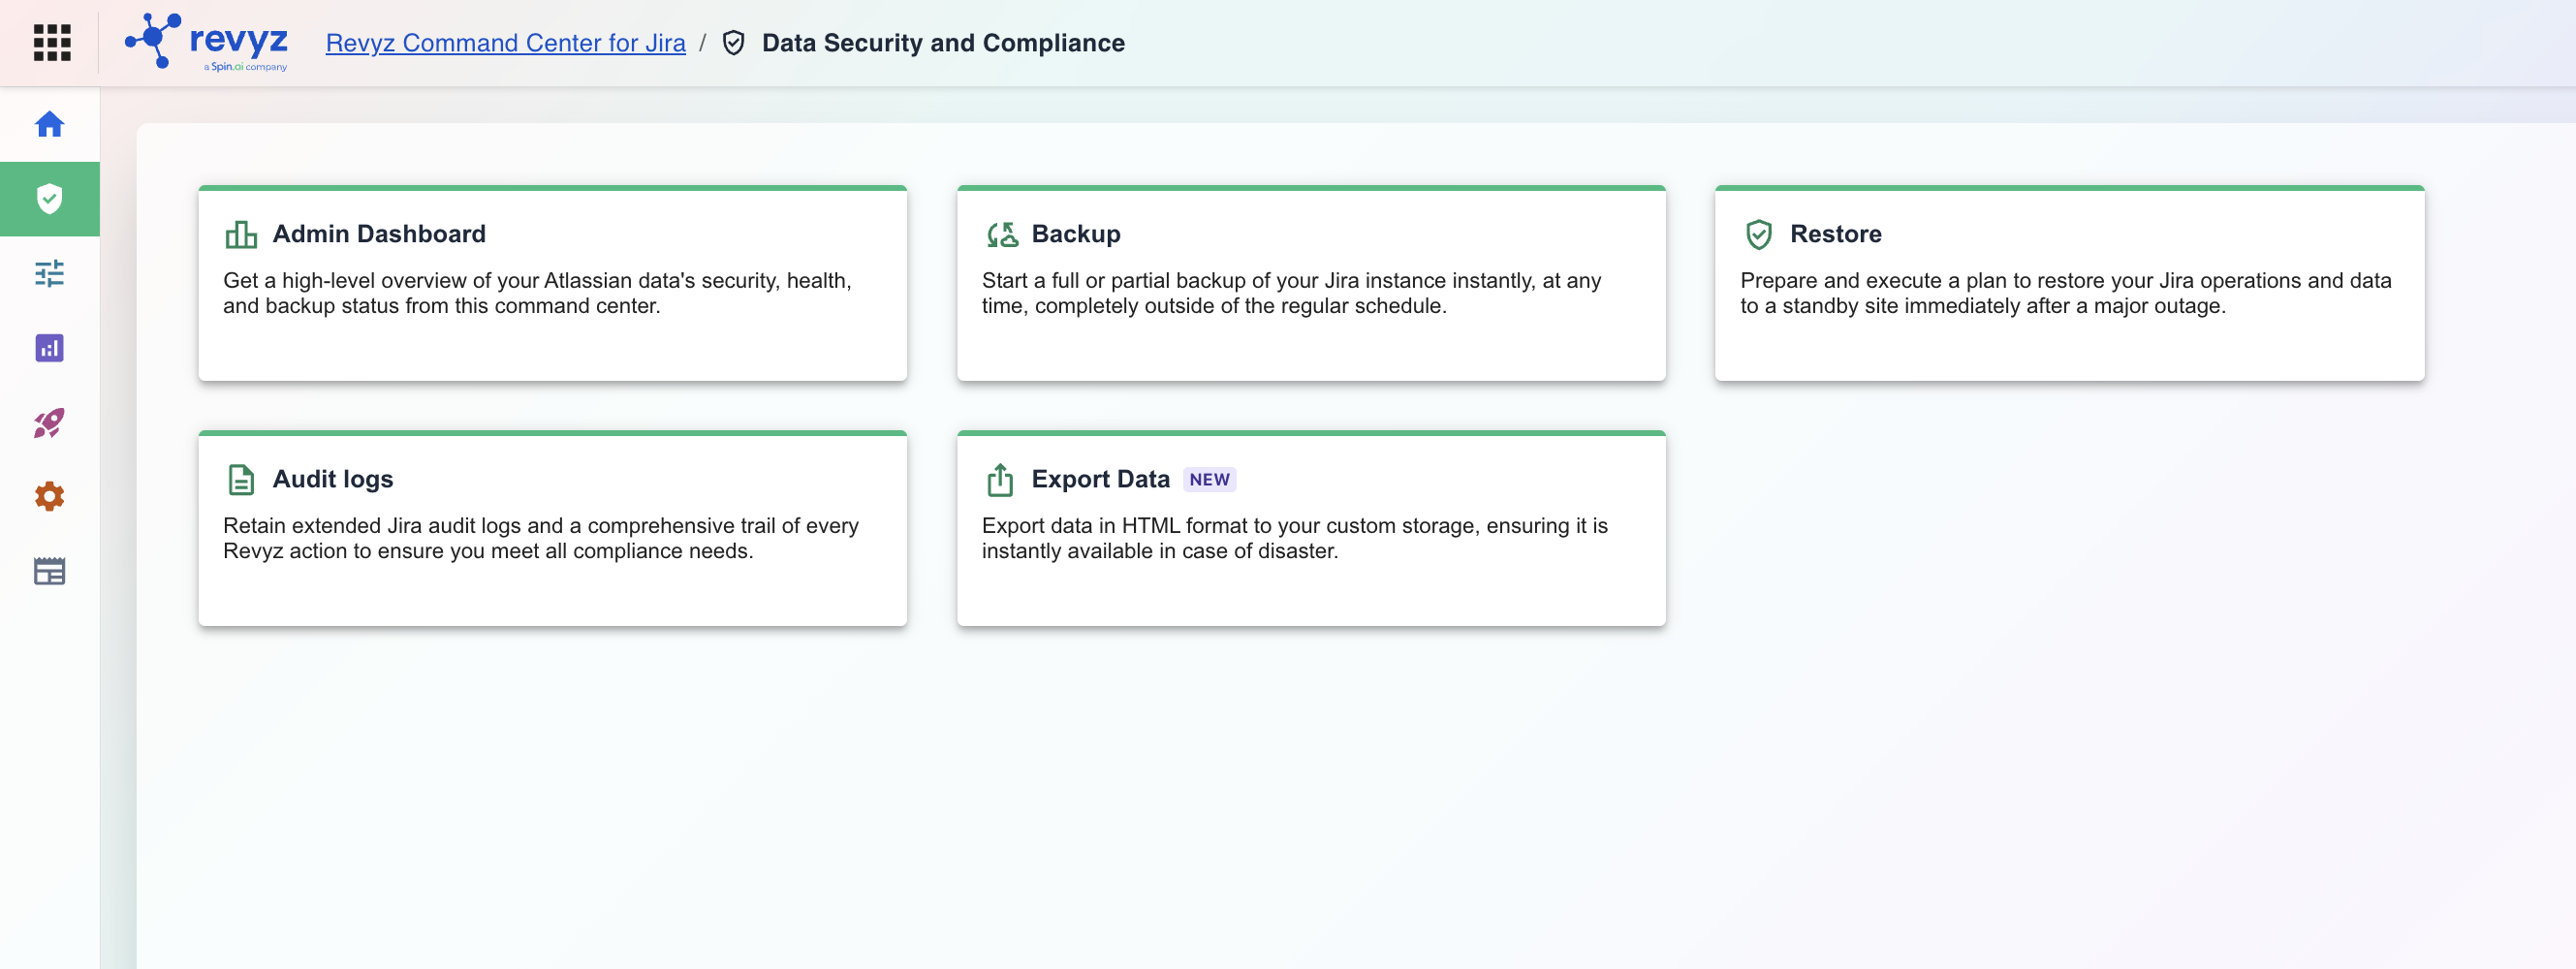
In the Revyz dashboard, follow this breadcrumb path: Revyz Command Center for Jira > Data Security and Compliance > Export Data.
Review Exported Items
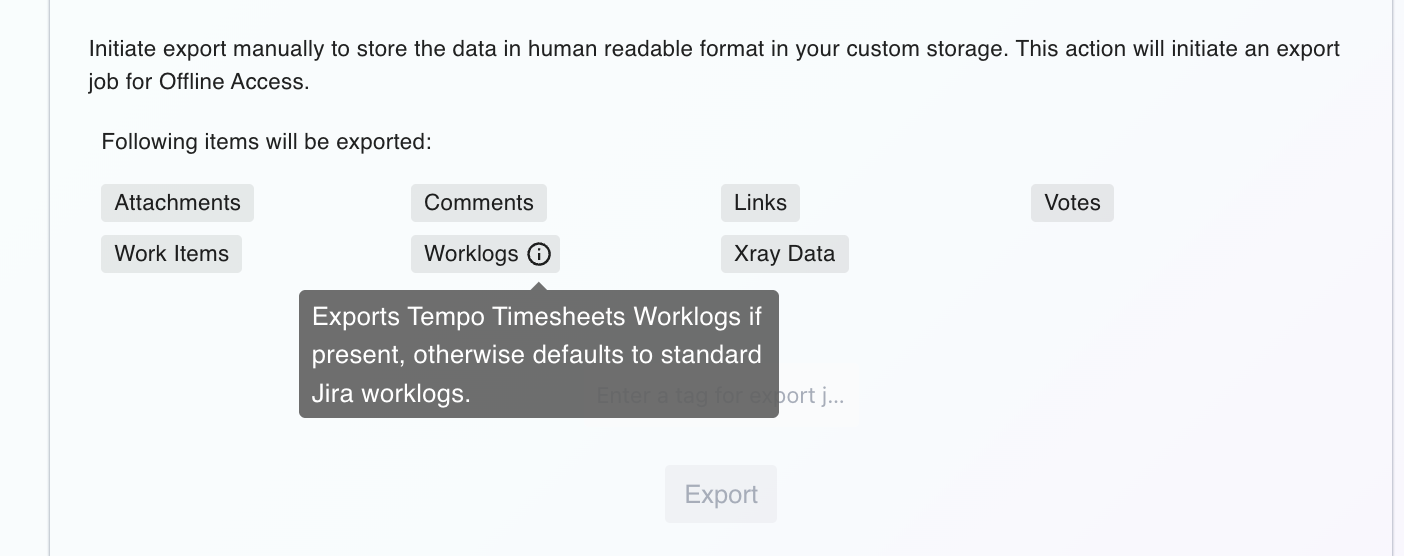
Before initiating, see the types of data included in the export. By default, the system will export:
-
Work Items (Issues)
-
Comments
-
Worklogs
-
Attachments
-
Links
-
Votes
-
Xray data
-
Worklogs (Including Tempo timesheets worklogs)
Tag Your Export Job
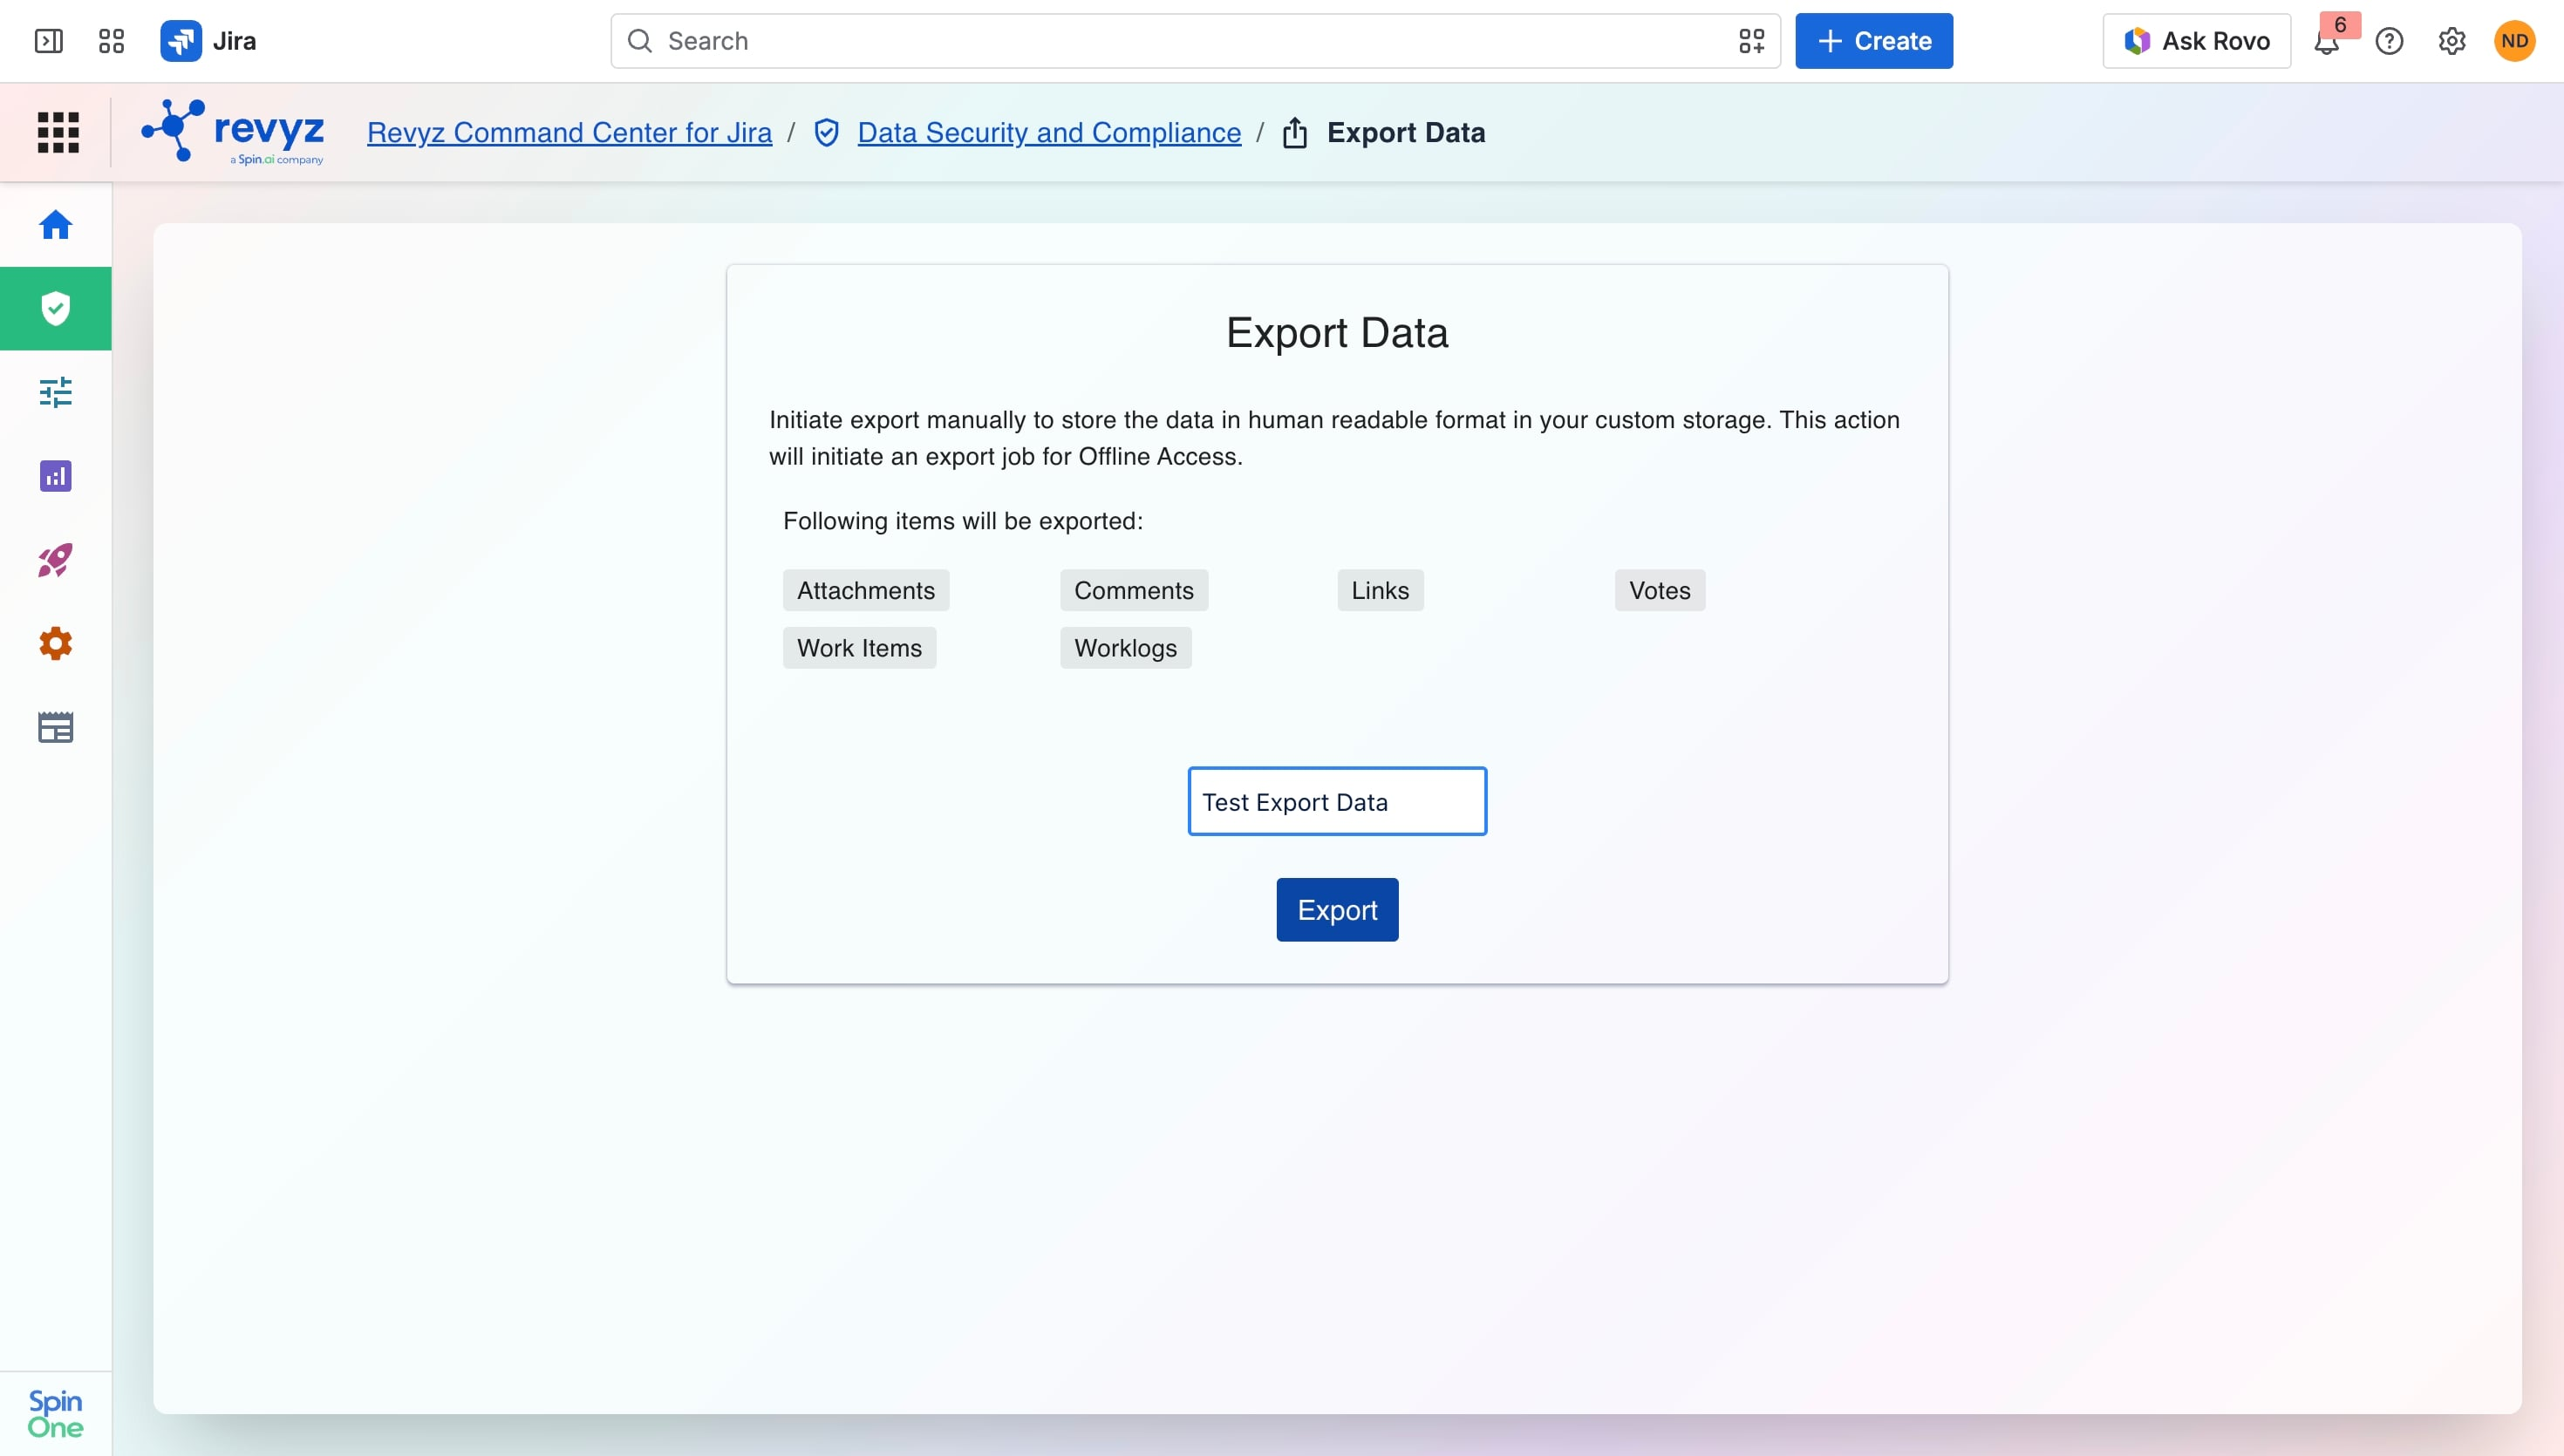
Locate the text field labeled "Enter a tag for export job." > Tip: Use a descriptive tag (e.g., Monthly_Audit_March2026) to help you easily identify and filter this specific export in your logs later.
Initiate Export
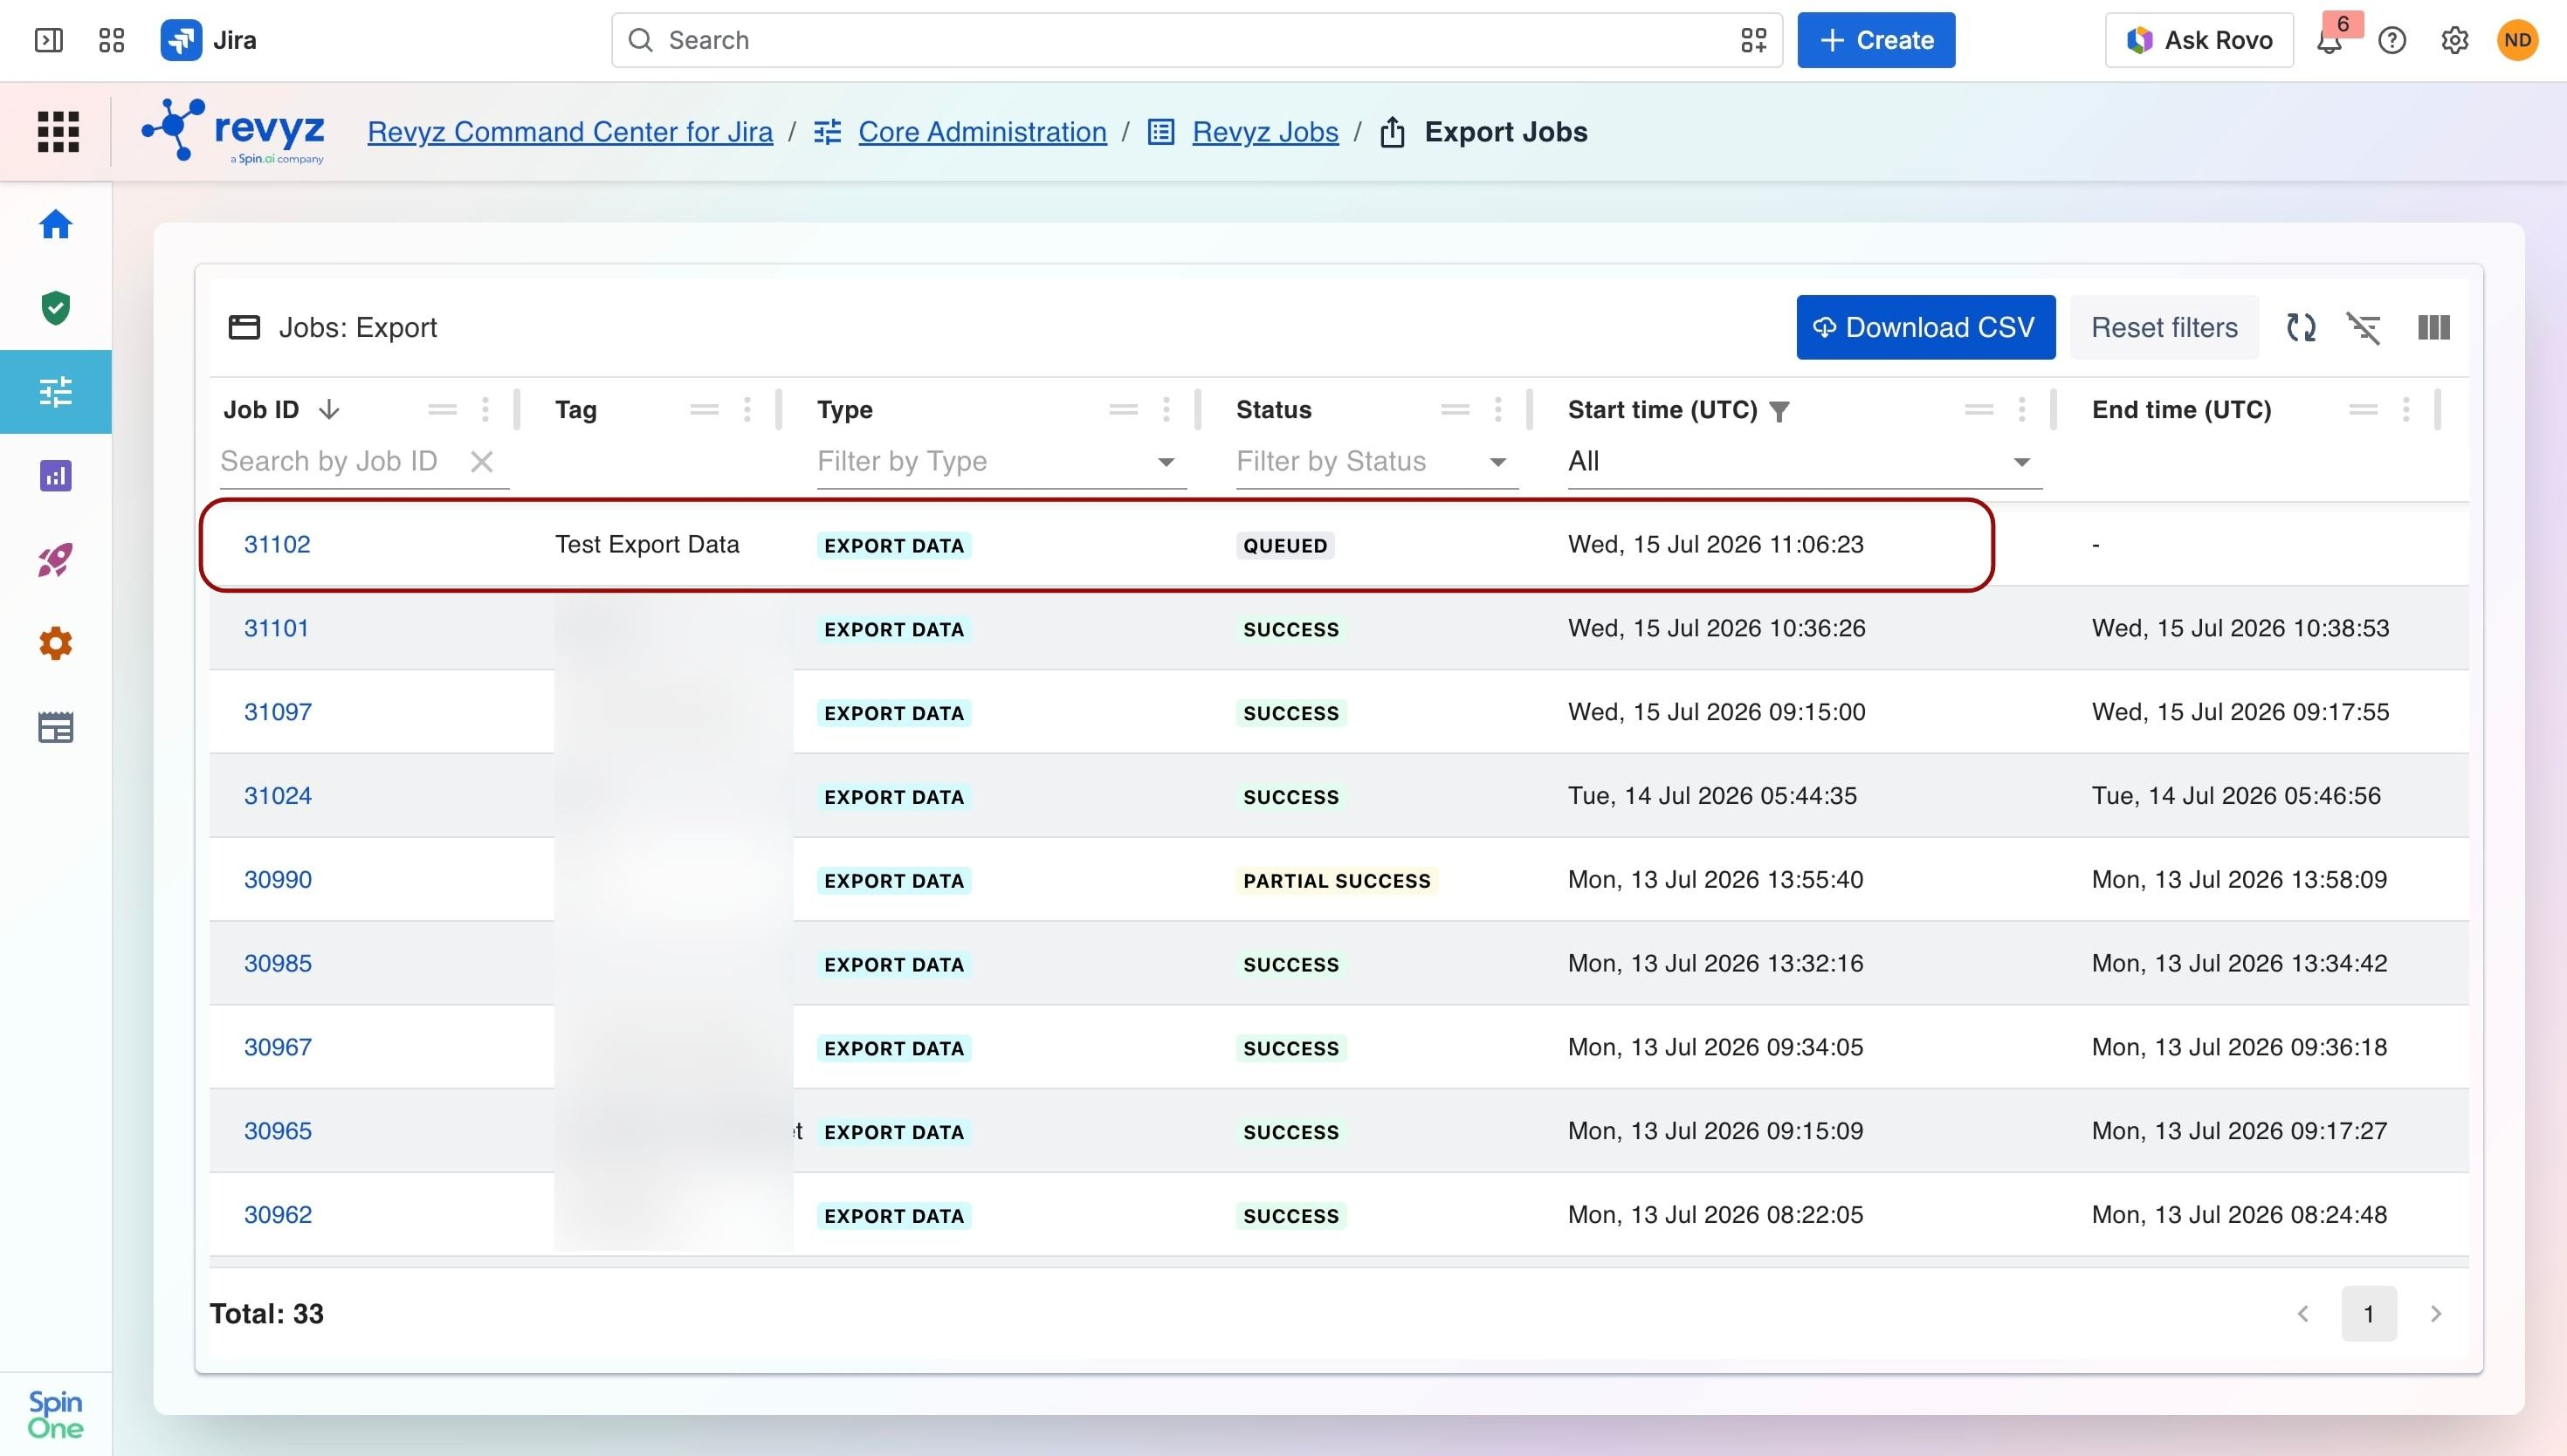
Click the Export button at the bottom of the card. Once you click export, a manual job is queued. The data will be processed and transferred to your designated storage for export. You can monitor the progress of this job within the Revyz Jobs.
Export Jobs
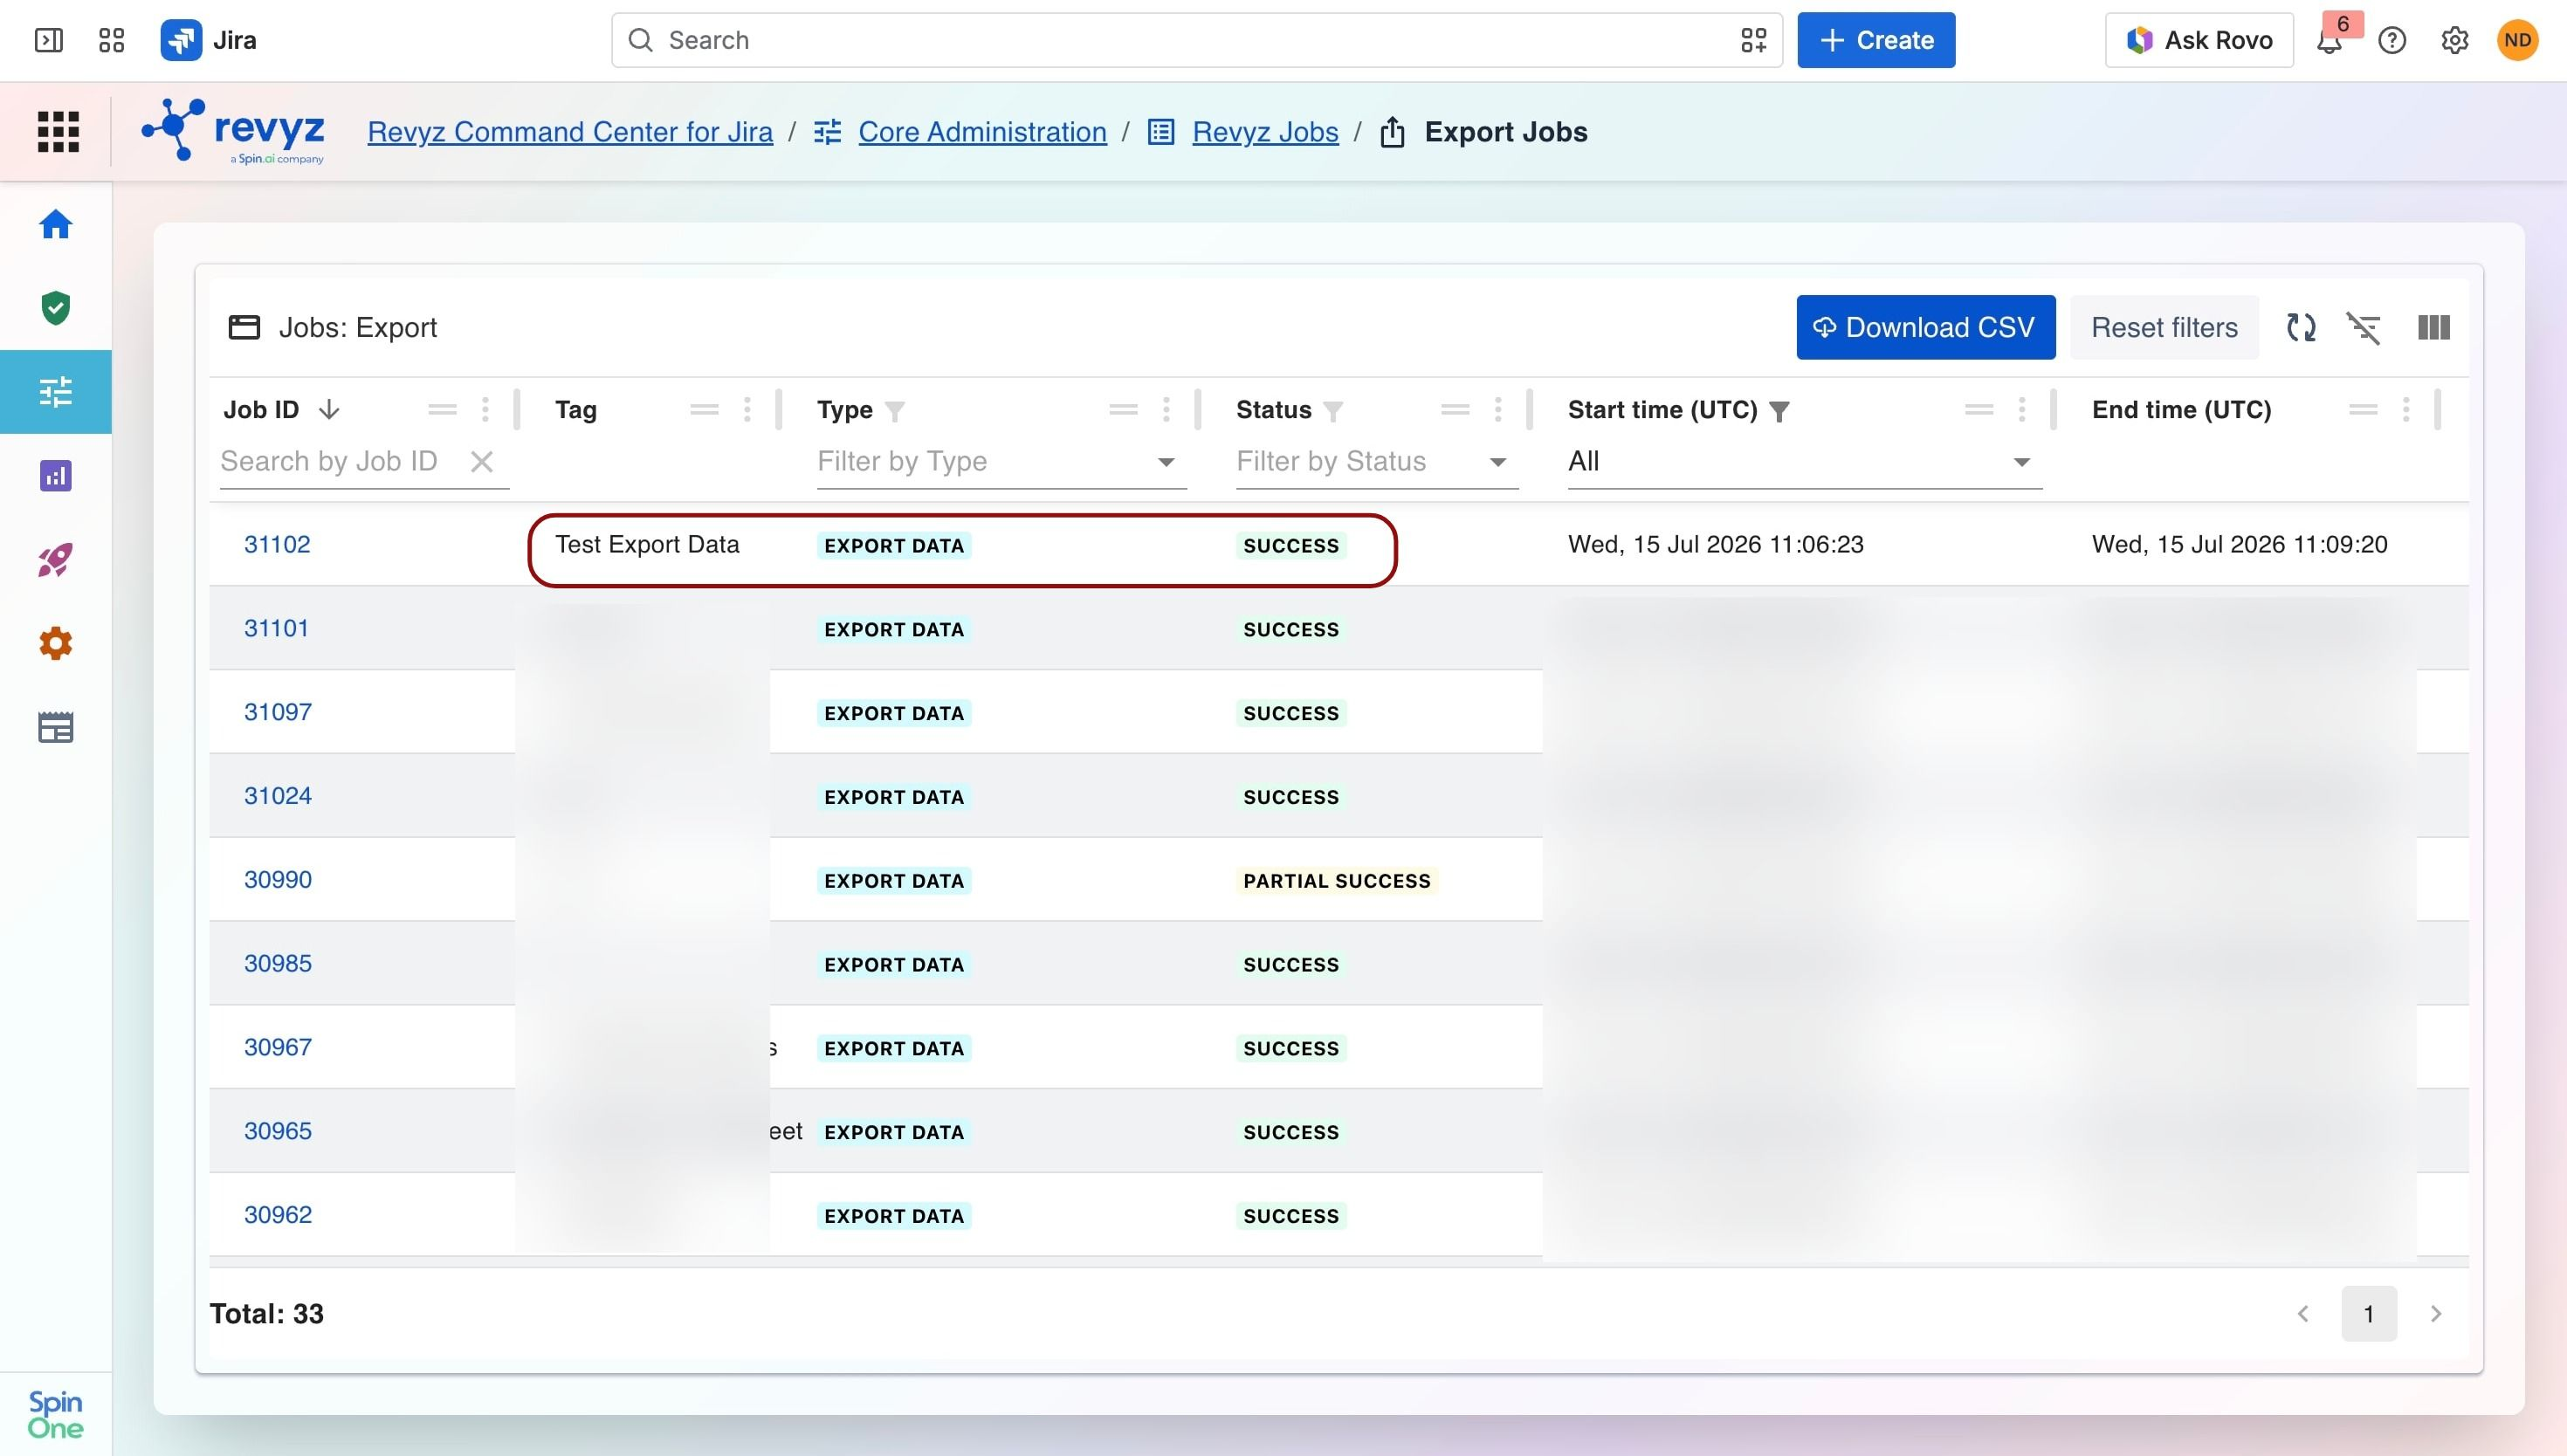
Navigate to: Core Administration > Revyz Jobs > Export Jobs. In this table, you can see a history of all manual exports. Key columns to watch include:
-
Status: Look for a green SUCCESS label. If it shows "Failed," check the Logs tab for specific error details.
-
Time Taken: Displays the duration of the export (typically around 1 minute for standard sets).
-
Download CSV: Use the button at the top right if you need a spreadsheet summary of all export job metadata.
View Detailed Job Results
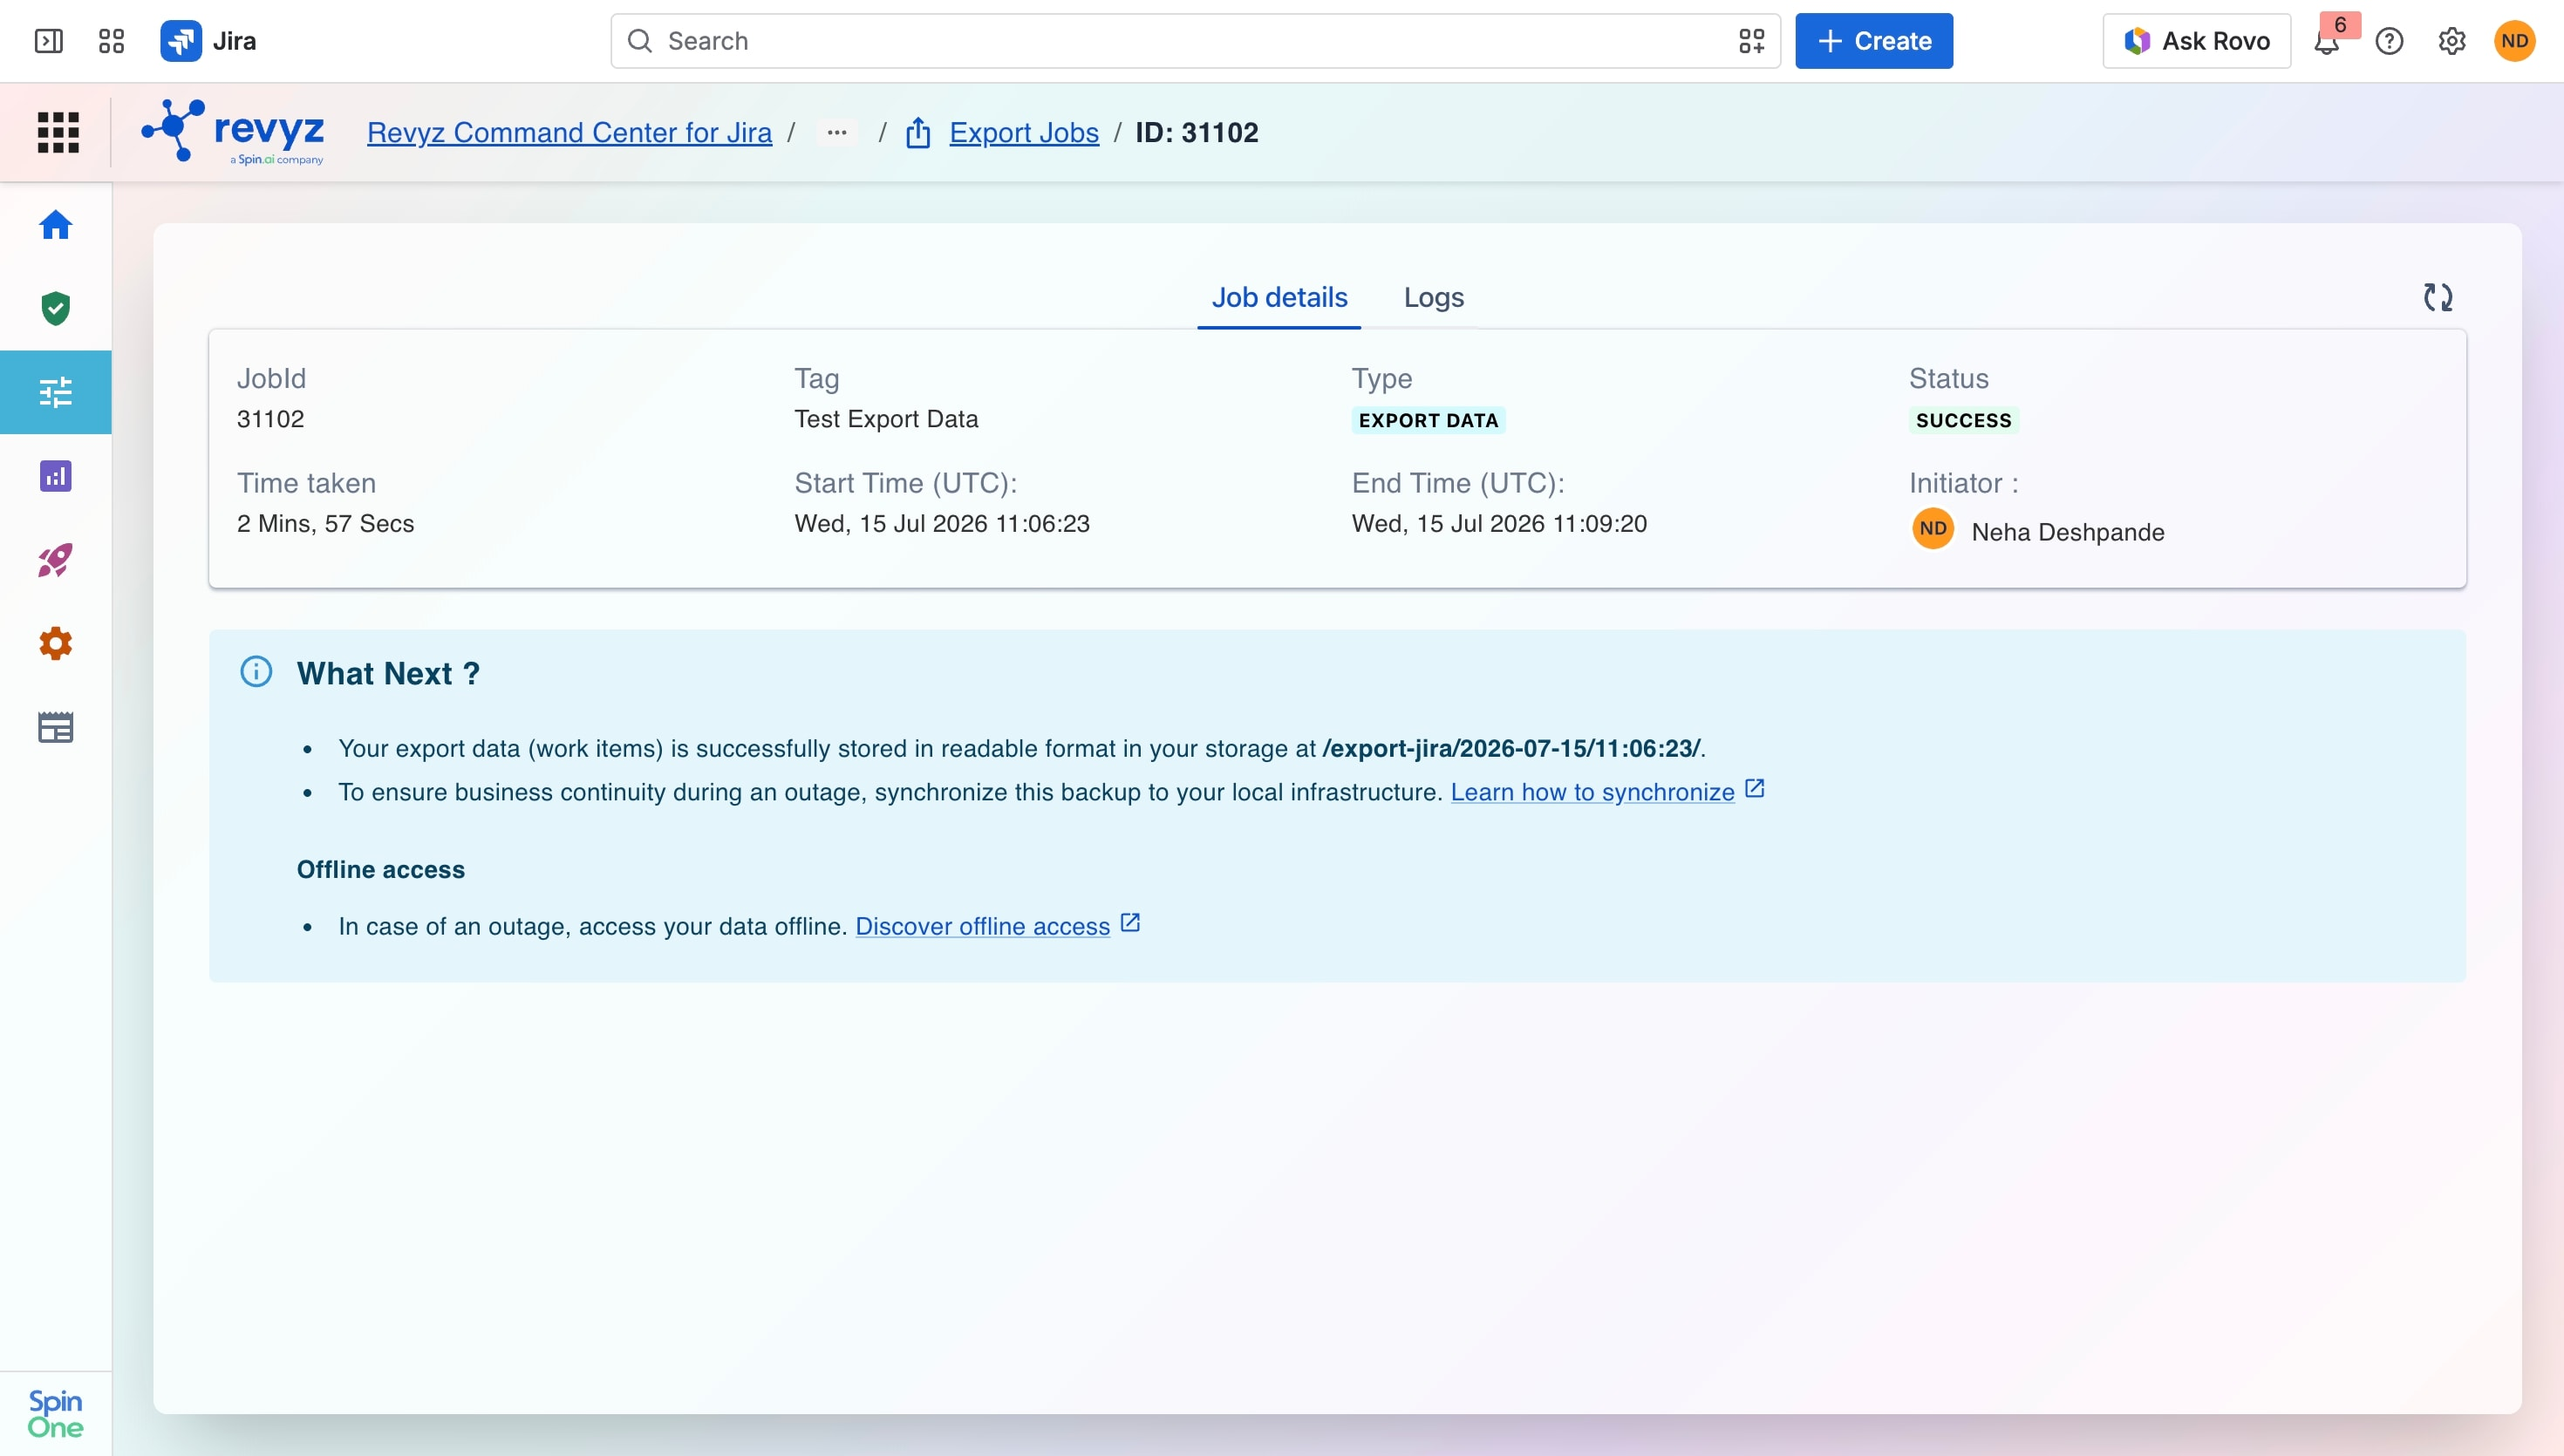
Click on any Job ID (e.g., 31102) to open the specific job details page. This view provides:
-
Initiator: Identifies which team member started the job.
-
Execution Times: Precise Start and End times in UTC.
For next steps, refer:
-
Synchronization: For true business continuity, click "Learn how to synchronize" to set up a process that mirrors this cloud storage to your local infrastructure.
-
Offline Access: Click the "Discover offline access" link to learn how to view this data locally during a Jira outage.
Export Data FAQ