About this Page
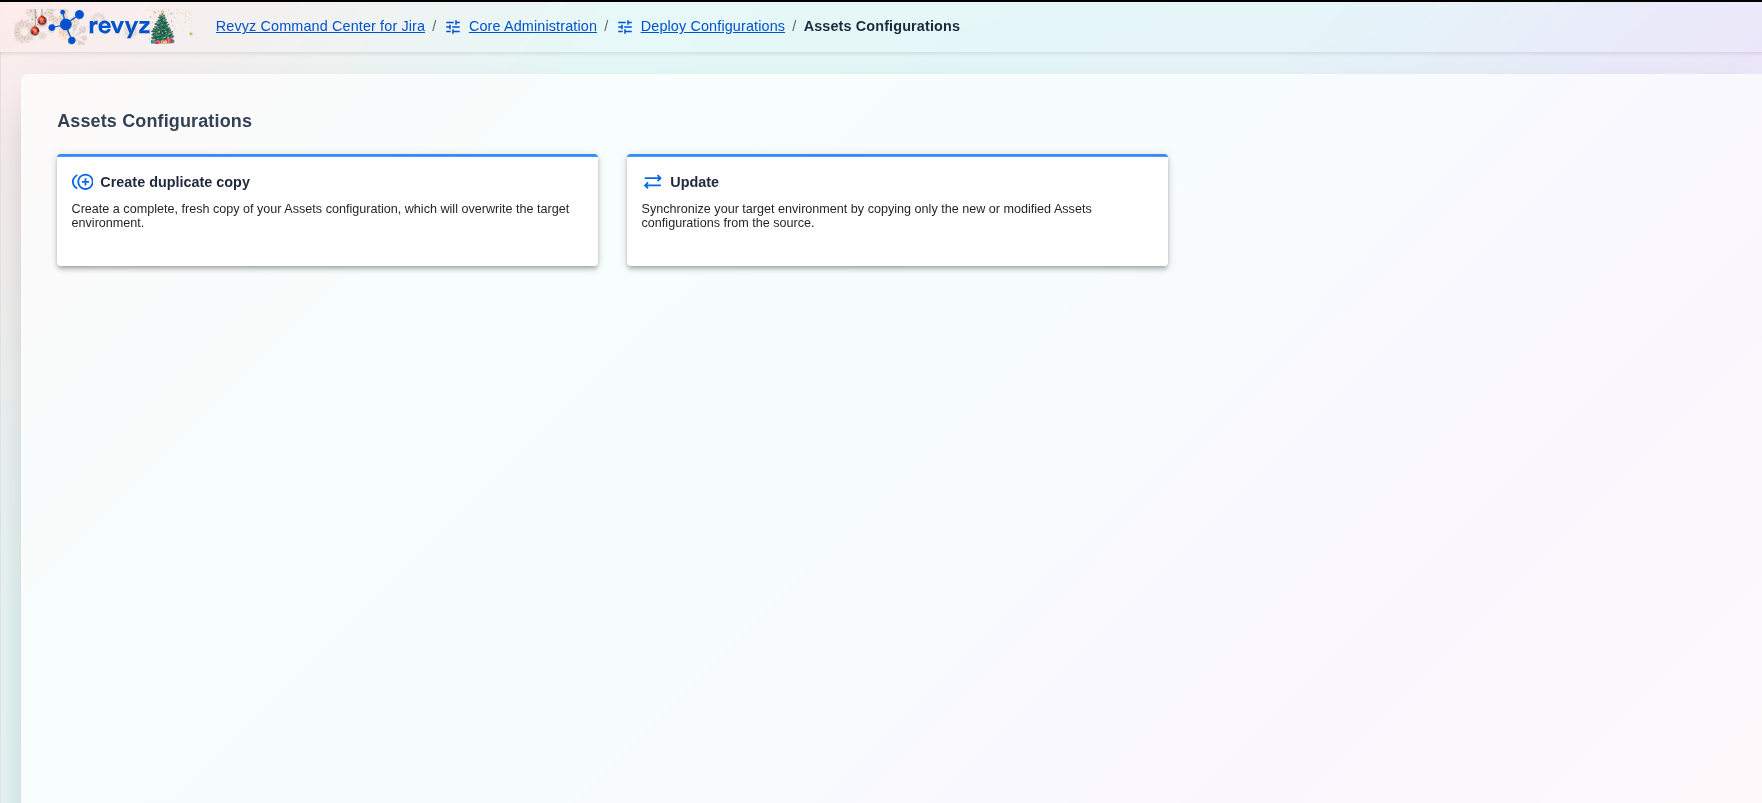
This feature allows you to capture and replicate your entire Jira Service Management (JSM) Assets database. This single operation includes all your Assets data (objects) as well as the complete structure (schemas and configurations).
What is the Use Case?
Use this to perform a full backup, restore, or migration of your Assets CMDB. It's the all-in-one tool for moving your asset management system to another instance or recovering it from a snapshot.
How to create duplicate copy for Assets Configurations?
This feature is applicable to:
command center for jira *Advanced assets data manager for jira *Advanced
How to Deploy Assets Configurations (Create Duplicate Copy)?
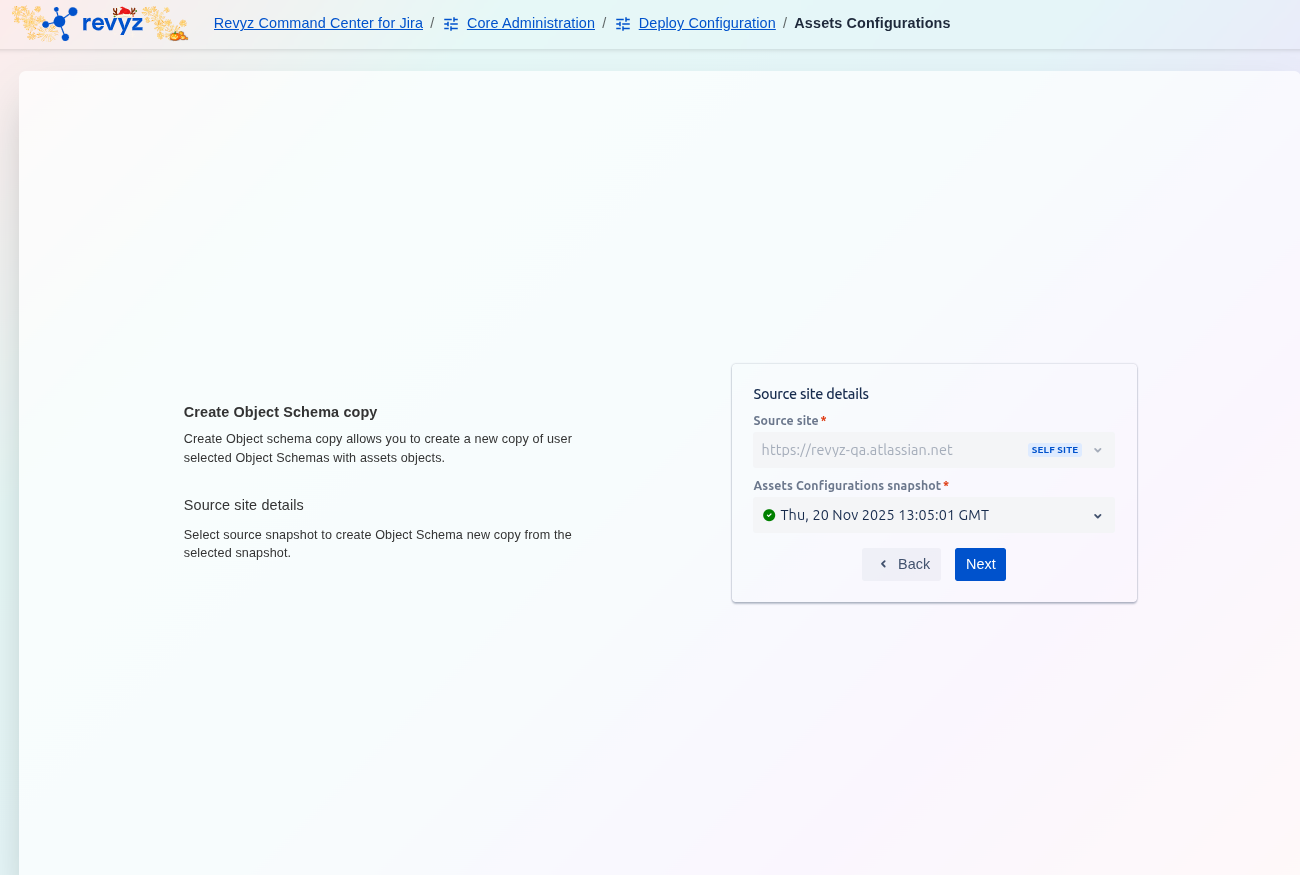
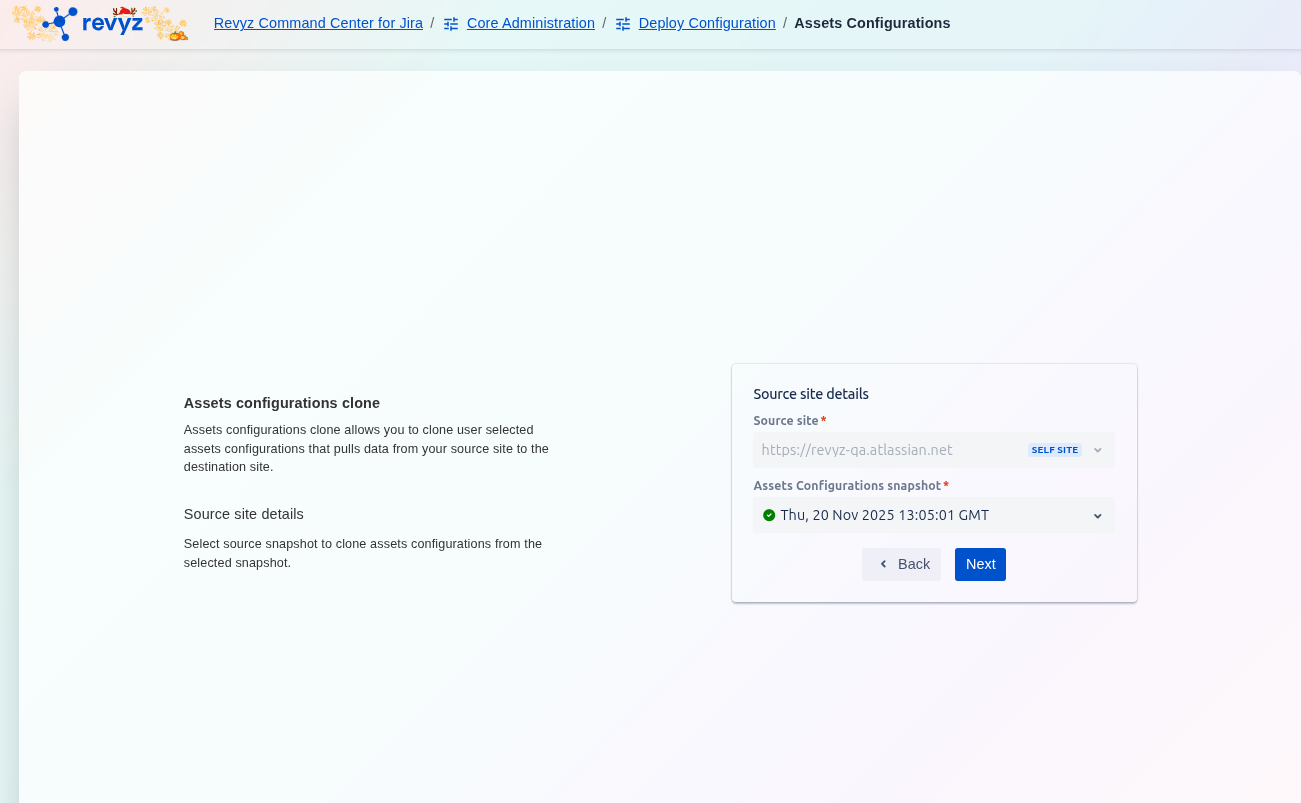
Step 1: Define Source Site Details
-
On the Create Object Schema copy screen, select the Source site* containing the original schema.
-
Choose the Assets Configurations snapshot* that holds the source schema data.
-
Click Next.
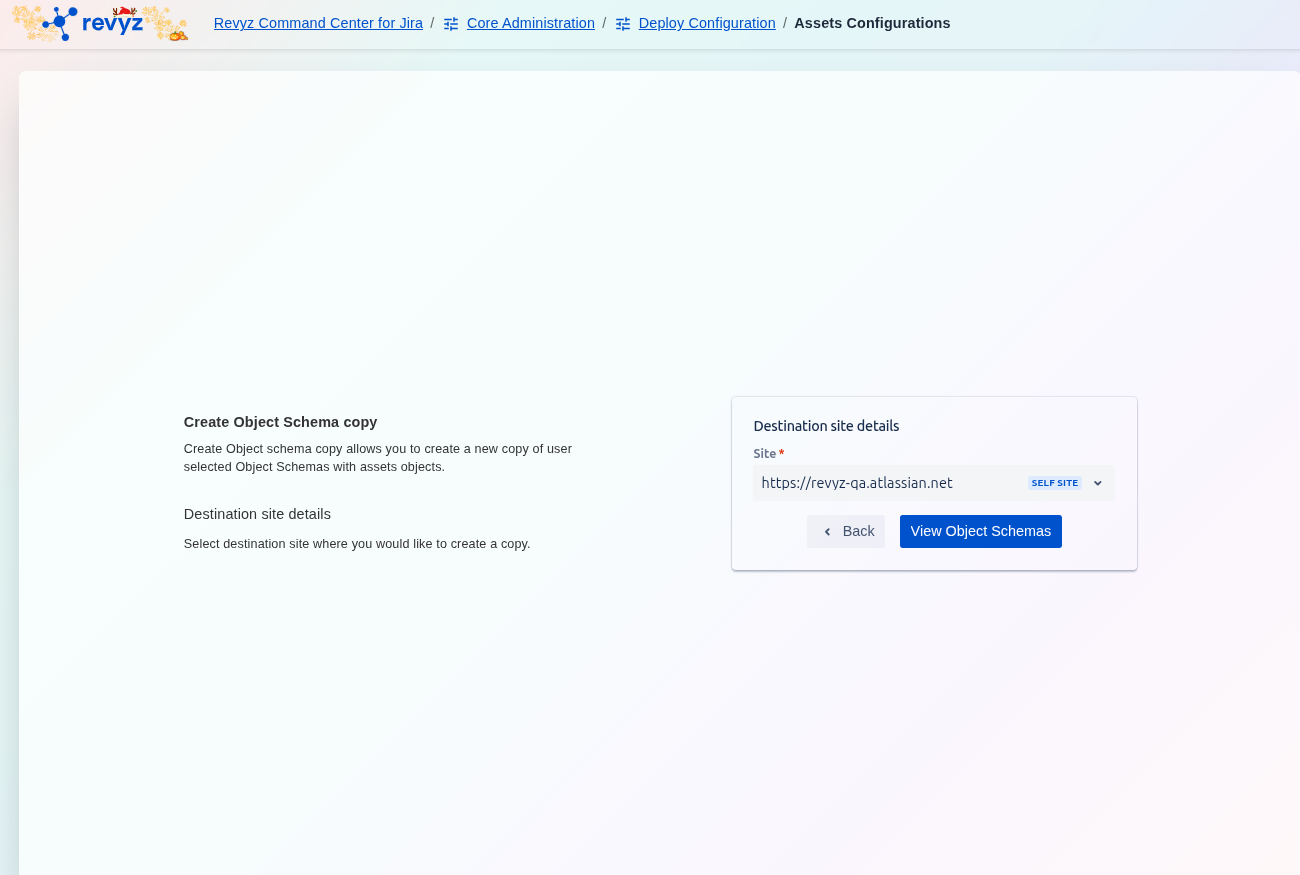
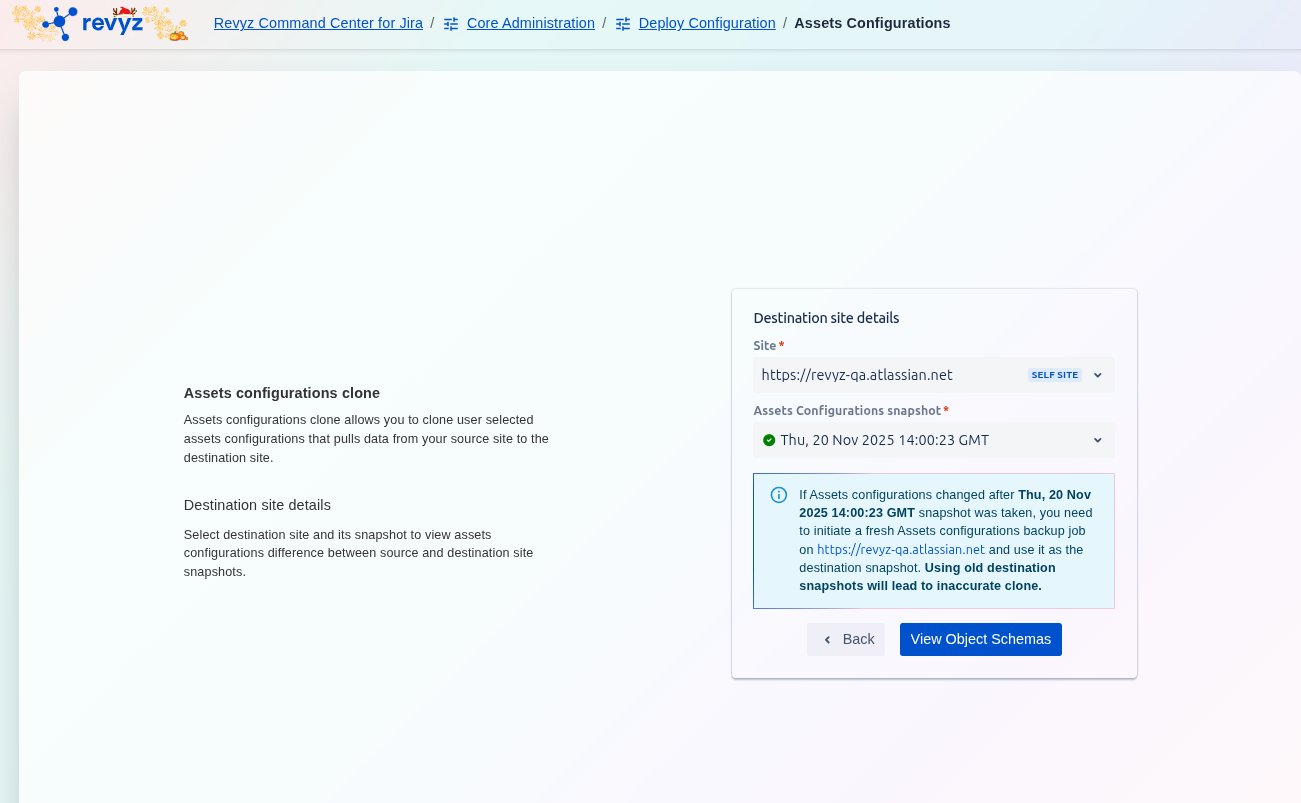
Step 2: Define Destination Site Details
-
Select the Site* where the new schema copy will be created (the destination environment).
-
Click View Object Schemas.
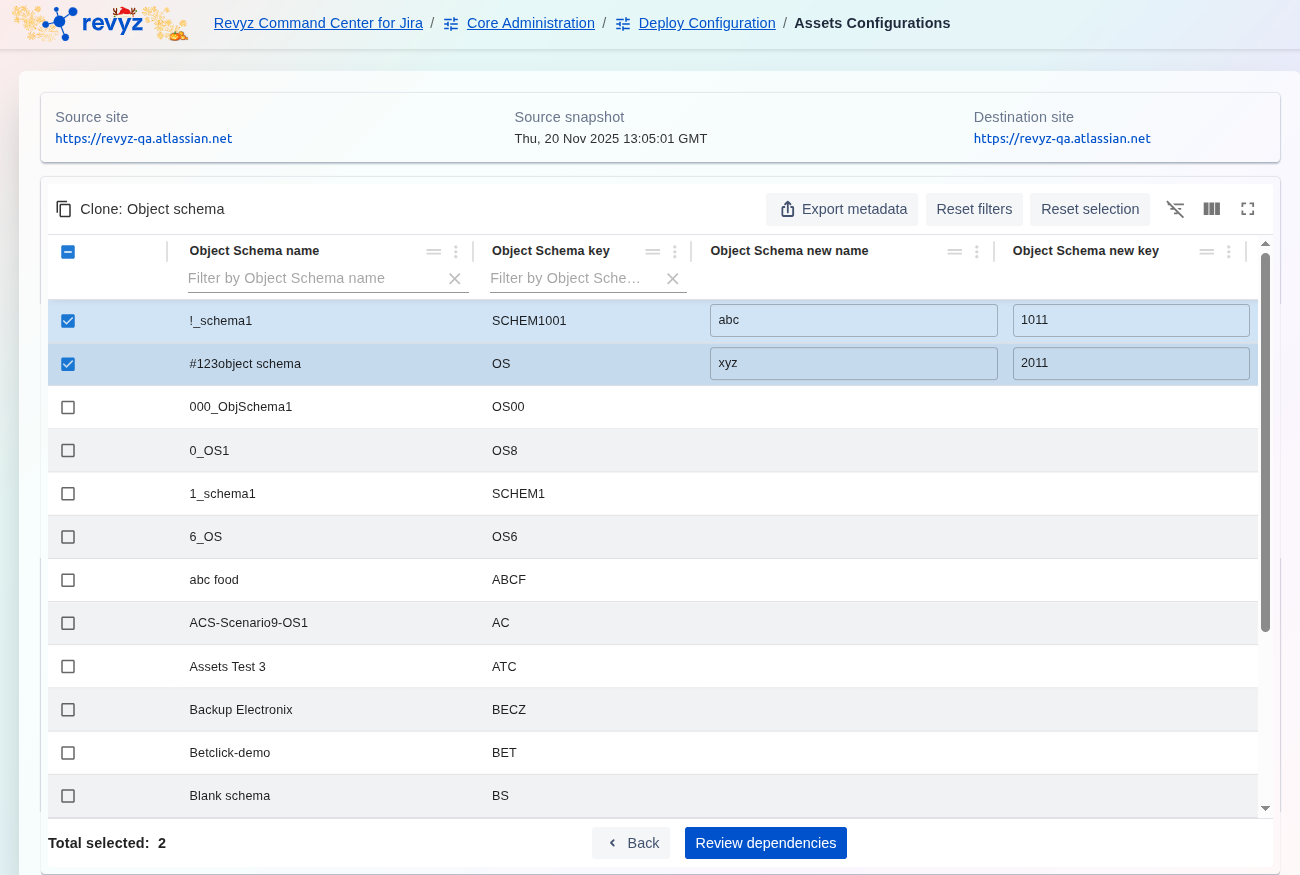
Step 3: Select and Map Object Schemas
-
The screen displays a list of schemas available from the source snapshot. Select the schema(s) you wish to copy using the checkboxes.
-
For each selected schema, define a unique Object Schema new name and Object Schema new key for the copy in the destination environment (e.g., mapping
I_schema1to new nameabcand key1011). -
Click Review dependencies.
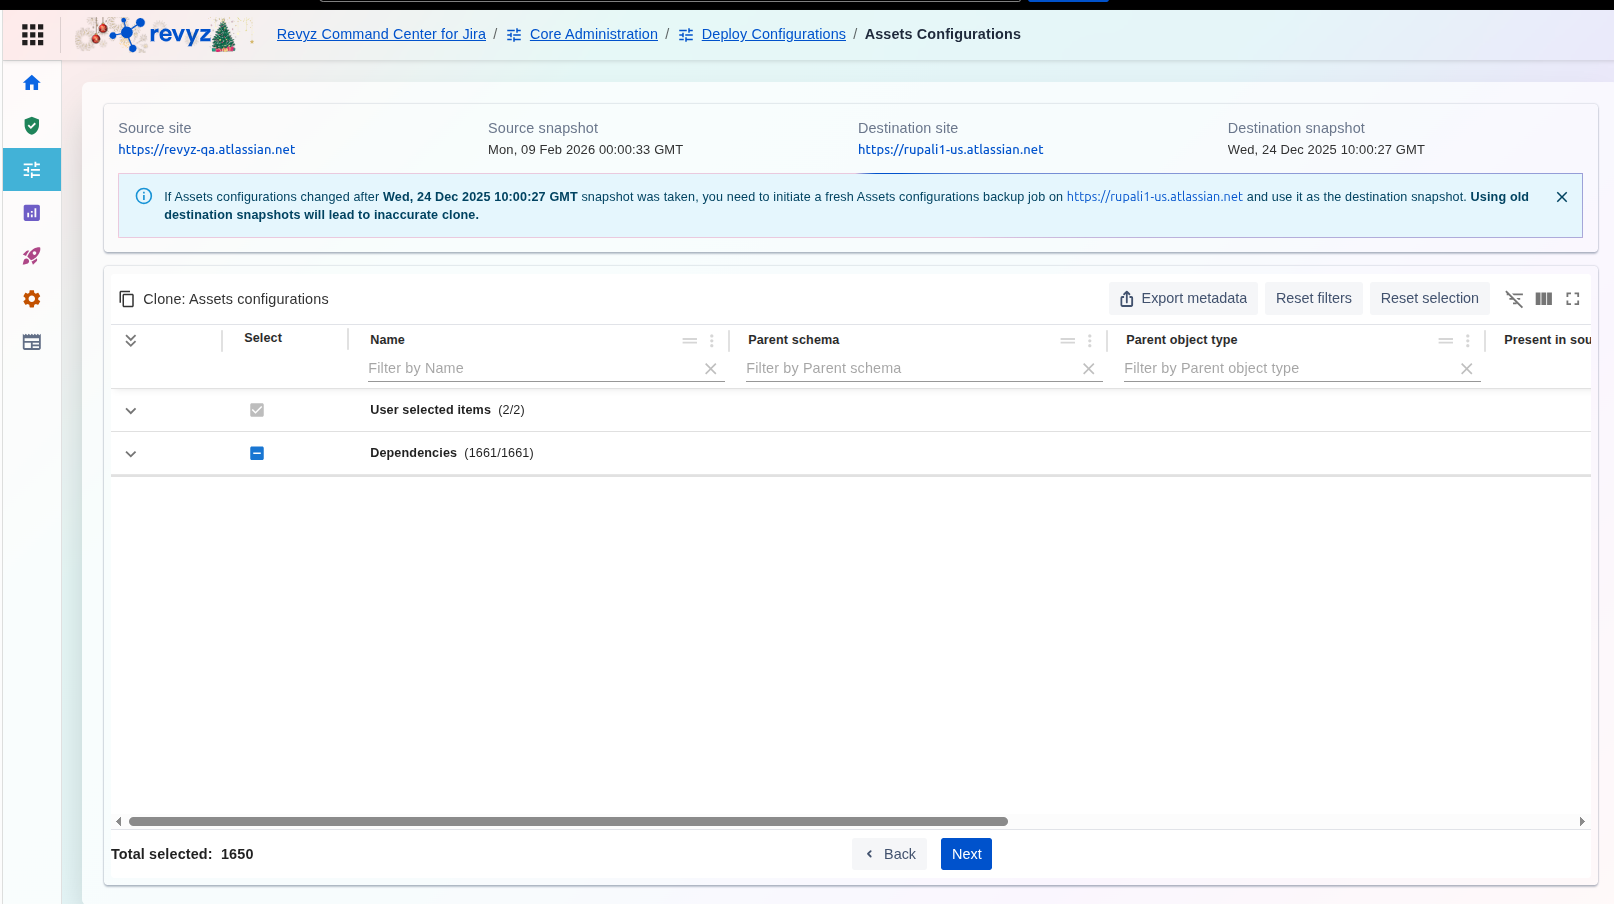
Step 4: Review and Select Schema Configurations

-
The Clone: Object schema screen displays the selected schema broken down into its configuration components (Object types, Attributes, Reference types, Statuses).
-
Review the components to ensure all necessary parts of the schema are selected for cloning.
-
Click Next (or equivalent action, like reviewing dependencies if available) to continue.
Step 5: Choose to Restore Assets Objects

-
On the Restore Assets Objects screen, choose whether to restore the actual Assets Objects along with the configuration.
-
Select Yes to clone all associated assets objects.
-
Select No to clone only the schema configuration without any associated objects.
-
-
Click View summary.
Step 6: Initiate and Confirm Schema Clone
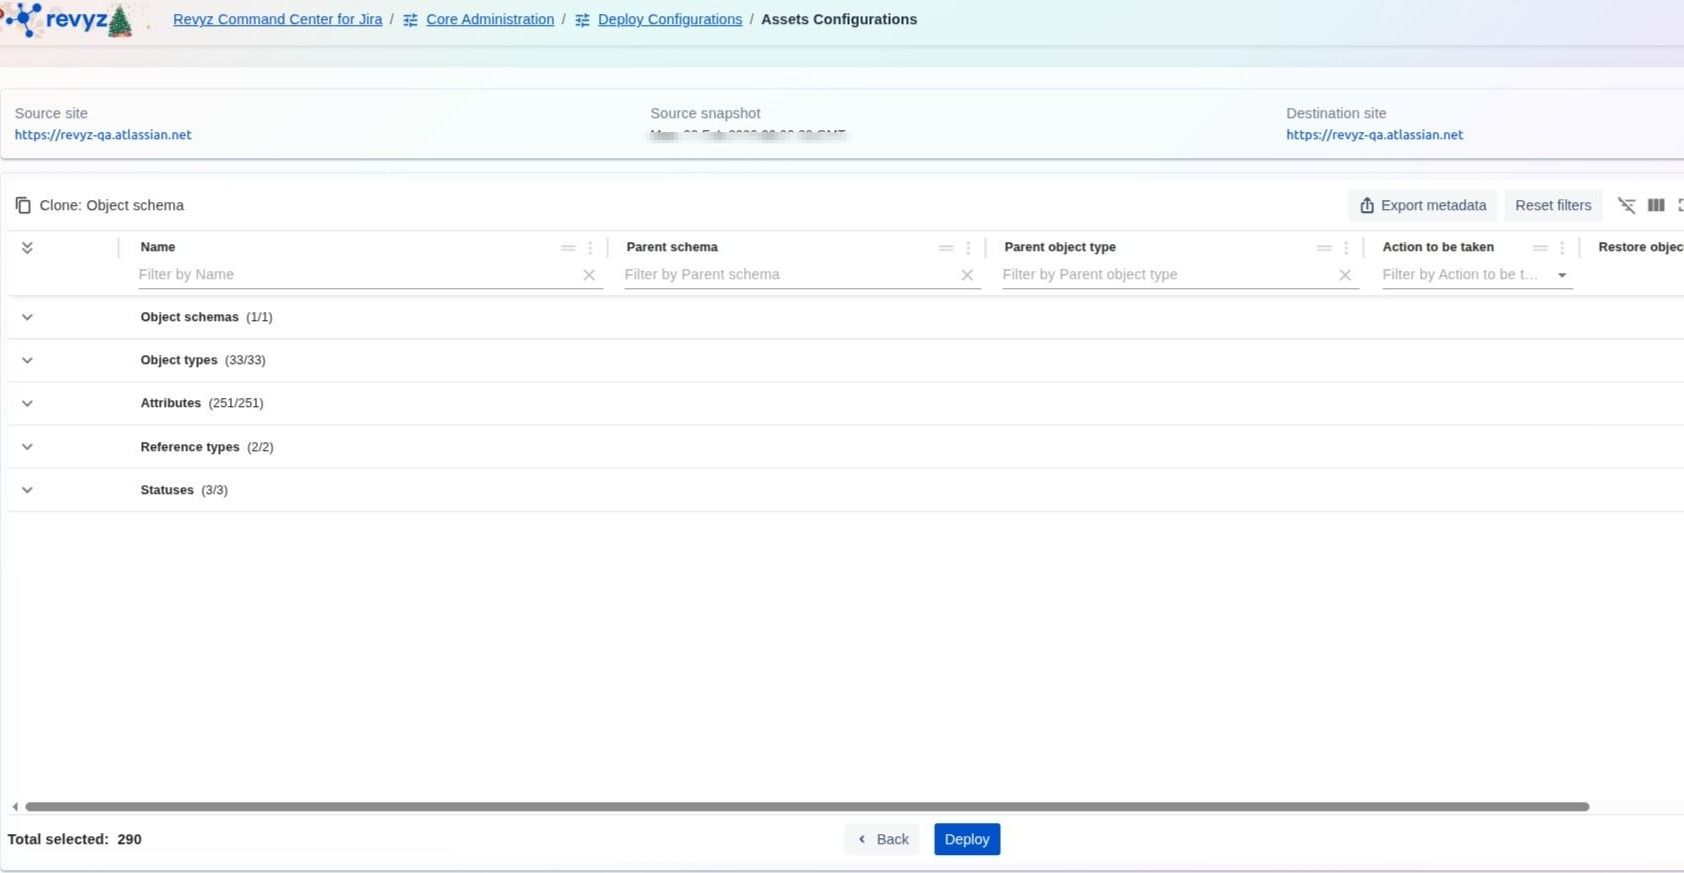
-
Click on “Deploy”
Step 7: Enter the CAPTCHA code
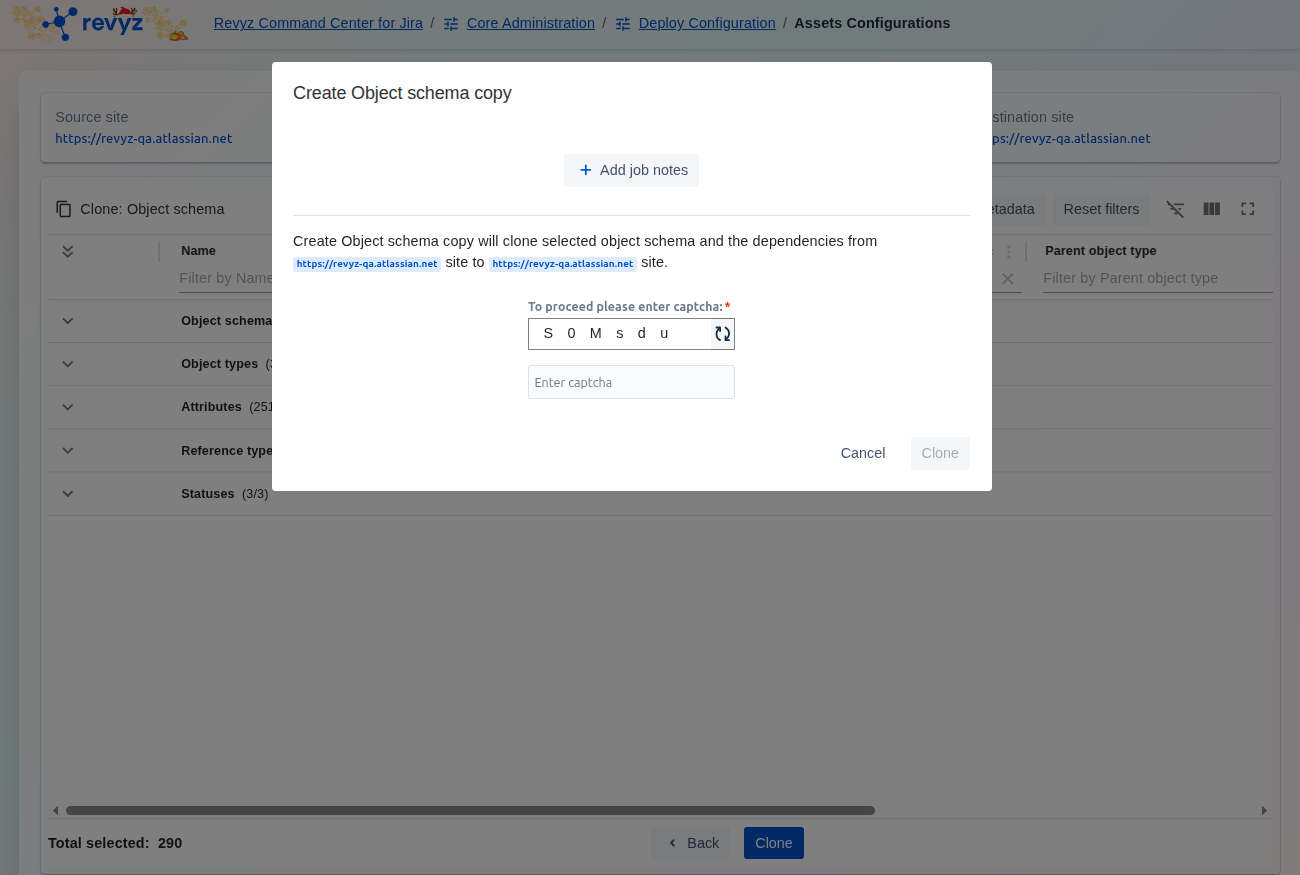
-
To proceed, enter the required captcha characters into the field.
-
Click Clone to initiate the creation of the new Object Schema copy.
How to Deploy Assets Configurations (Update)?
This feature is applicable to:
command center for jira assets data manager for jira
When to use this:
-
Routine Refreshes: This is the safer and more common option for regularly updating a staging or test environment with the latest configuration changes from production.
-
Incremental Changes: When you only need to add new schemas or update existing attributes without affecting other data on your target site.
Step 1: Define Source Site Details
-
On the initial screen, select the Source site* that contains the Assets Configurations you wish to clone.
-
Choose the Assets Configurations snapshot* that holds the configuration data you want to copy.
-
Click Next.
Step 2: Define Destination Site Details
-
Select the Site* where the Assets Configurations will be deployed (the target environment).
-
Choose a current Assets Configurations snapshot* for the destination site. This snapshot acts as the baseline for the comparison tool.
-
Click View Object Schemas.
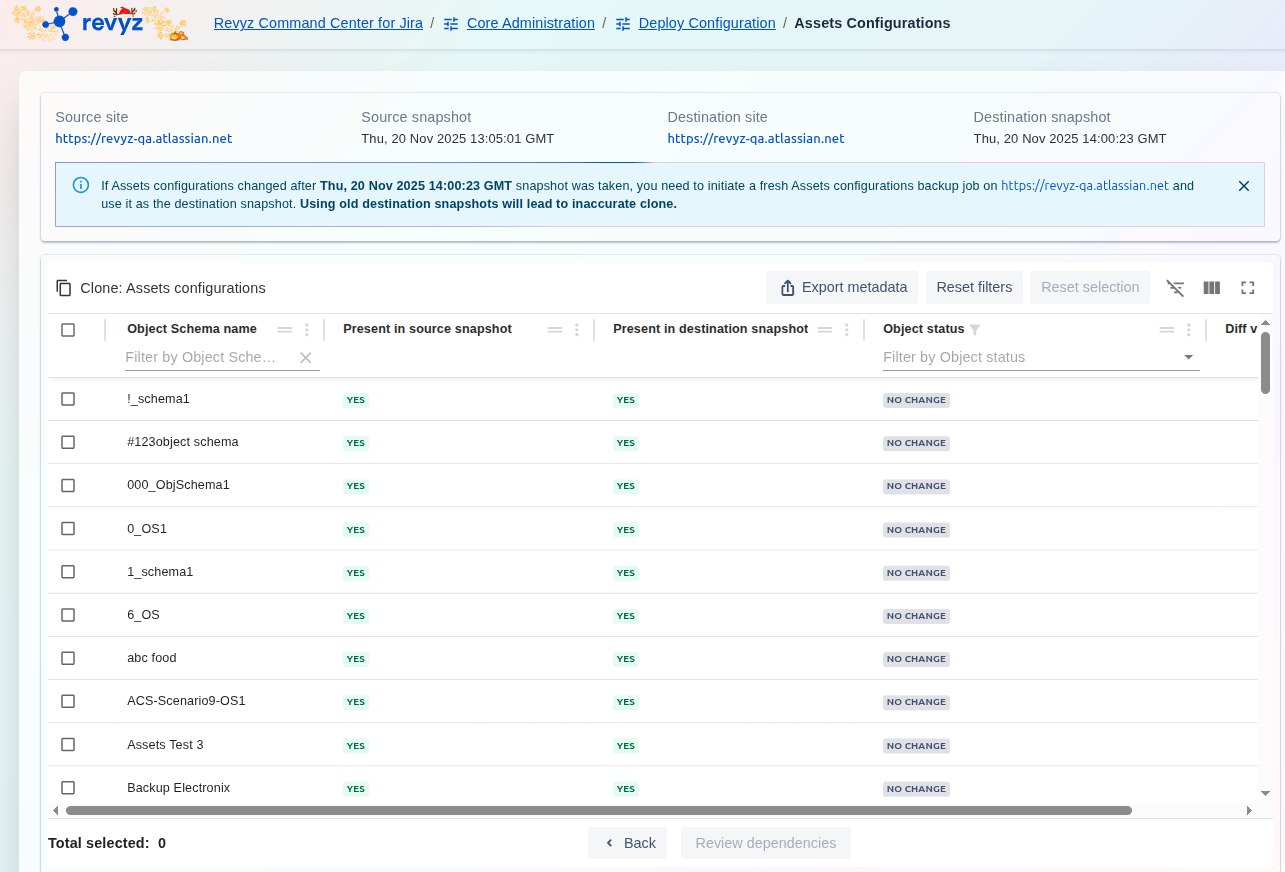
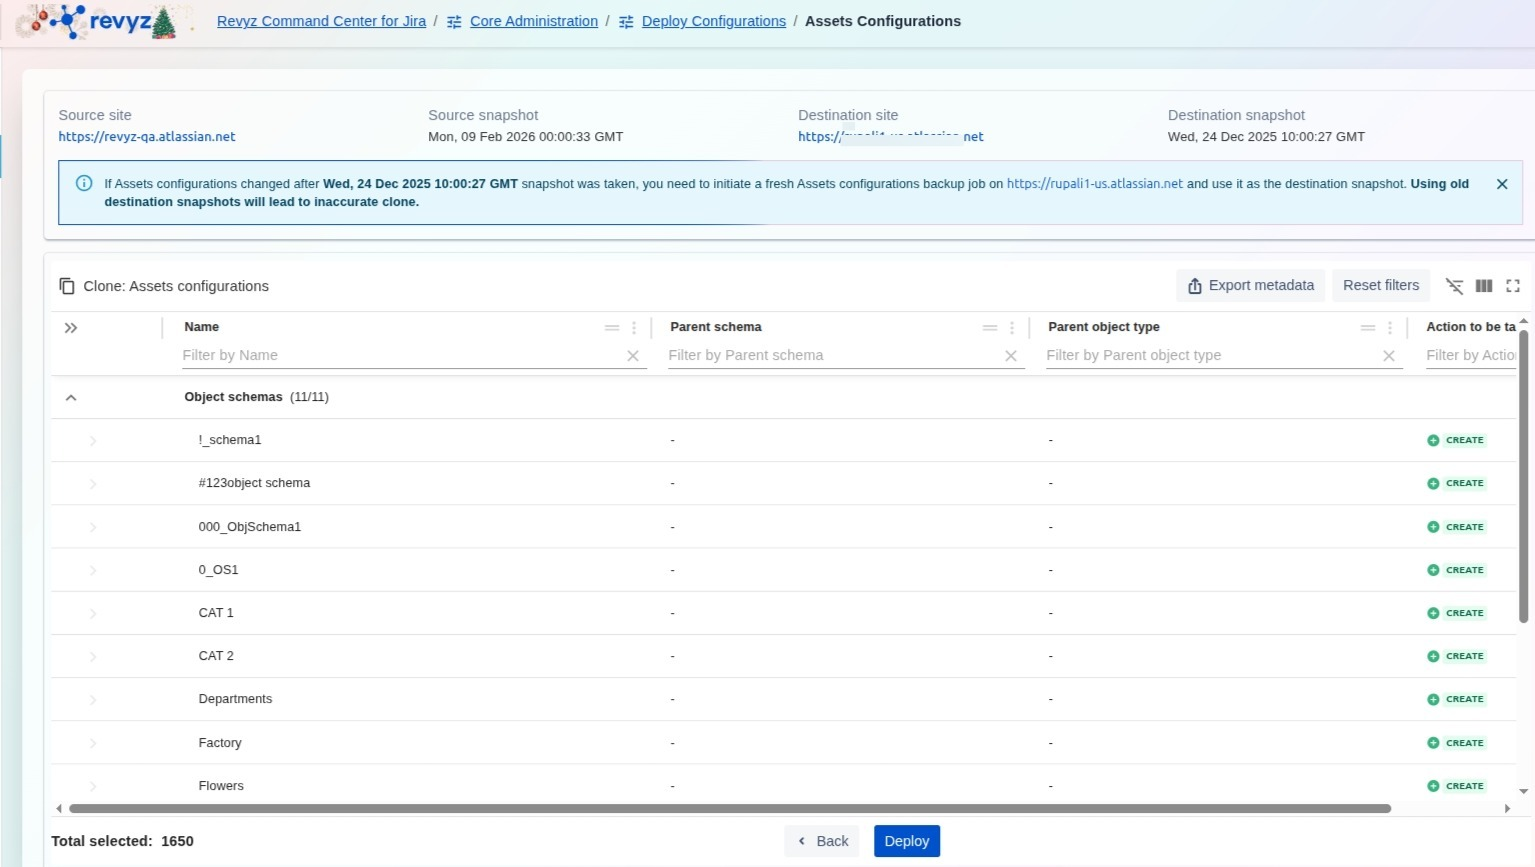
Step 3: Compare and Select Object Schemas
-
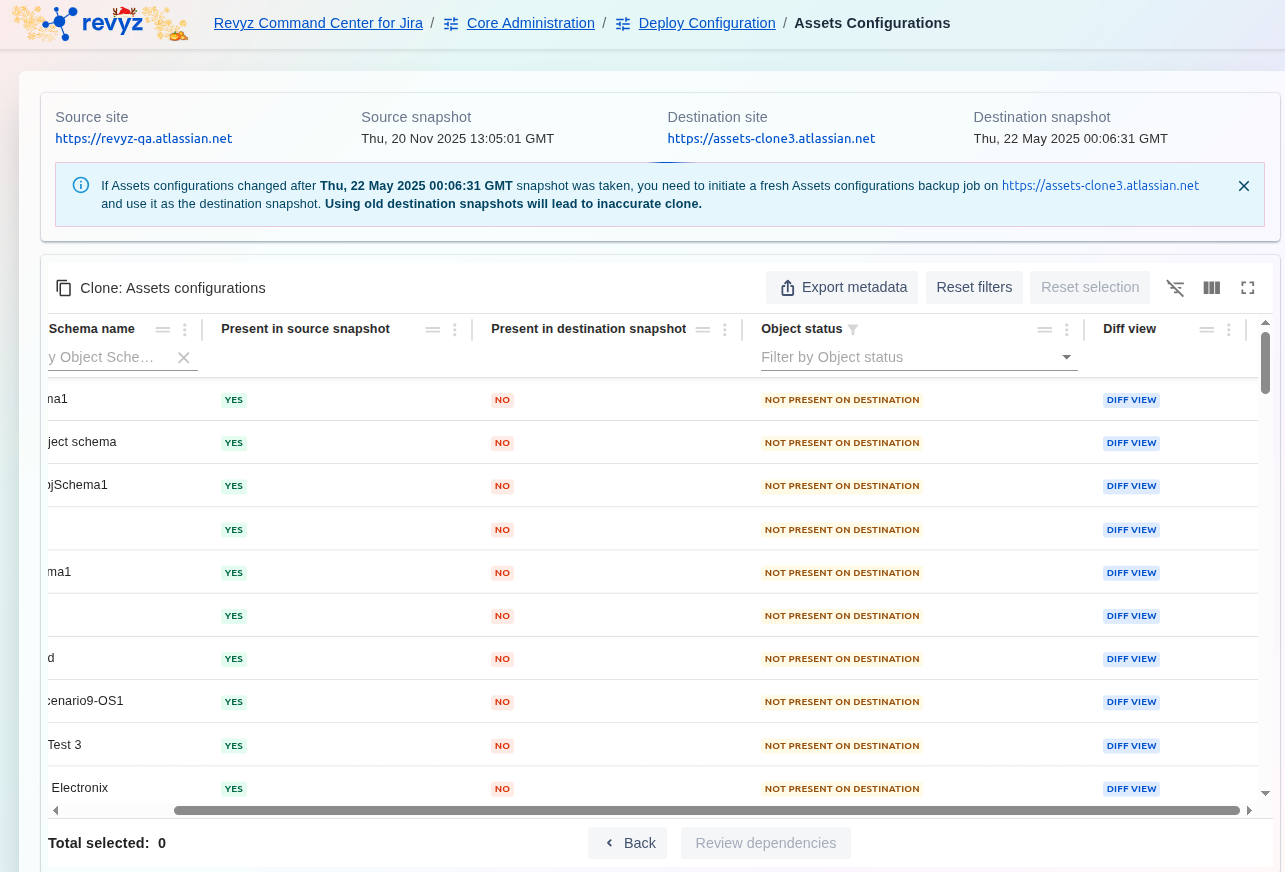
The Clone: Assets configurations screen displays a list of Object Schemas available in the source snapshot and compares them to the destination.
-
Review the status for each Schema name in the table columns:
-
Present in source snapshot: Indicates if the schema exists in the source.
-
Present in destination snapshot: Indicates if the schema exists in the destination (e.g., NO or NOT PRESENT ON DESTINATION).
-
Object Status: Provides a summarized status (e.g., NOT PRESENT ON DESTINATION).
-
-
You can use the Diff View button next to any schema to examine the exact configuration differences between the source and destination.
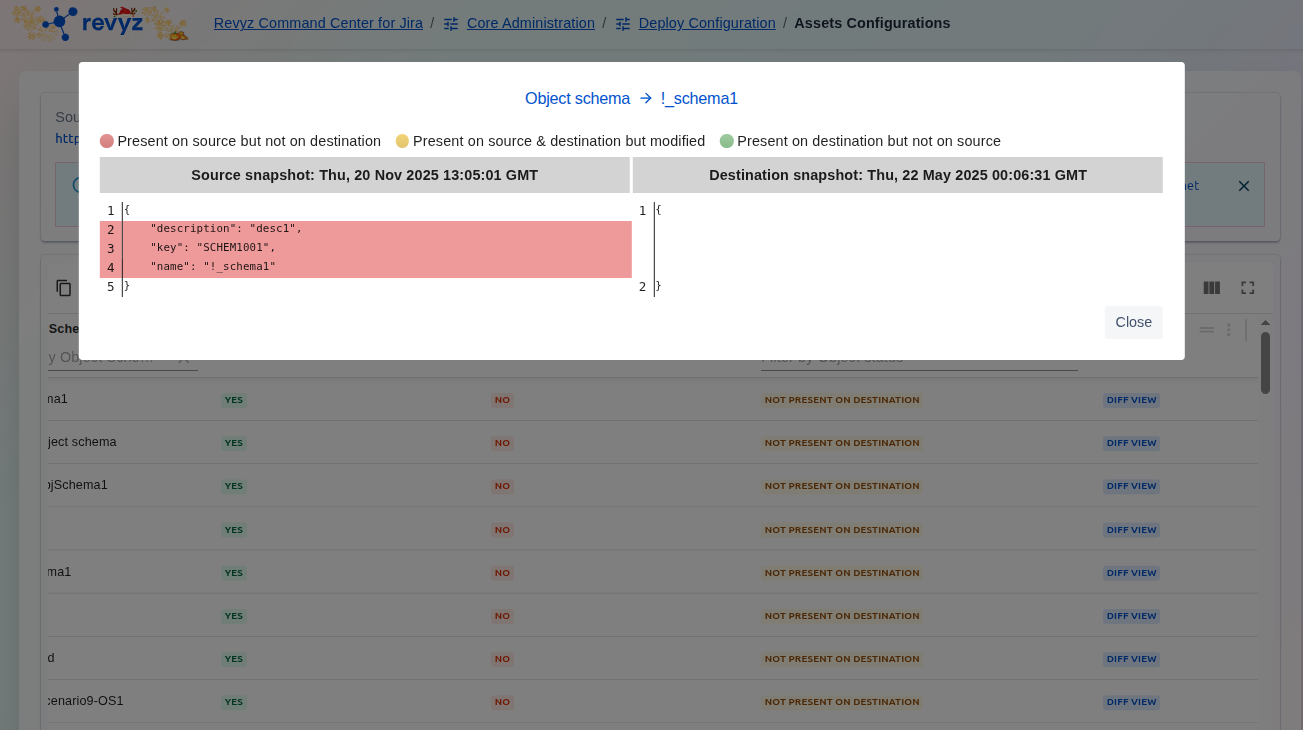
Step 4: Review Configuration Differences (Diff View)
-
Clicking Diff View opens a pop-up showing the side-by-side comparison of the configuration in JSON format.
-
The pop-up uses color-coding to highlight configuration differences:
-
Red Highlight: Present on source but not on destination (or differences in content).
-
Yellow Highlight: Present on source & destination but modified.
-
-
Review the code to confirm the specific changes (additions, deletions, or modifications) that will be cloned.
-
Click Close to return to the main table.
Step 5: Click on "Diff View"
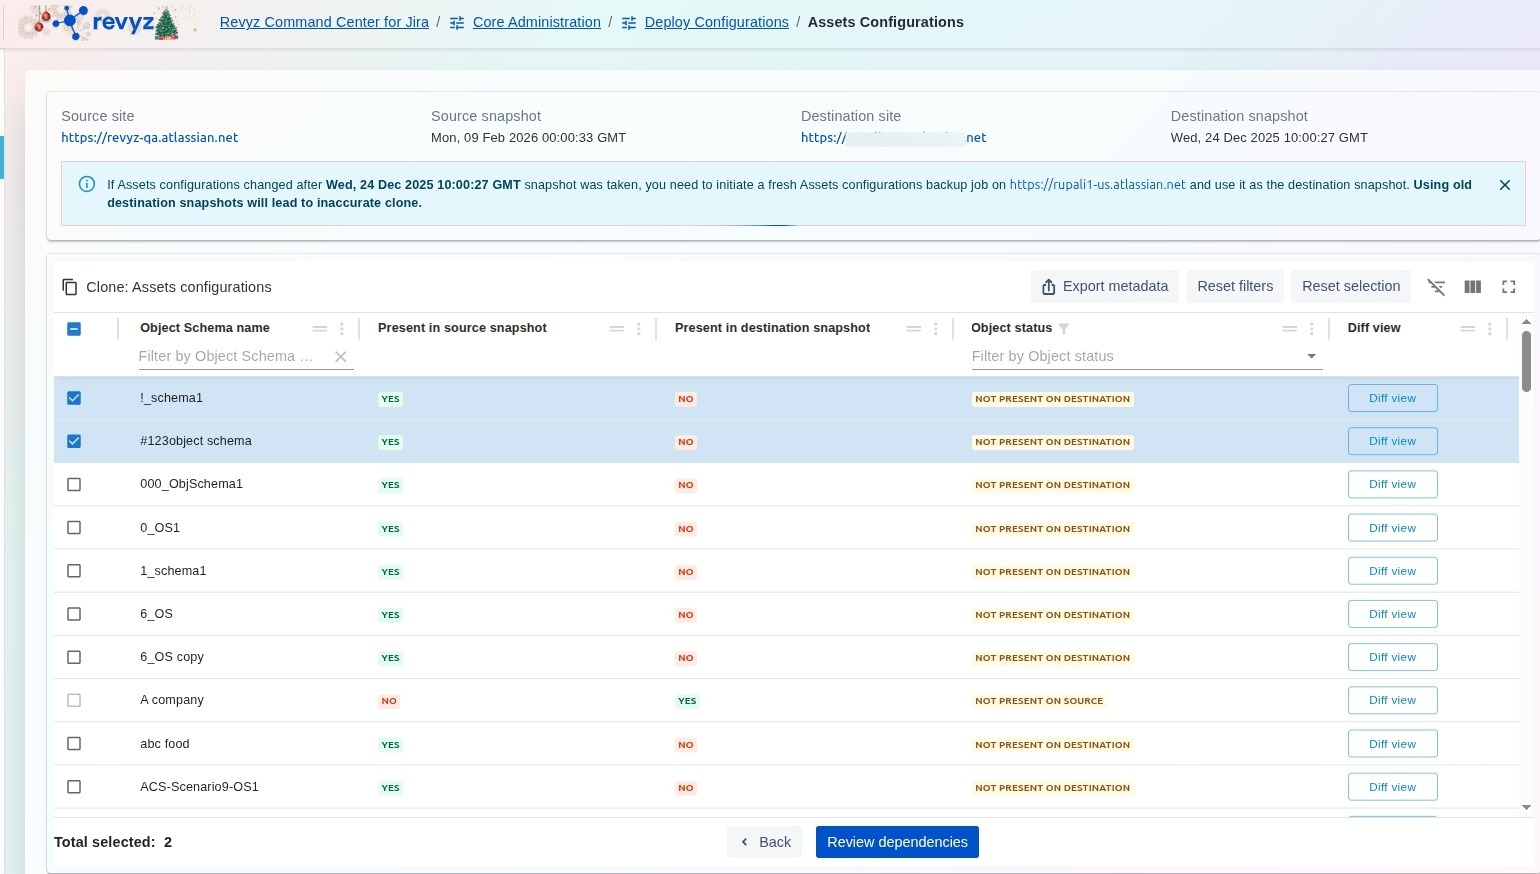
Select the desired object schemas and click on “Review Dependencies”
Step 6: Review Dependencies
Click on “Next” and finally review the dependencies before clicking on “Deploy”.
Step 7: Enter the CAPTCHA code
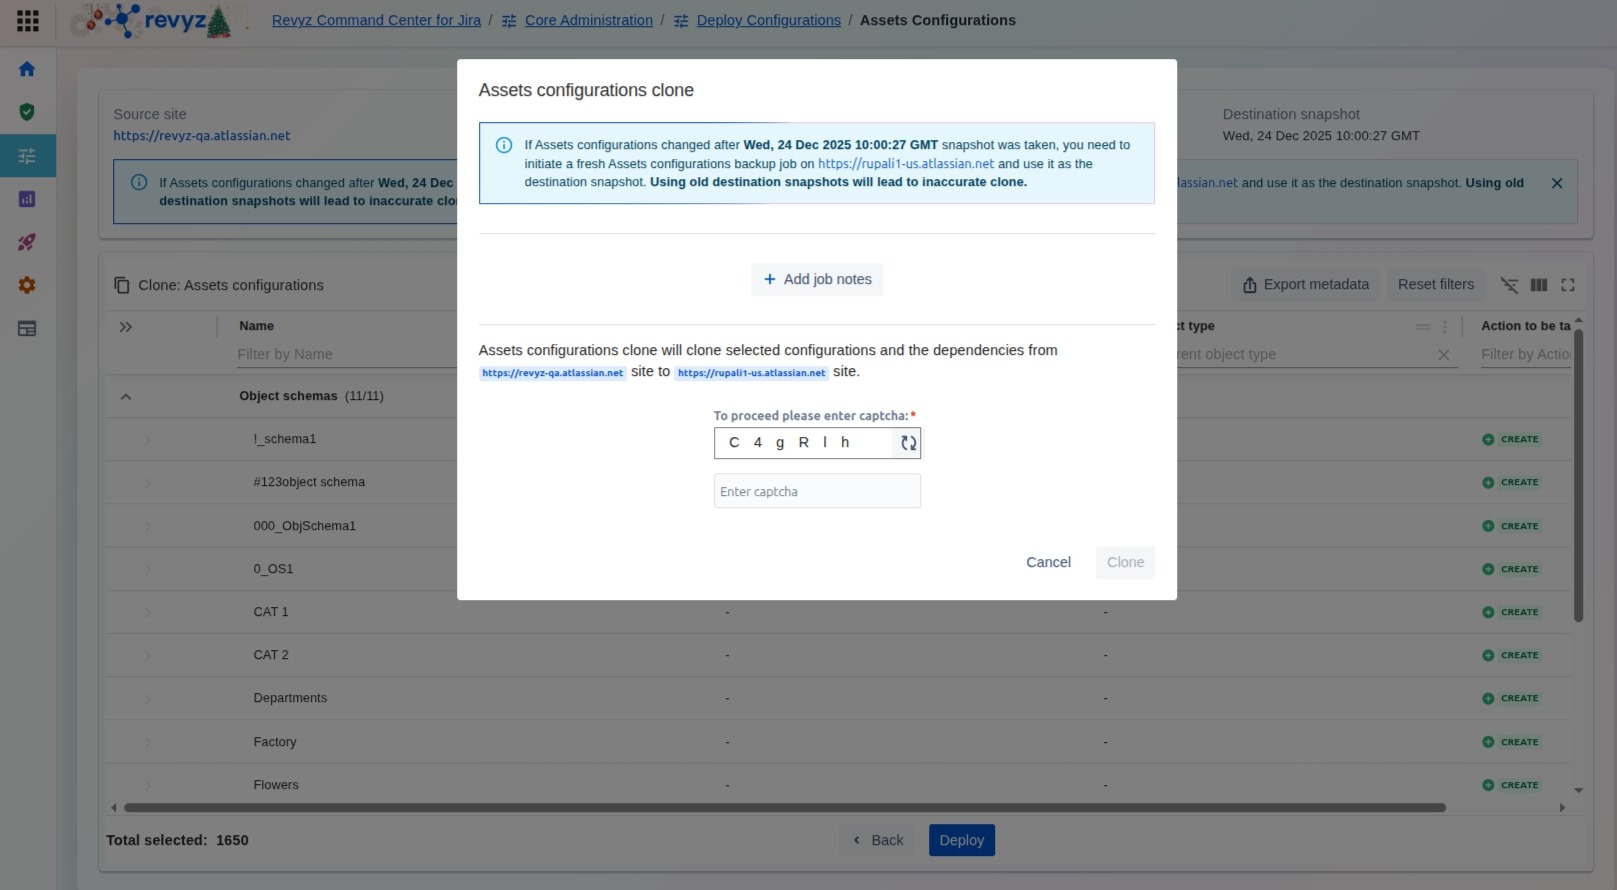
Enter the CAPTCHA code to complete the deployment process.