About this Page
This feature allows you to replicate your core Jira configurations, including workflows, custom fields, and permission schemes. It's a tool for copying these complex settings from a source to a new destination.
What is the Use Case?
Use this to migrate your core settings from one instance to another, such as from a staging to a production environment. It's also perfect for standardizing a new, separate instance to match your primary one. The updated process includes automated analysis and duplicate mapping to ensure data integrity.
This feature is applicable to:
command center for jira config manager for jira
Learn how to Deploy Jira Configurations here:

How to Deploy Jira Configurations
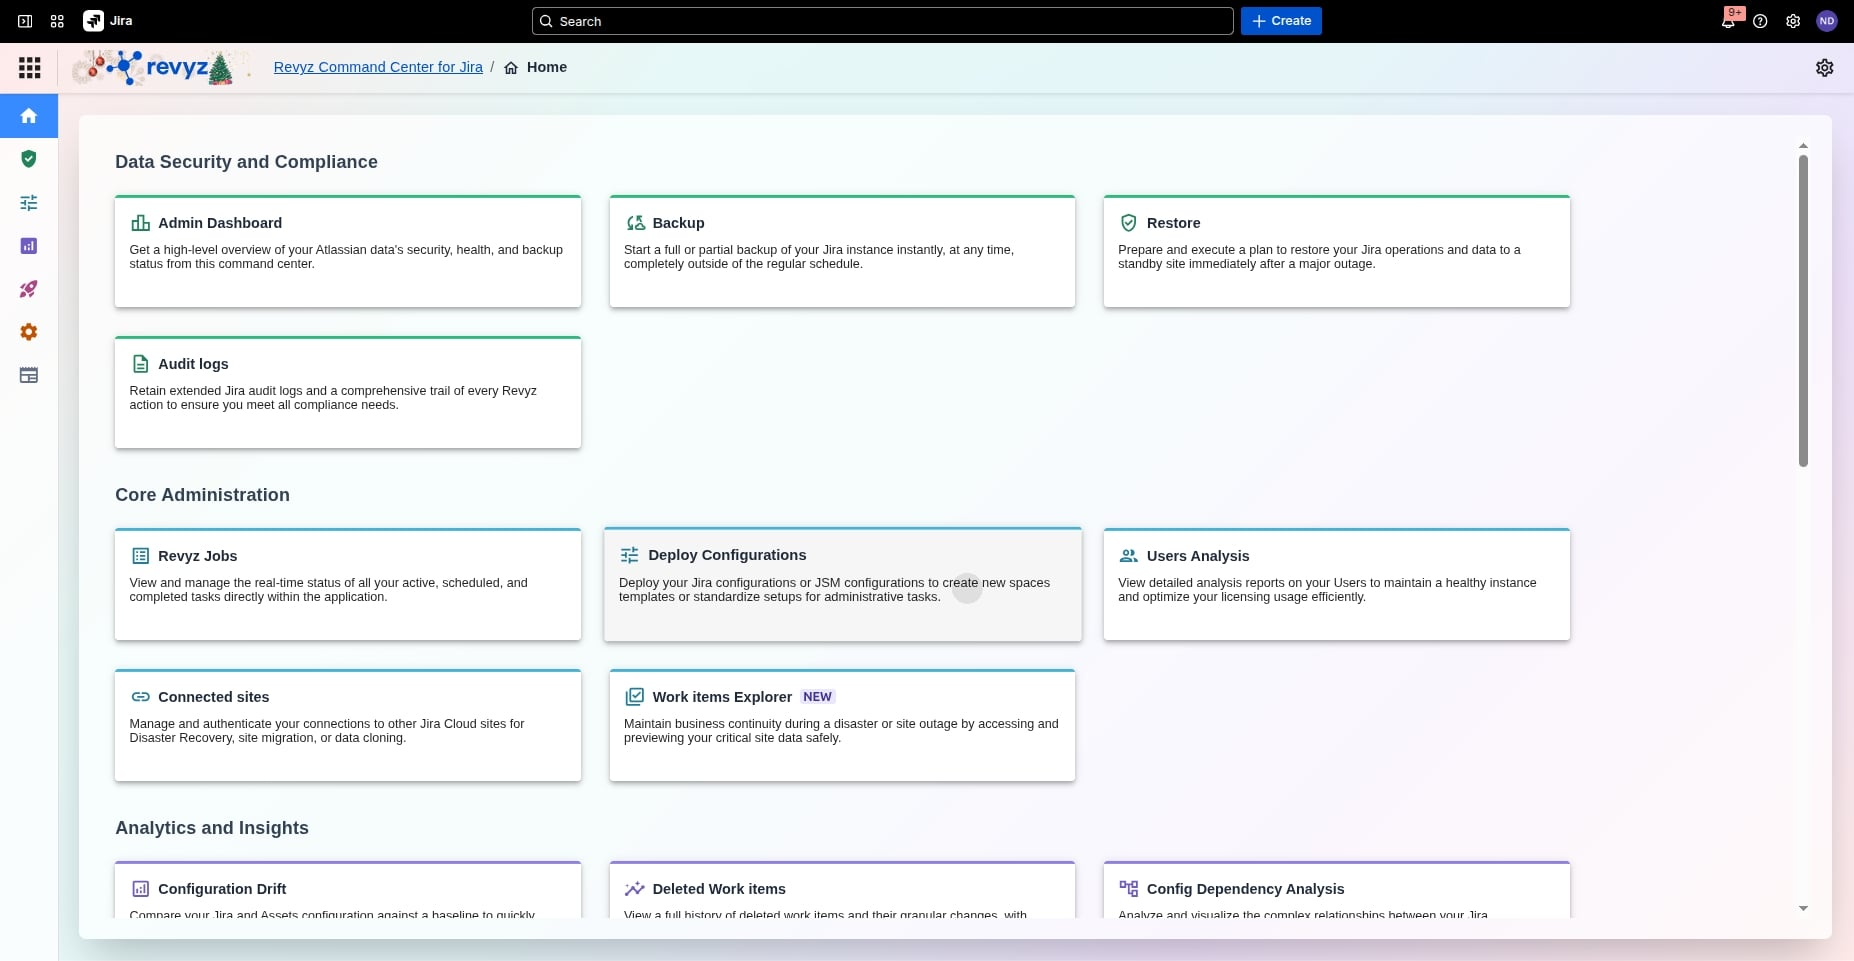
Step 1: Initiate Deployment
-
Access Tool: From the Revyz Home dashboard, navigate to the Core Administration section and select Deploy Configurations.
-
Select Deployment Type: Choose Deploy Jira Configurations to begin moving settings associated with spaces to the same or another site.
Step 2: Select Deployment Type
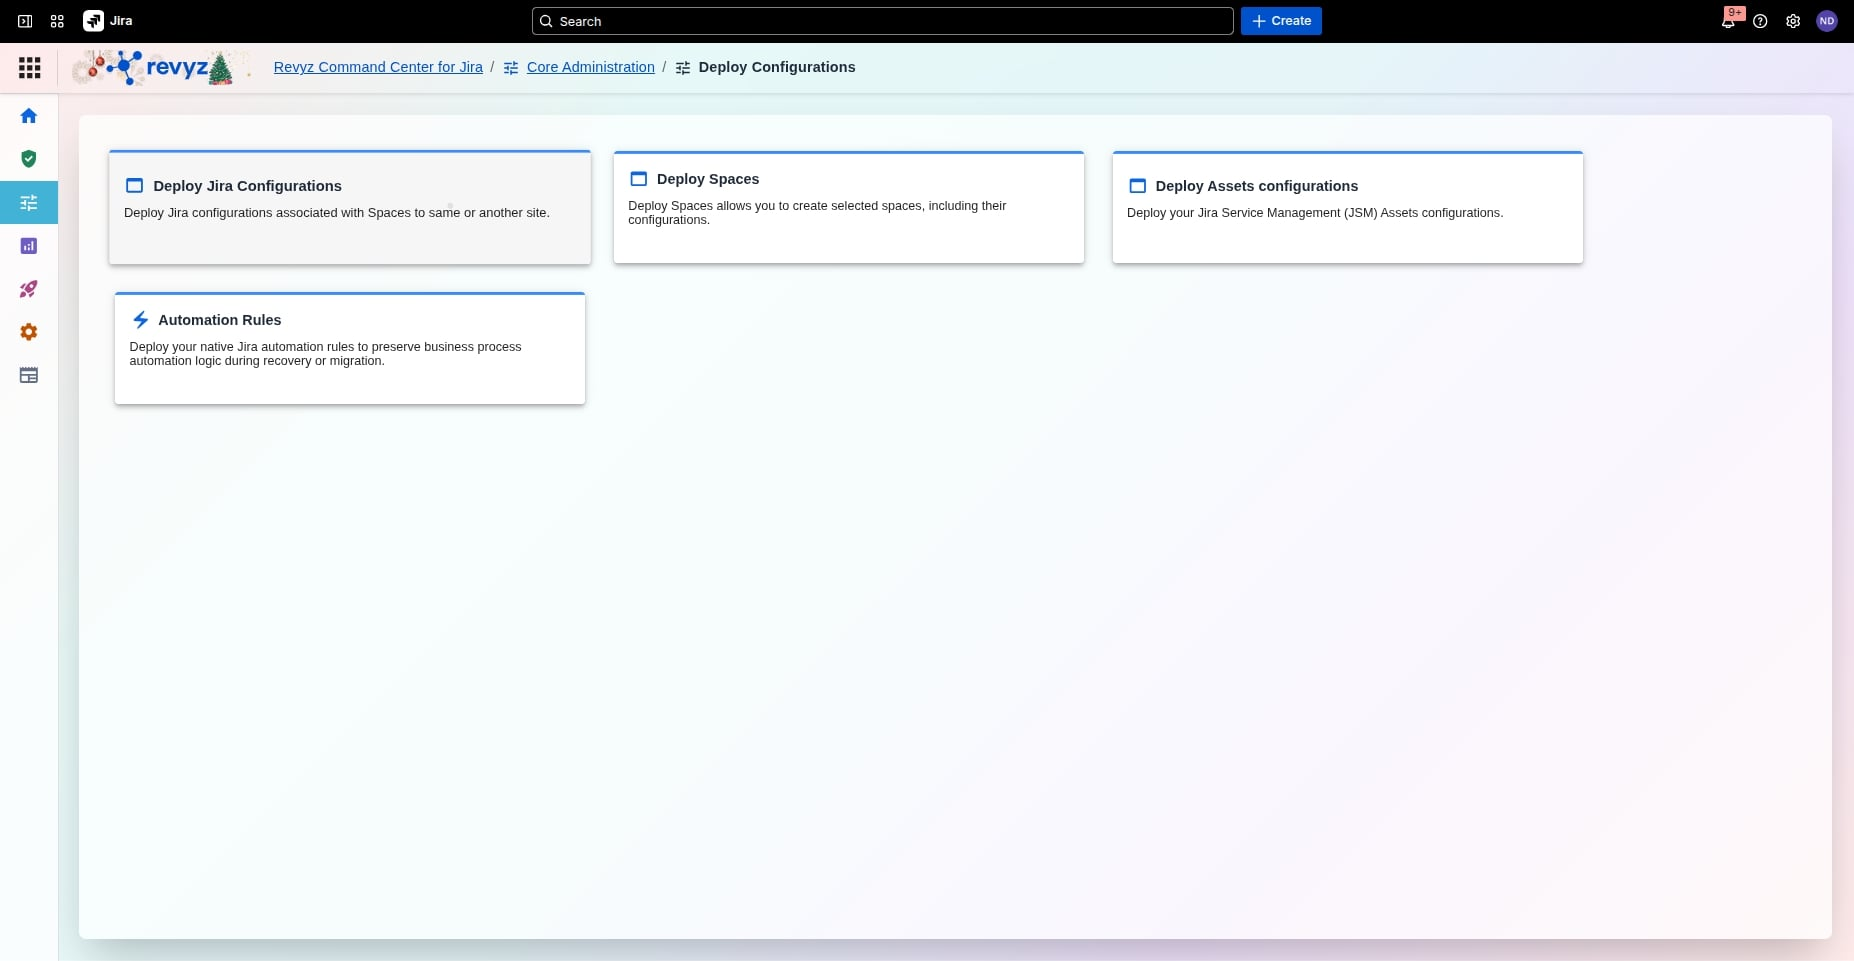
Click on “Deploy Configurations”.
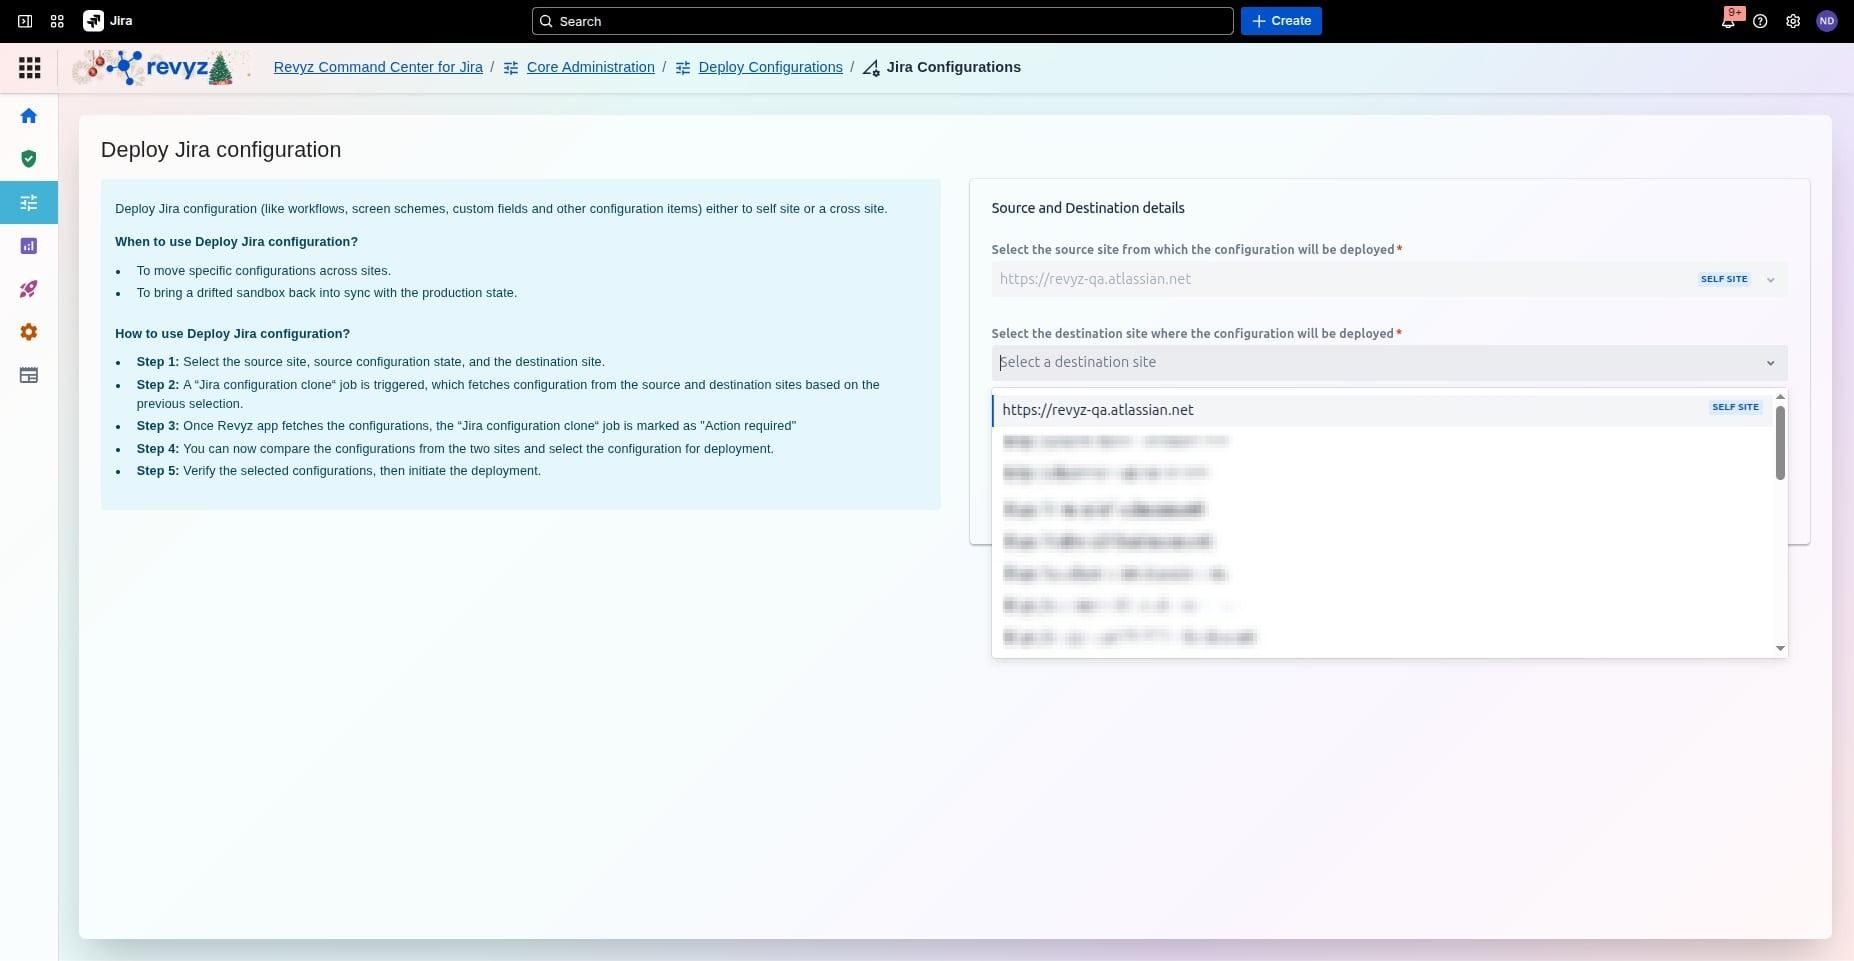
Step 3: Define Source Site Details
-
Select Source: Choose the source site from which the configuration will be deployed.
-
Select Destination: Choose the destination site where the configuration will be applied.
-
Trigger Analysis: Click Next to trigger a "Jira configuration clone" job, which fetches configuration data from both sites.
Step 4: Select source configuration state
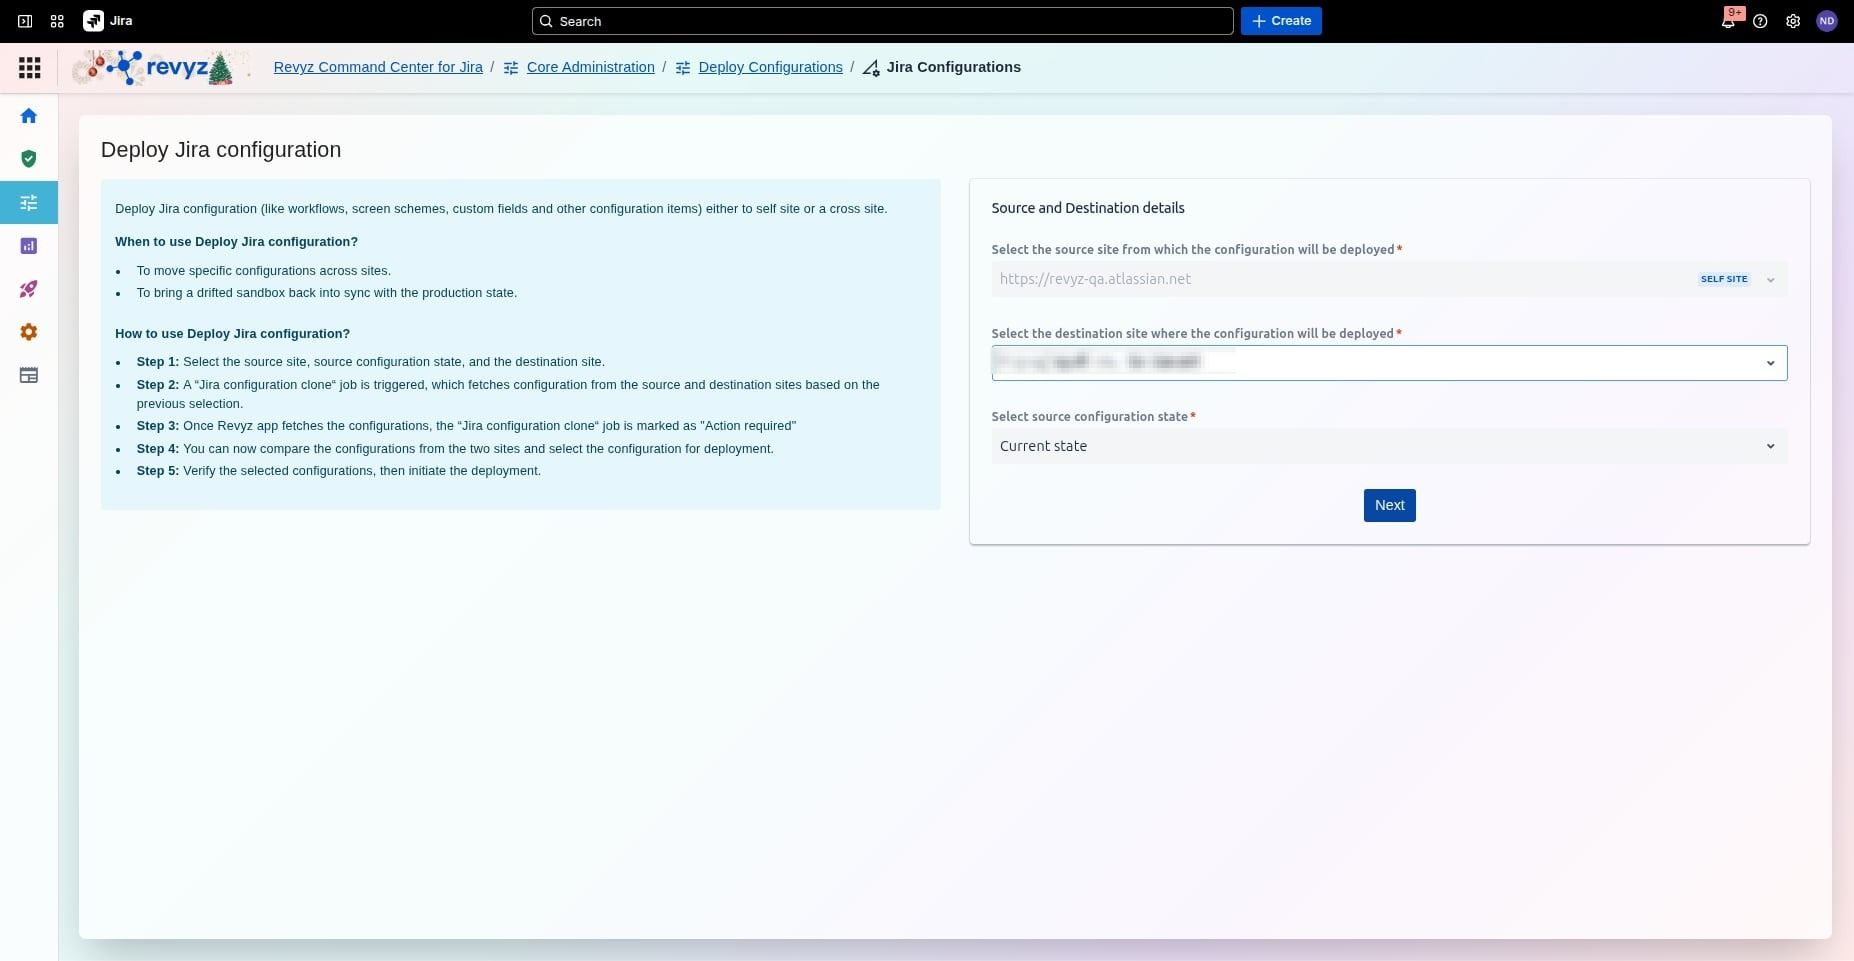
Select the source configuration state: current or snapshot from earlier backups done.
Selecting the Source Configuration State is essential because it provides version control for your Jira environment, allowing you to choose between the live Current state or a historical Snapshot. This ensures you can either deploy the most recent changes or revert to a previously known stable configuration to fix errors or accidental deletions. By using a snapshot, you can confidently sync environments like Sandboxes and Production based on a specific, validated point in time.
Step 5: Click on Confirm
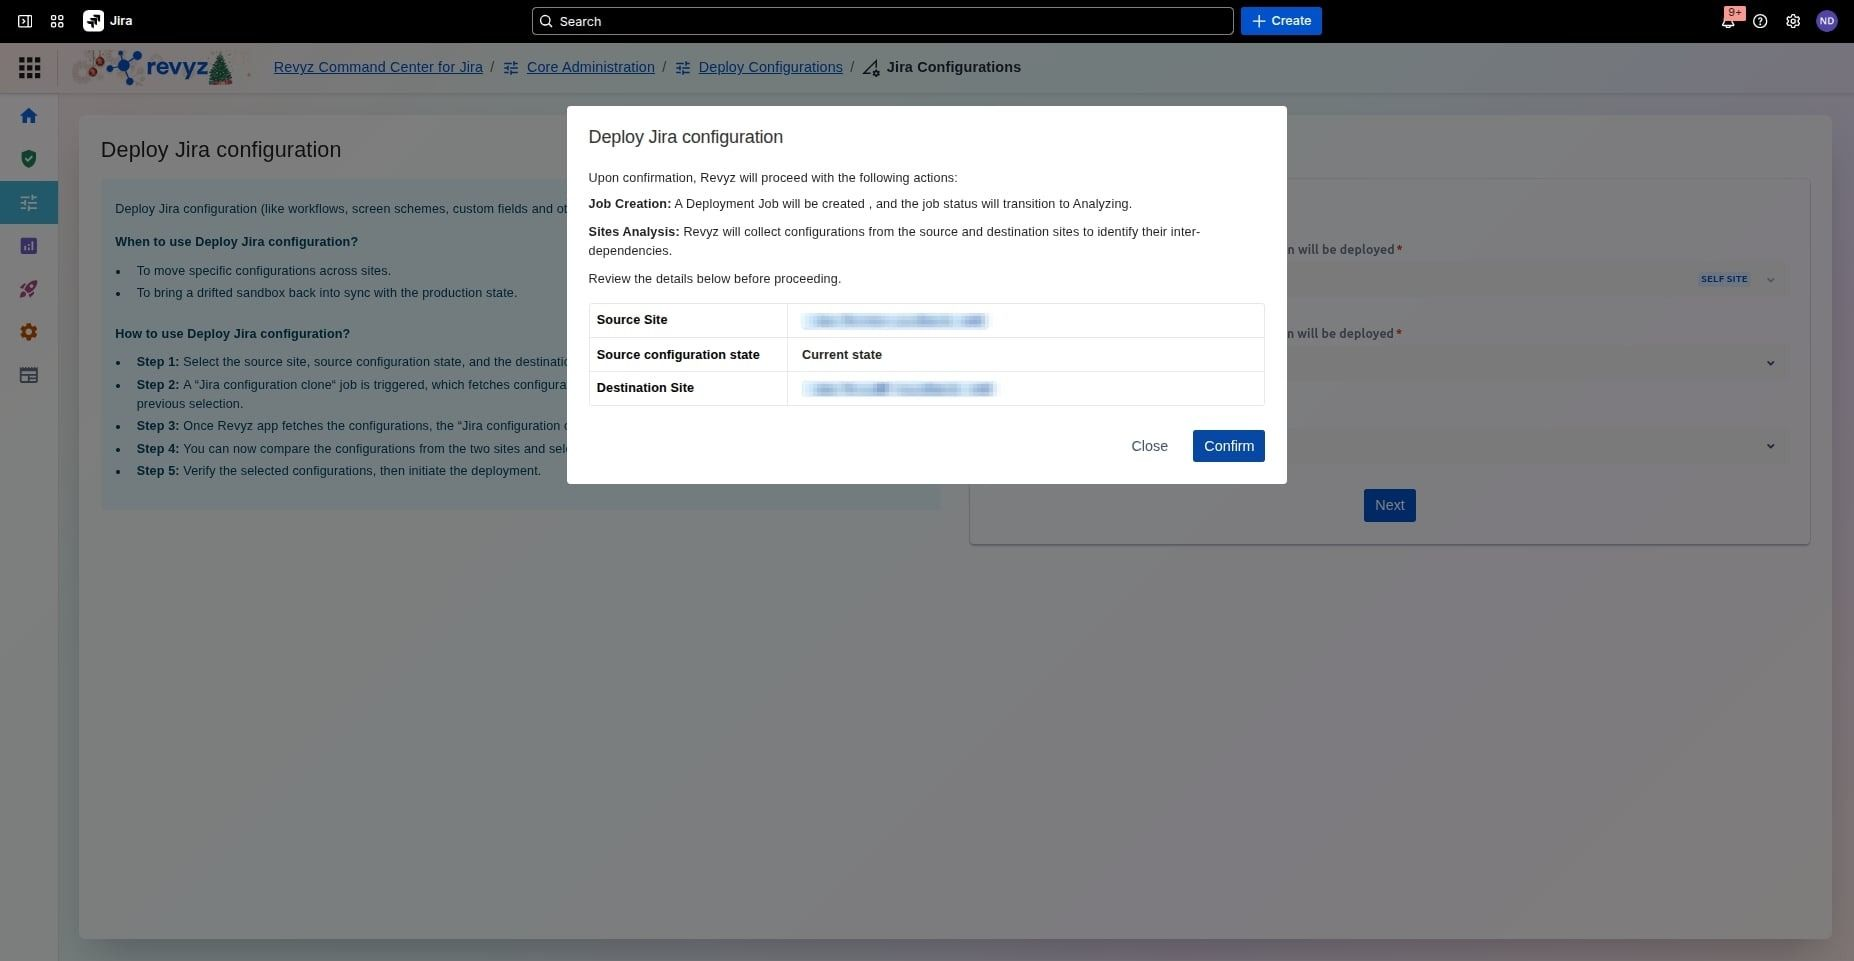
Revyz will perform a deep comparison of both sites to identify all configurations and their inter-dependencies. The job status will transition to Analyzing.
-
Verify Sites: Confirm the Source and Destination instances are correctly assigned.
-
Check State: Ensure the Source configuration state (e.g., "Current state") reflects the version you intend to move.
-
Start Analysis: Click Confirm to create a deployment job and begin the automated dependency analysis.
-
Next Step: Wait for the job status to transition to Analyzing before proceeding to the configuration comparison.
Step 6: Locate the Job
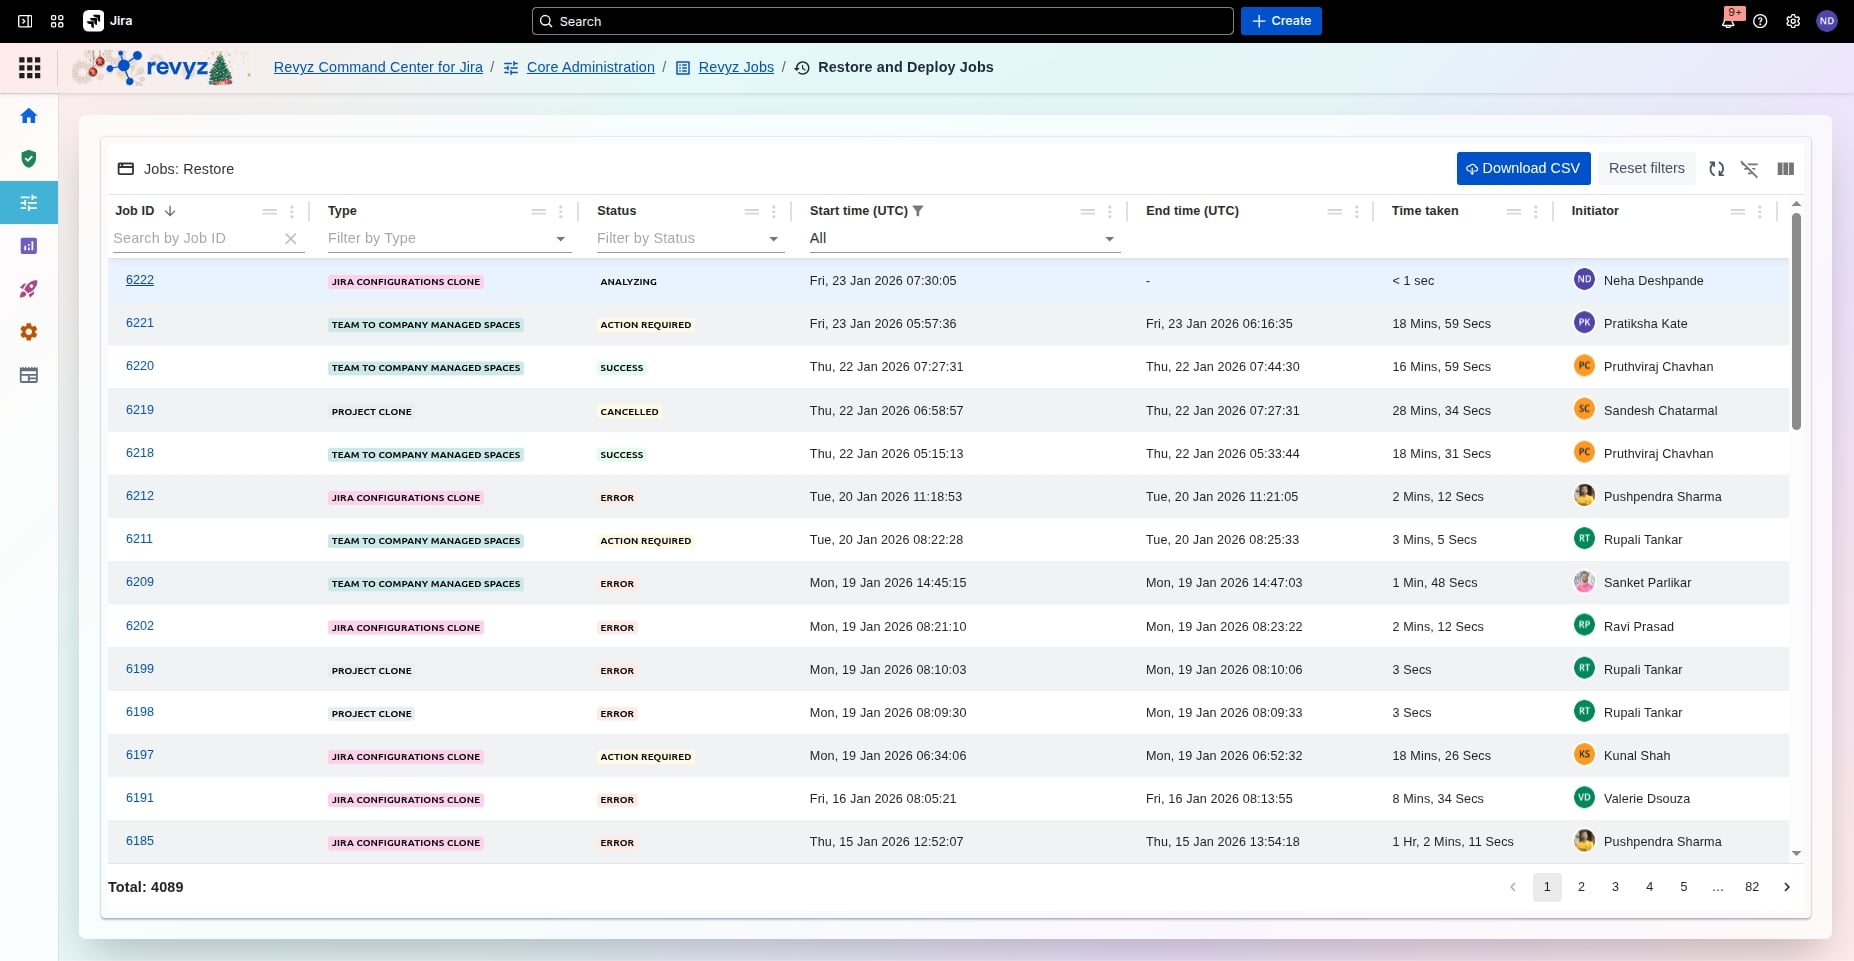
Revyz will perform a deep comparison of both sites to identify all configurations and their inter-dependencies. The job status will transition to Analyzing.
Locate the Job: Use the Job ID or Type columns to find your specific task, such as a "Jira Configurations Clone" or "Project Clone".
Step 7: Job Details
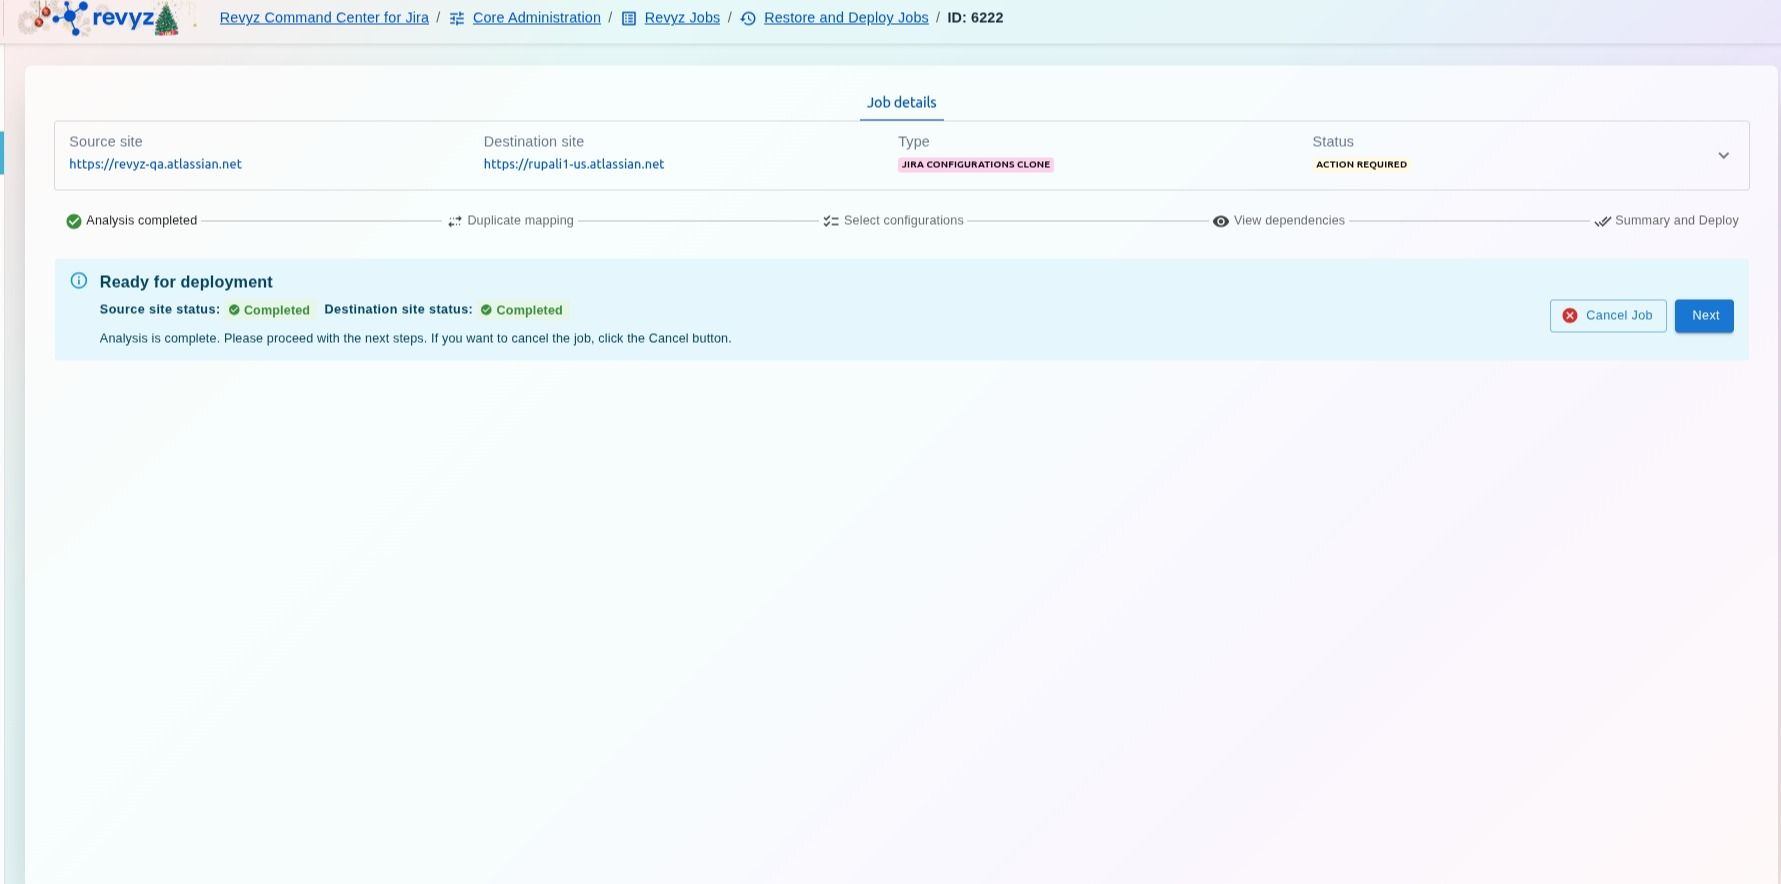
Manage and monitor configuration migrations through the Restore and Deploy Jobs dashboard, where you can track real-time statuses like Analyzing or Action Required. When a job is "Ready for deployment," click Next within the Job details view to advance through mapping and configuration selection.
If the job is marked as an Error (instead of Action Required):
This error may occur because the incremental backups that were triggered for either of the sites might have failed. To understand why the job is an error, go to the logs. If they are unclear, you can reach out to support.
Step 8: Review the Dashboard
The Restore and Deploy Jobs dashboard provides a centralized view of all migration and restoration activities. Follow these steps to manage your active and historical jobs:
-
Filter and Search: Use the top row filters to locate tasks by specific Job ID, Type (e.g., Jira Configurations Clone), or Status.
-
Monitor Status: Track the real-time progress of jobs through indicators such as Analyzing, Action Required, Success, or Error.
-
Audit Details: View comprehensive timestamps, including Start/End times and the total Time taken for each completed job.
-
Identify Initiators: Refer to the Initiator column to see which team member started a specific process.
-
Export Data: Click the Download CSV button to generate a report of your job history for external documentation or troubleshooting.
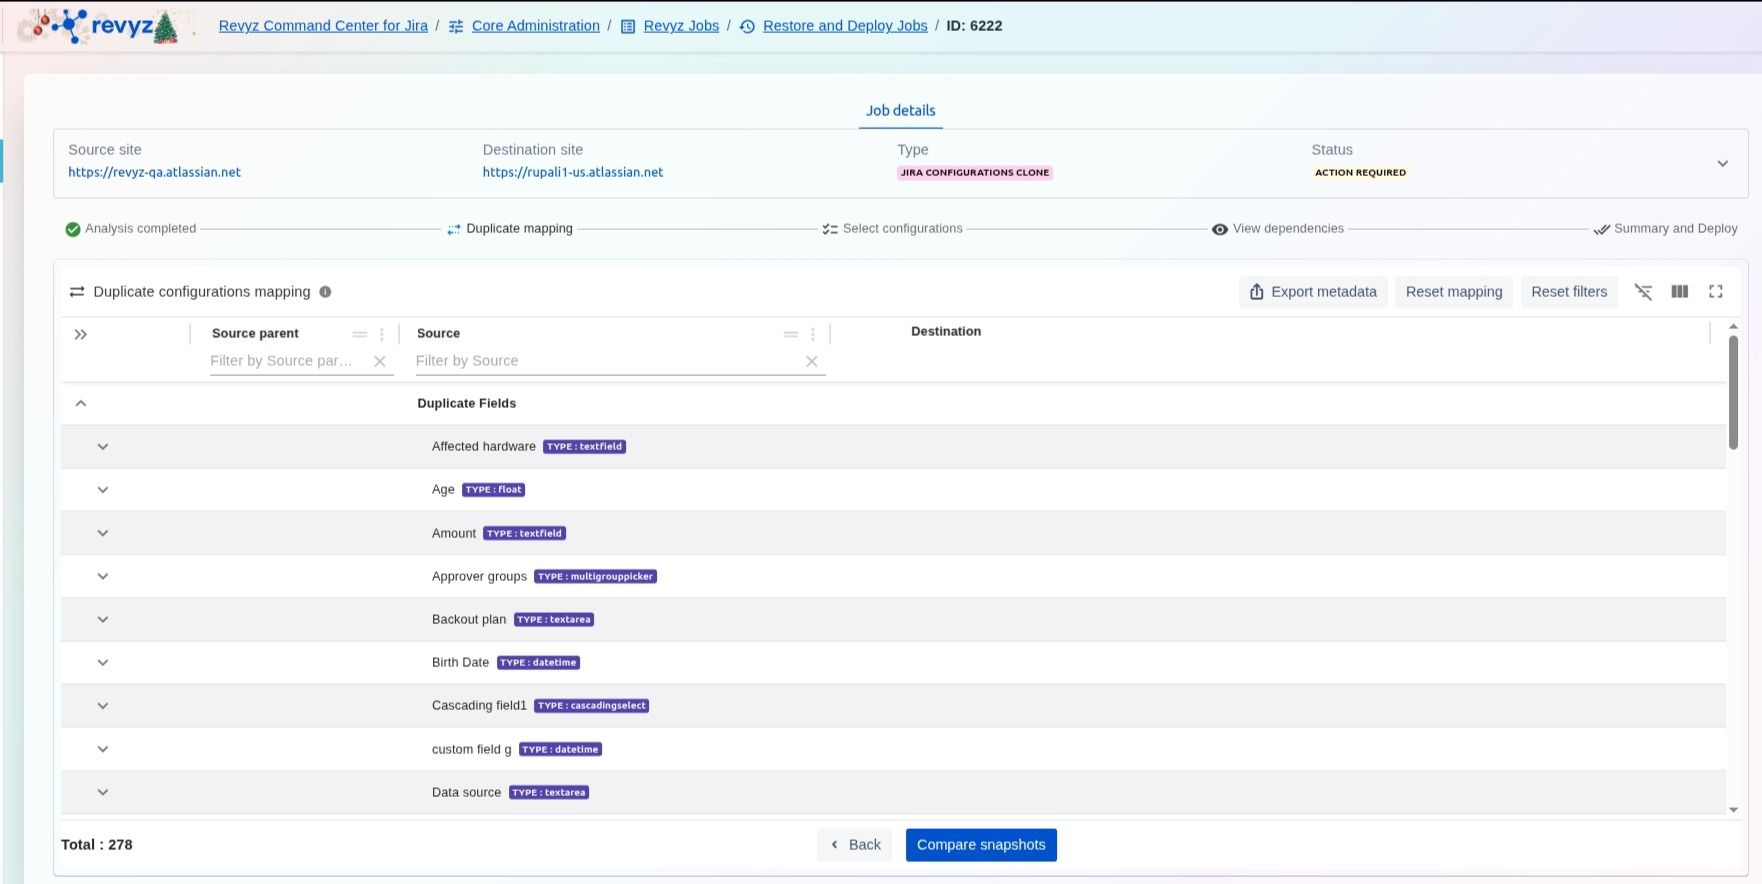
Step 9: Duplicate Configurations Mapping
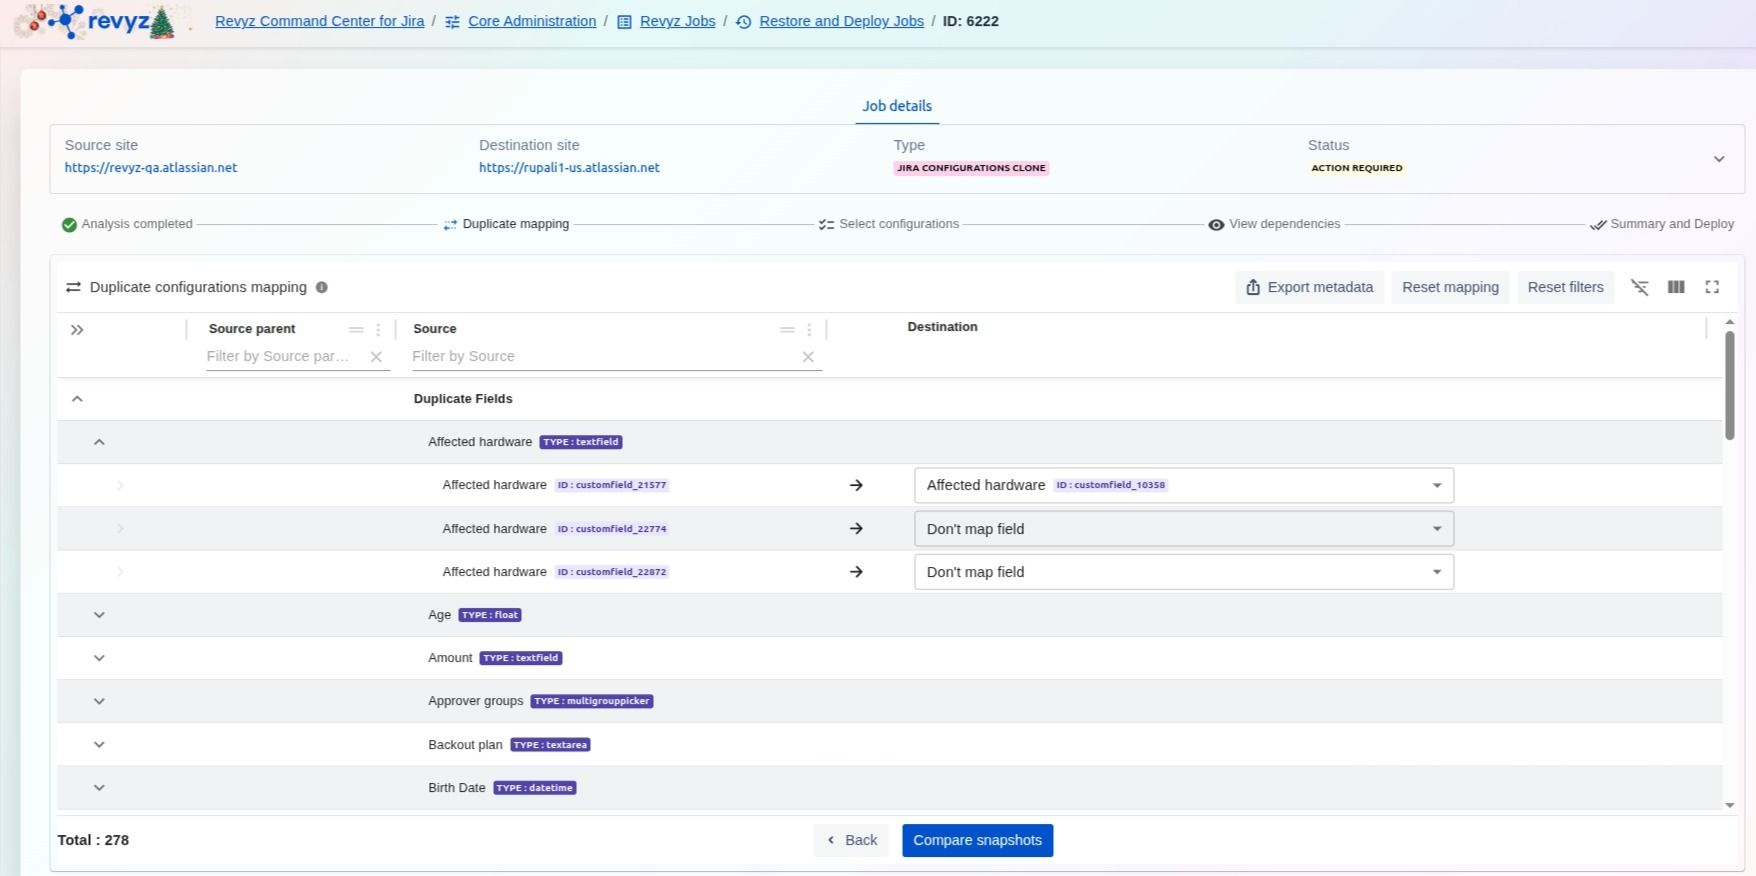
In the Duplicate configurations mapping stage, users must resolve identified conflicts between the source and destination sites by selecting specific destination fields or choosing "Don't map field". This interactive step allows for granular control over how data is reconciled after the initial analysis is complete. Once mapping is finished, click Compare snapshots to proceed with the deployment workflow.
Step 10: Duplicate Configurations Mapping

-
Resolve Field Conflicts: Expand each "Duplicate Field" group and use the dropdown menus to map the Source field to a specific Destination field or select "Don't map field" to skip it.
-
Verify and Compare: Once all desired mappings are set, click the Compare snapshots button at the bottom of the page to analyze the differences between the source and destination sites based on your selections.
Step 11: Compare Snapshots
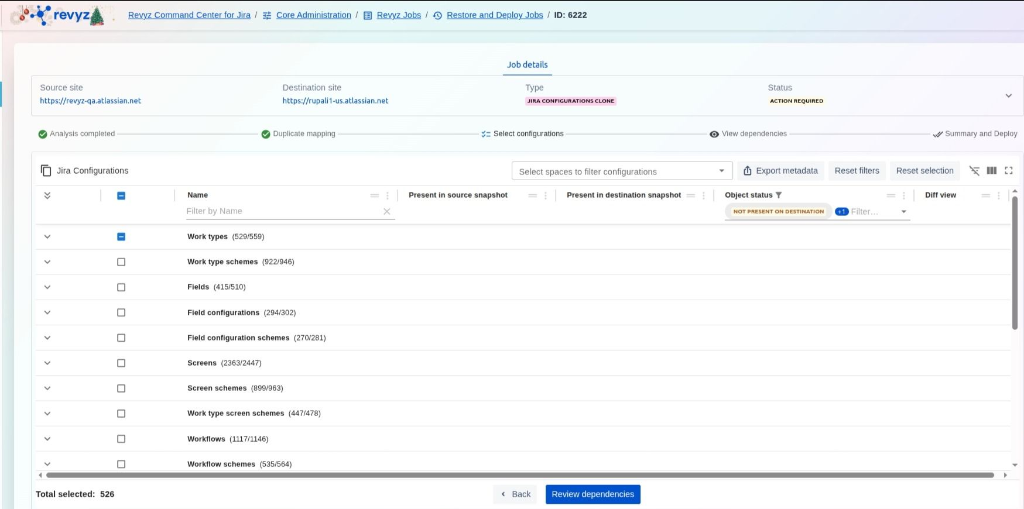
After making selections, click Review dependencies to ensure all related configurations are included before finalizing the deployment.
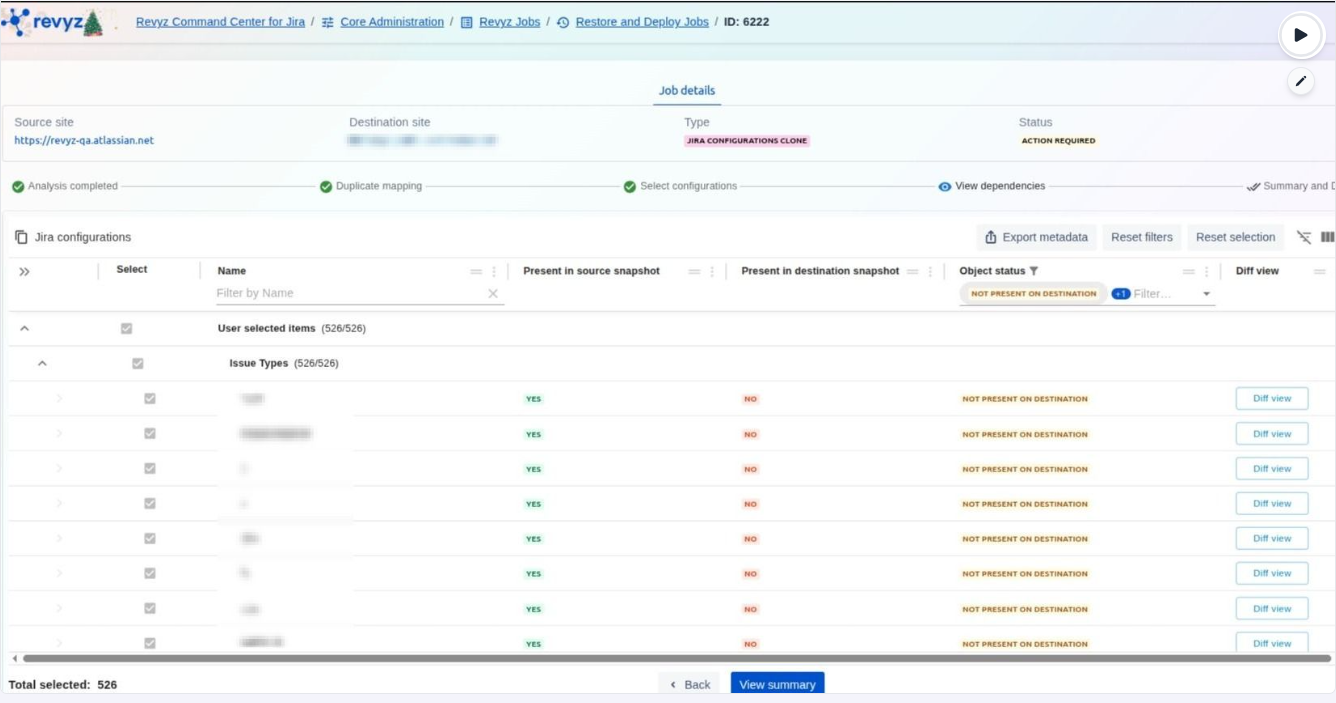
Step 12: See the Diff View
-
Use the Diff view button for any specific item to compare the exact configuration details between the source and destination snapshots.
-
Finalize Summary: Once the selection is verified, click View summary to move to the final confirmation stage before initiating the deployment.
Step 13: Compare the snapshots
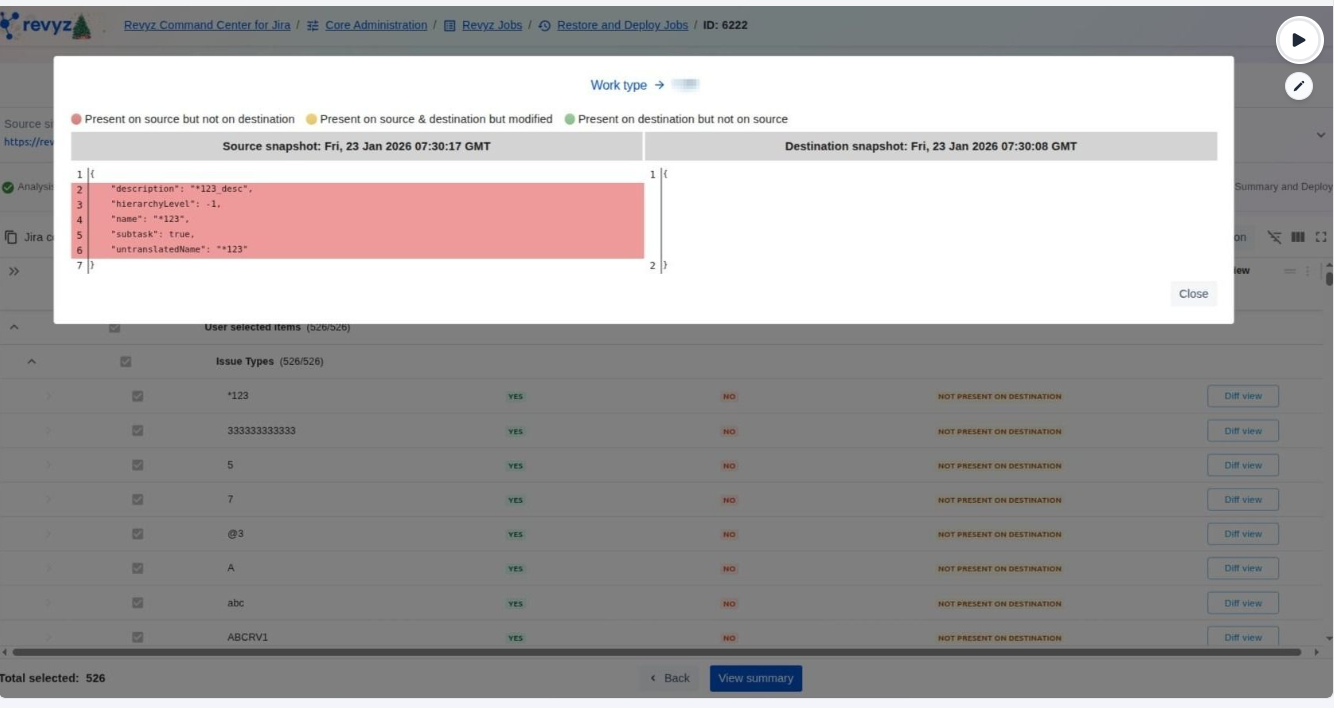
The Diff view provides a side-by-side technical comparison between source and destination snapshots, highlighting specific attribute changes such as descriptions or hierarchy levels. Color-coded indicators quickly identify if an object is new to the destination, exists on both but was modified, or is only present on the destination. Users can use this view to validate exact configuration details before closing the window to finalize their deployment summary.
Step 14: View Summary
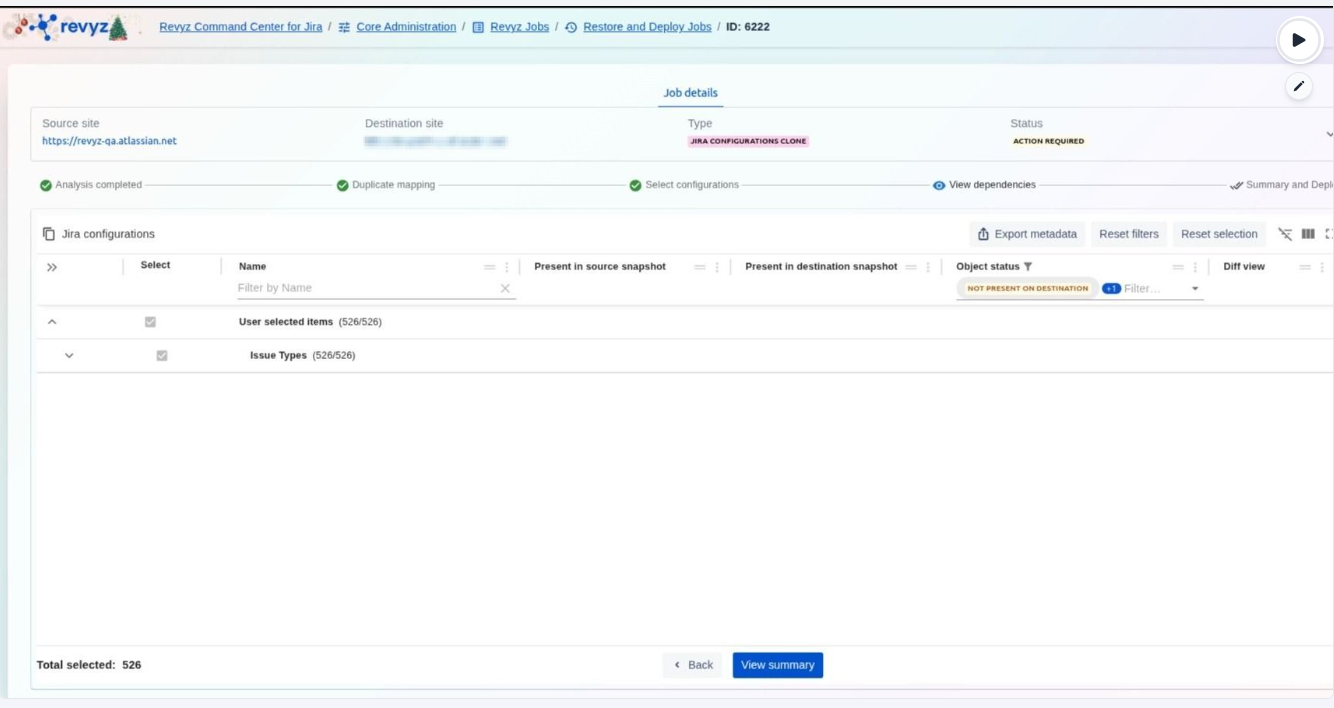
Once you have verified the selection and utilized the Diff view for any necessary technical comparisons, clicking View summary will advance you to the final deployment confirmation page.
Step 15: Initiate the Deploy Process
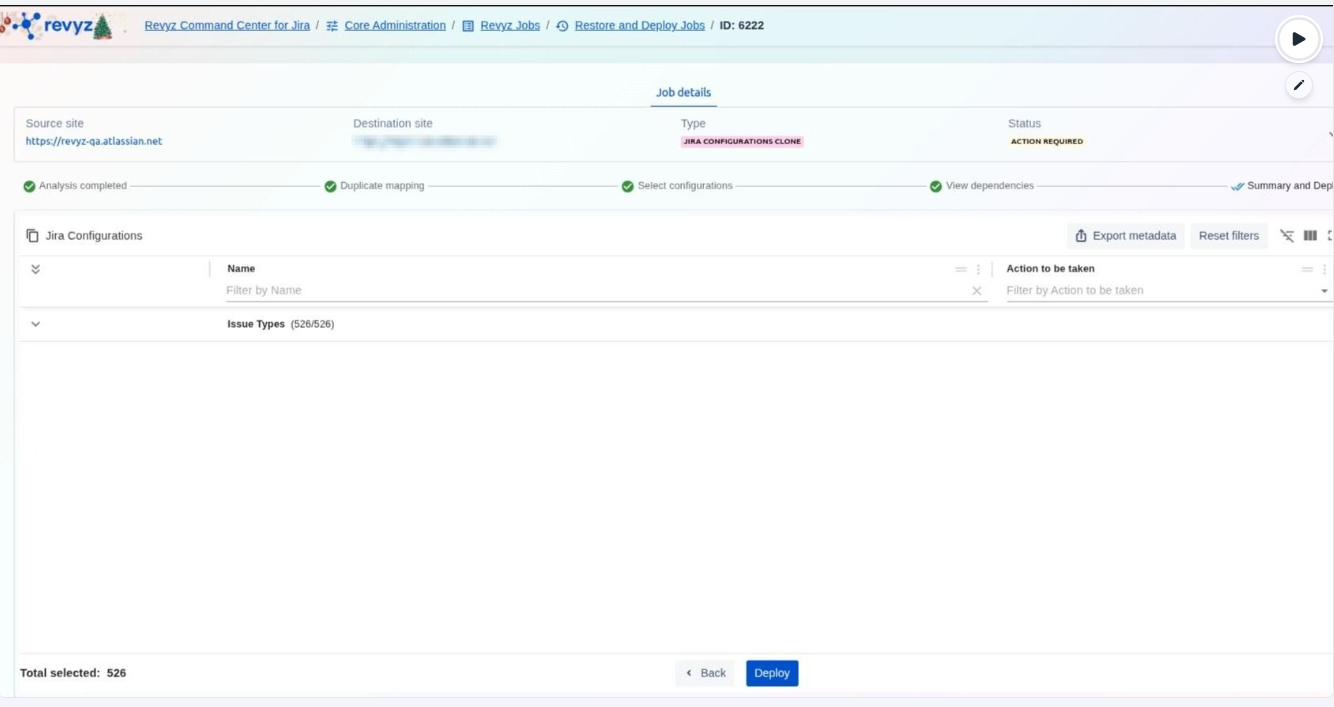
Users can review the total number of items and the specific actions to be taken before clicking the Deploy button to initiate the transfer to the destination site. This final confirmation step ensures all dependencies and selections are accurate before any changes are finalized.
Step 16: Enter the CAPTCHA code
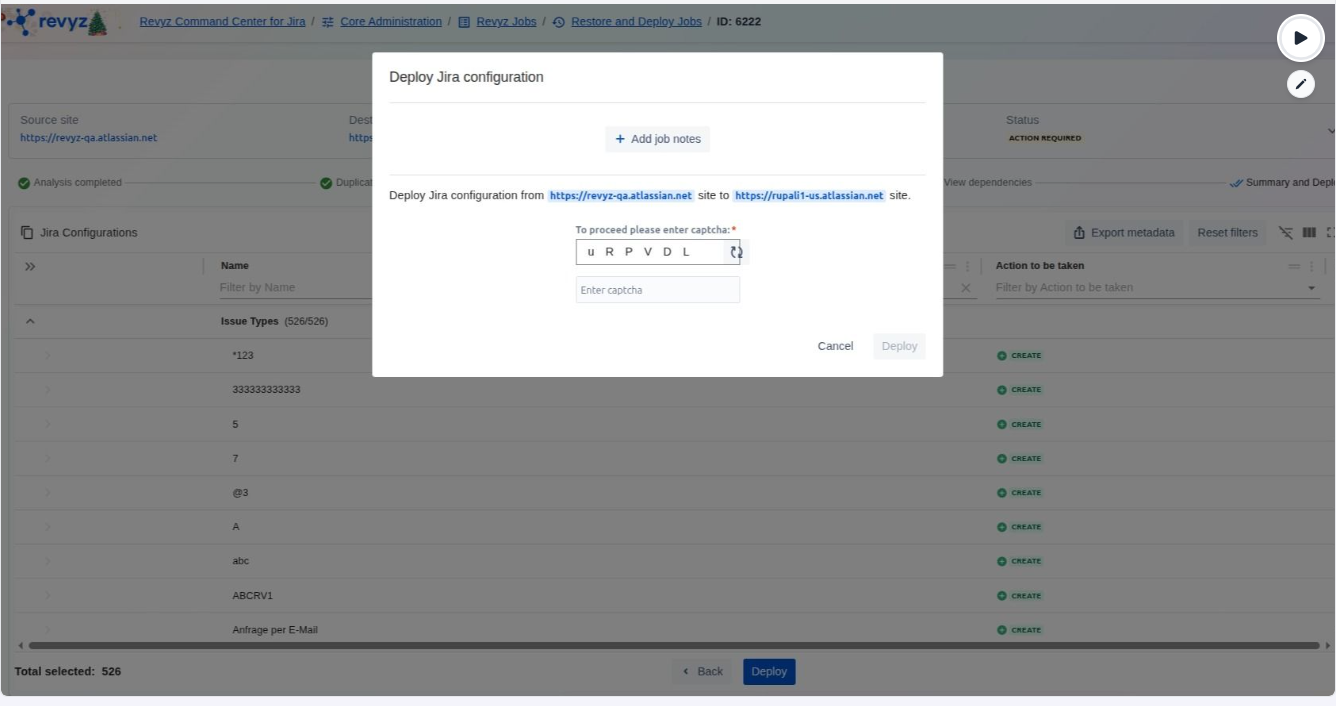
The Deploy Jira configuration modal serves as the final security and verification gate before data transfer begins. Users must enter a required captcha to authorize the migration from the source site to the destination site. Additionally, this step allows for the inclusion of job notes, providing context for the deployment within the job history logs.
Deploy Atlassian’s newly introduced Jira schemes seamlessly across your environments. Learn more here.