About this Page
This guide explains how to set up your own AWS S3 bucket for use with Revyz Data Manager. It details the process of creating a bucket, applying the necessary JSON bucket policy to grant permissions, and validating the storage connection.
Steps to create your own AWS S3 bucket:
Step 1: Create a S3 bucket
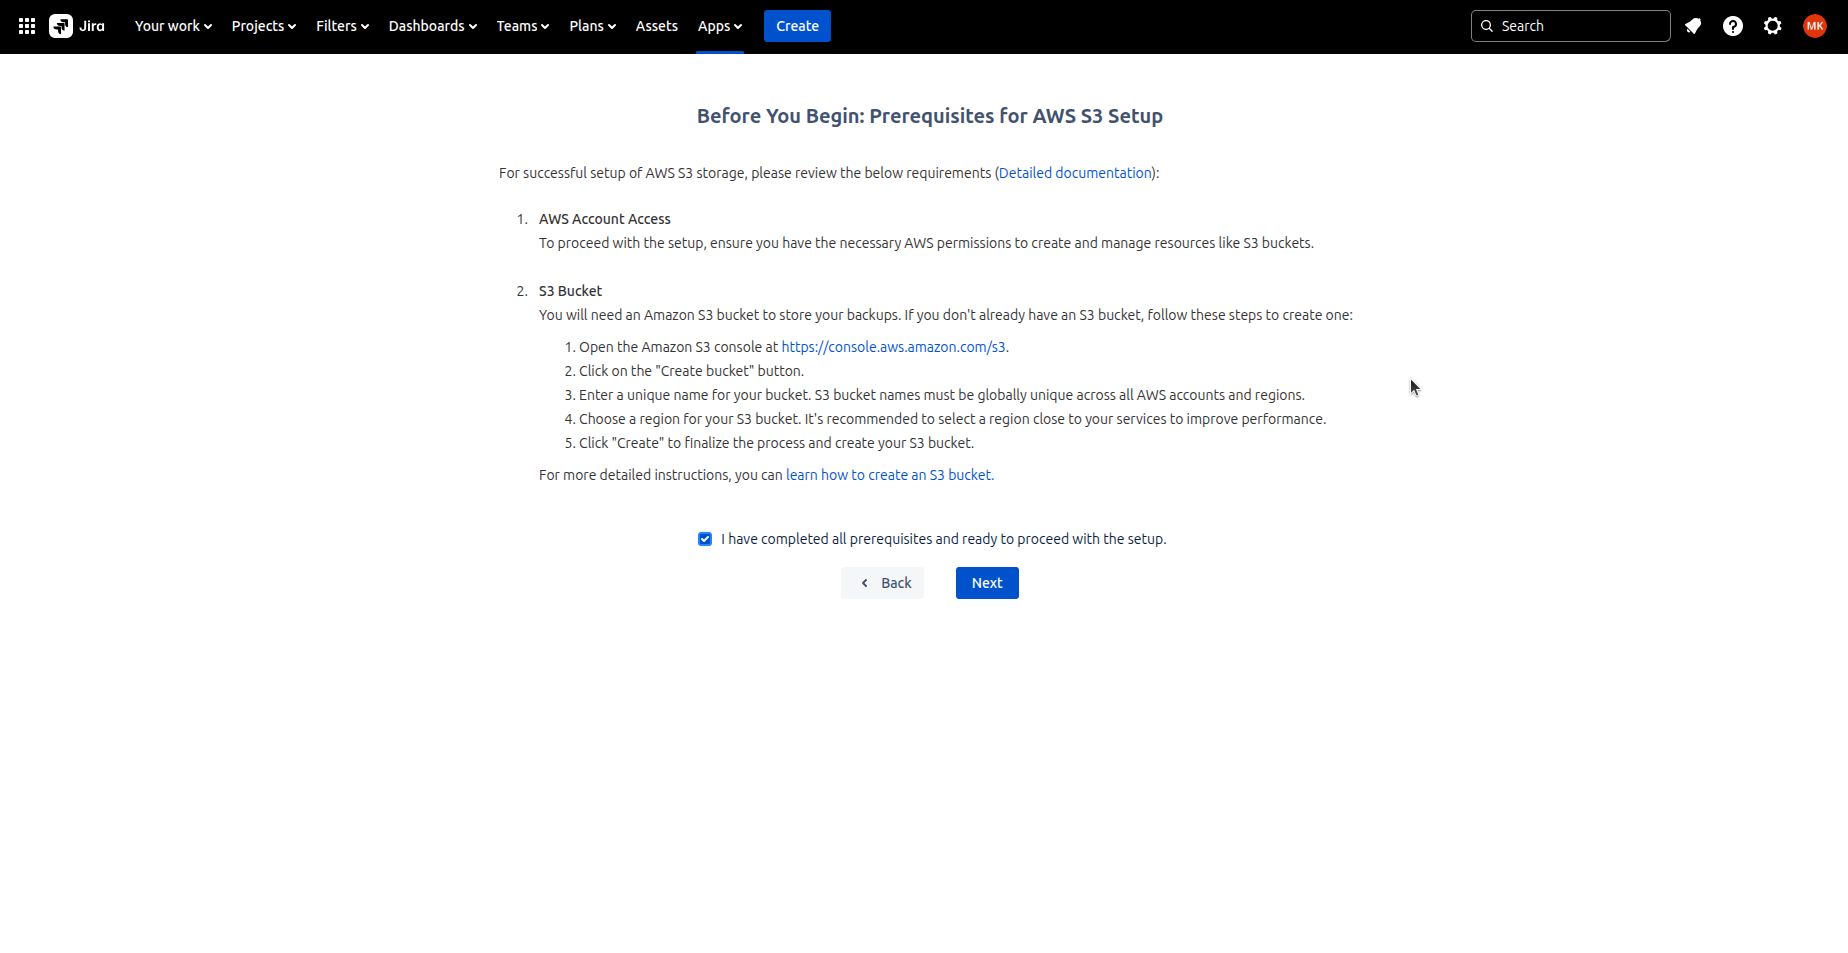
Before you begin, create an S3 bucket using this link https://console.aws.amazon.com/s3. For detailed steps on how to prepare the AWS S3 bucket, refer: https://support.revyz.io/revyz-data-manager/preparing-aws-s3-bucket-before-installing-the-app
Step 2: Enter the Bucket Name
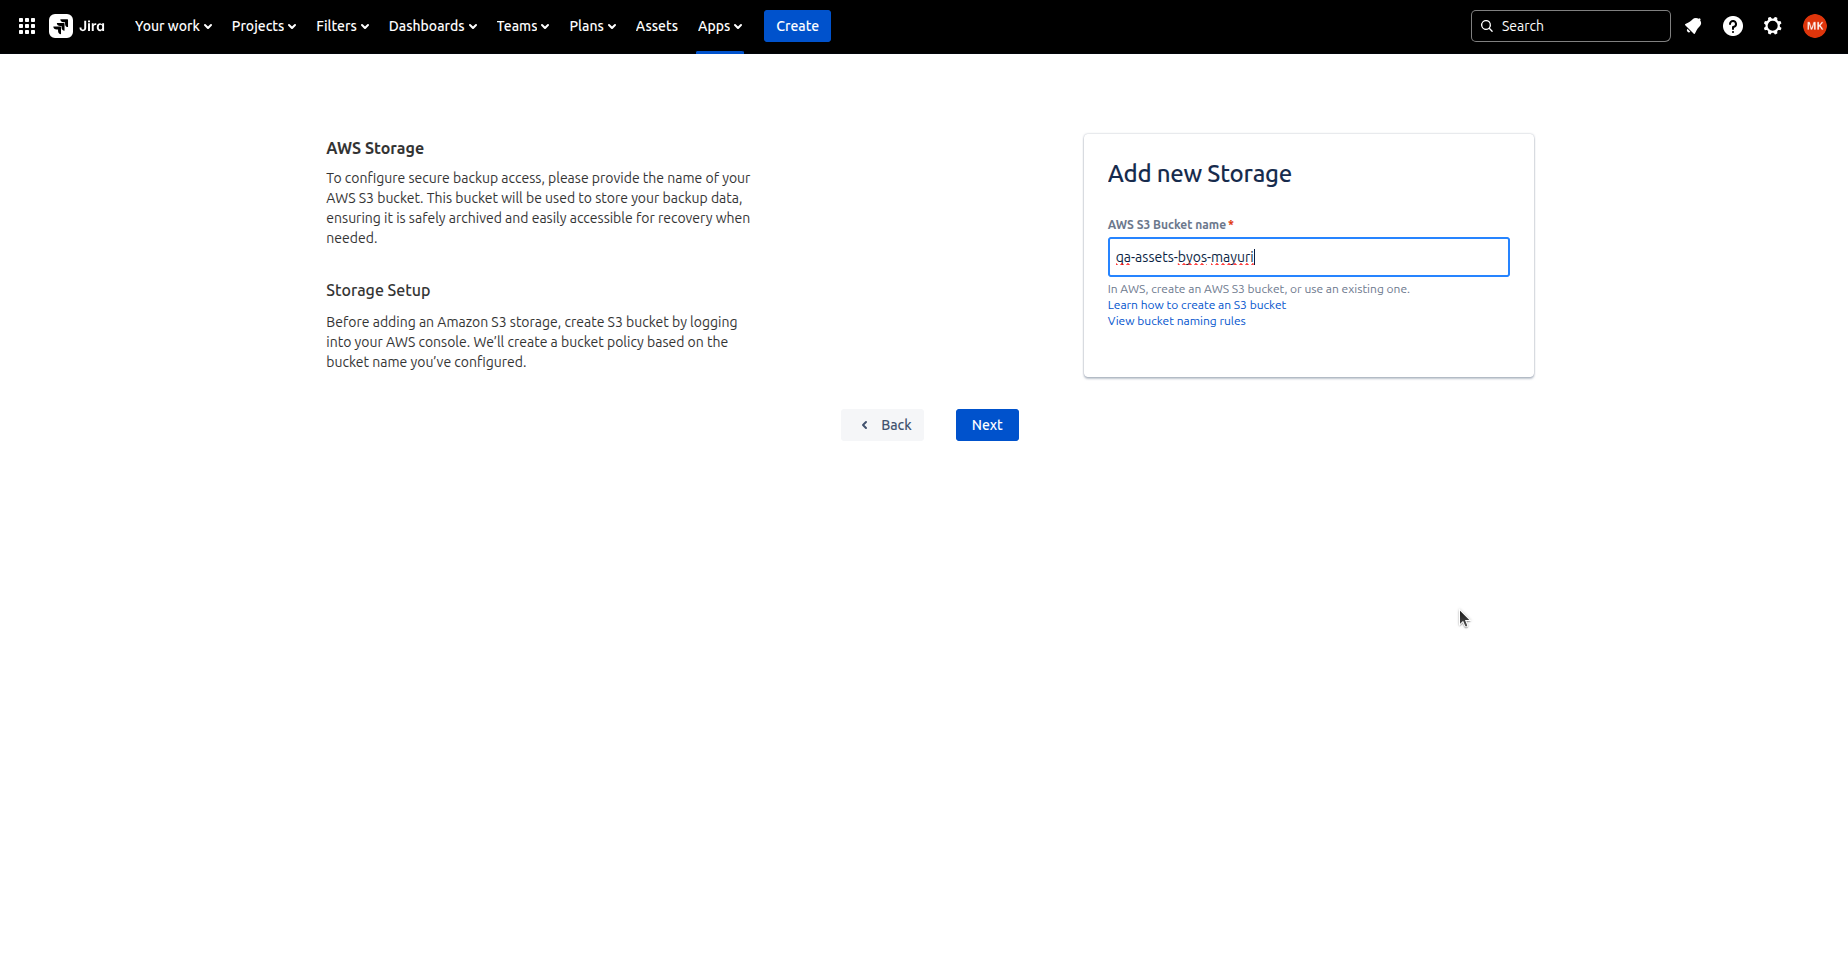
On the next screen, you need to give the Bucket name which you have created for storage
-
Revyz will write data at the time of backup in the given bucket
-
Revyz will read data from the same bucket for restore
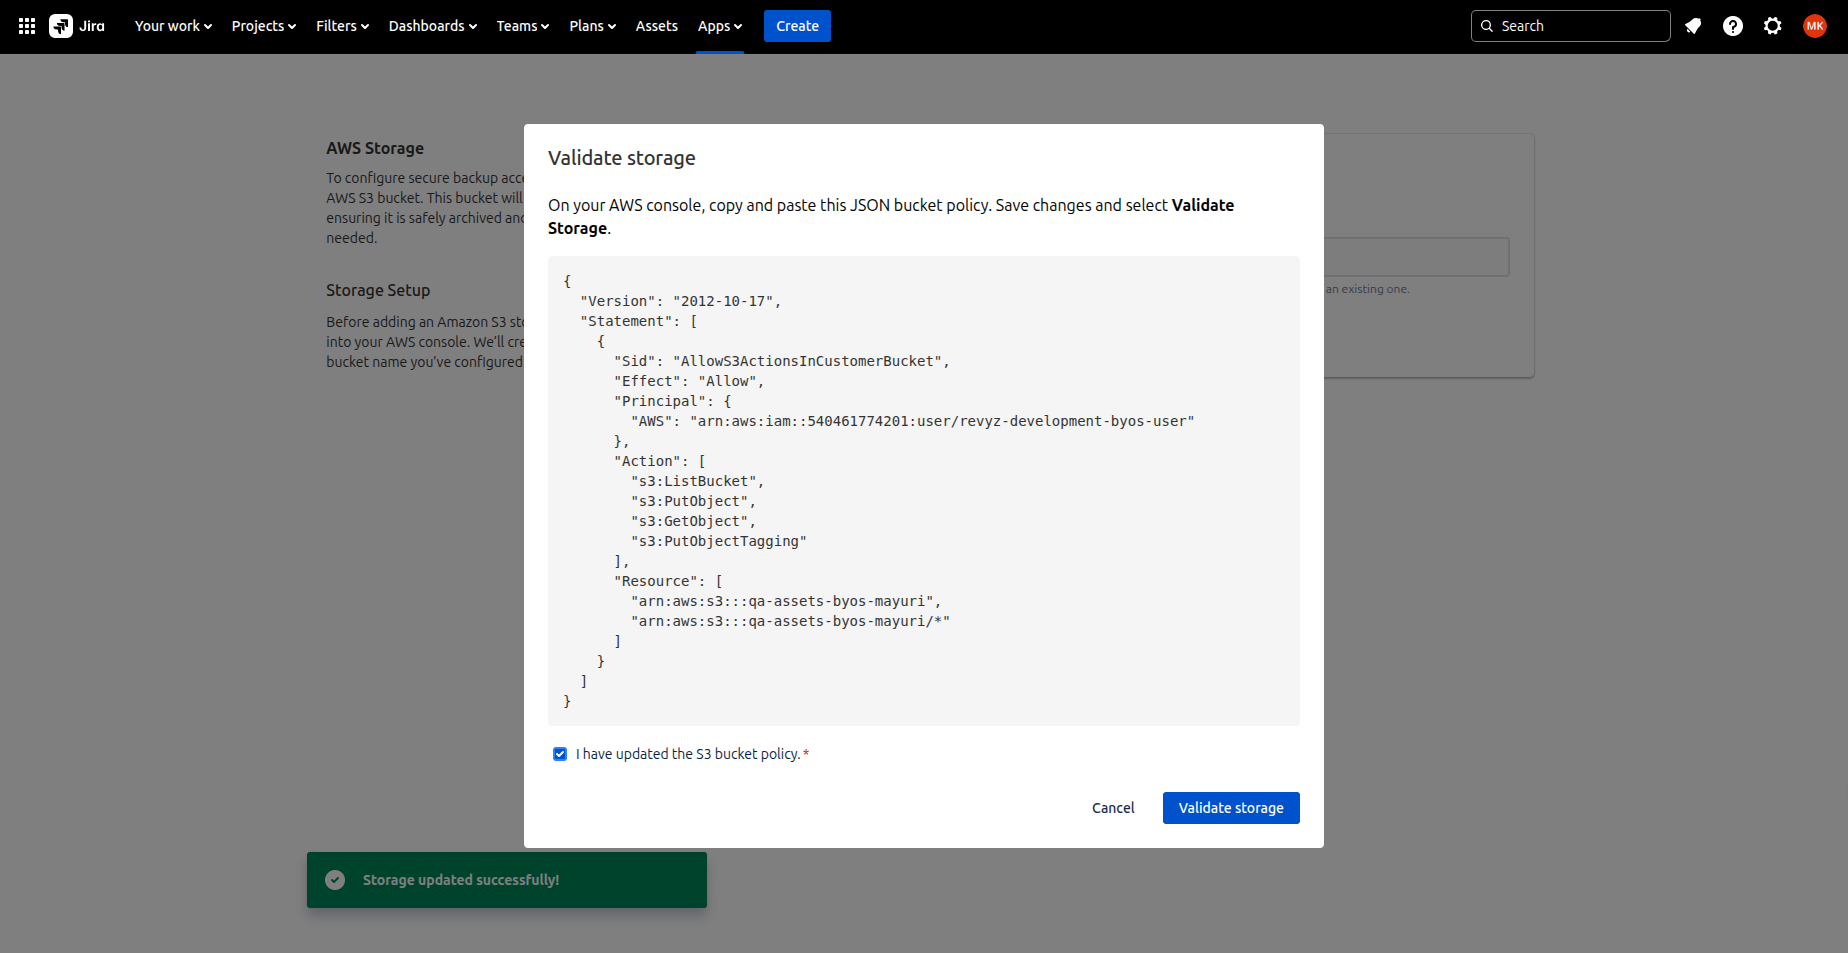
Step 3: Adding the Bucket Policy
-
On the next screen, you will get a bucket policy which will allow Revyz IAM user to read, write, tag objects in your s3 bucket.
-
Copy that JSON bucket policy and paste it in Permissions section of your bucket in AWS.
-
It's important to ensure that the necessary policy is added to the bucket before clicking the Validate Storage button to avoid any configuration or access issues.
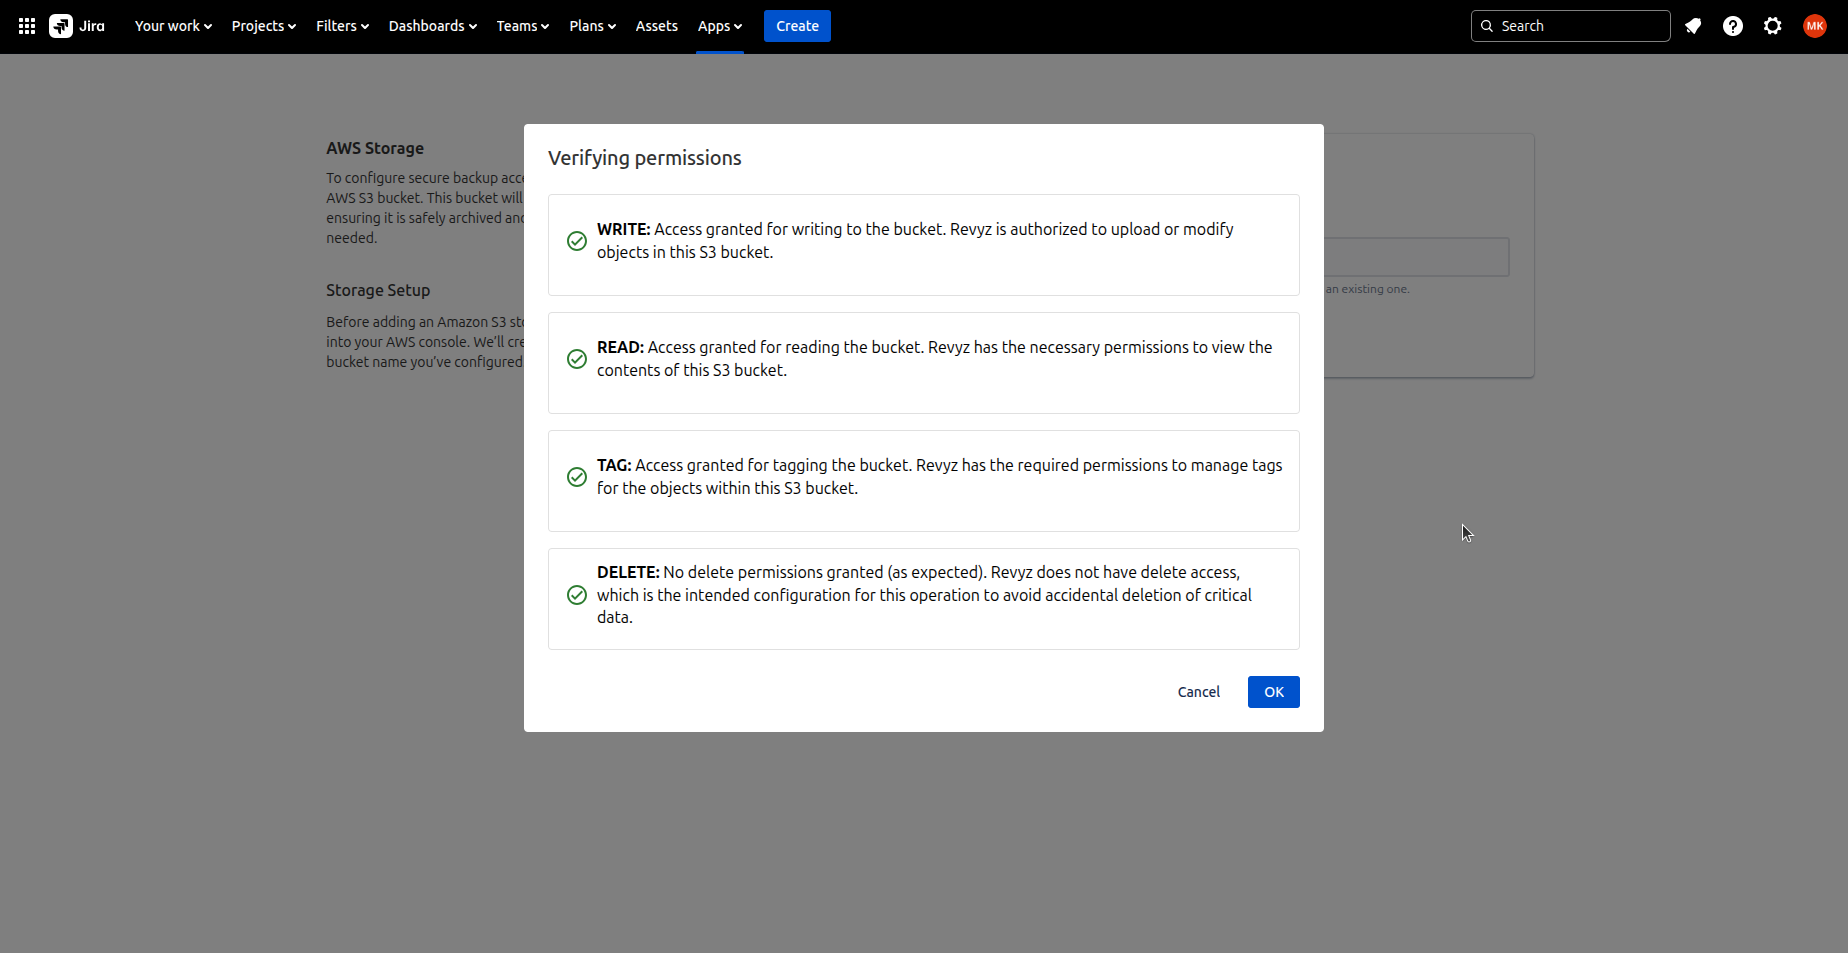
Step 4: Verifying Permissions
-
On next screen it will verify the permissions once bucket policy is added.
-
Permissions are assigned to the IAM user.
-
If required permissions are not added in the bucket policy then setup will not be completed i.e you will not be able to install the BYOS app.
-
Revyz also checks the “Delete“ permission and Revyz has no delete access to your bucket so it is confirmed that Revyz can not delete any object from your bucket.
-
Click on Ok, which will activate your storage.
Step 5: Configuration of Backup settings
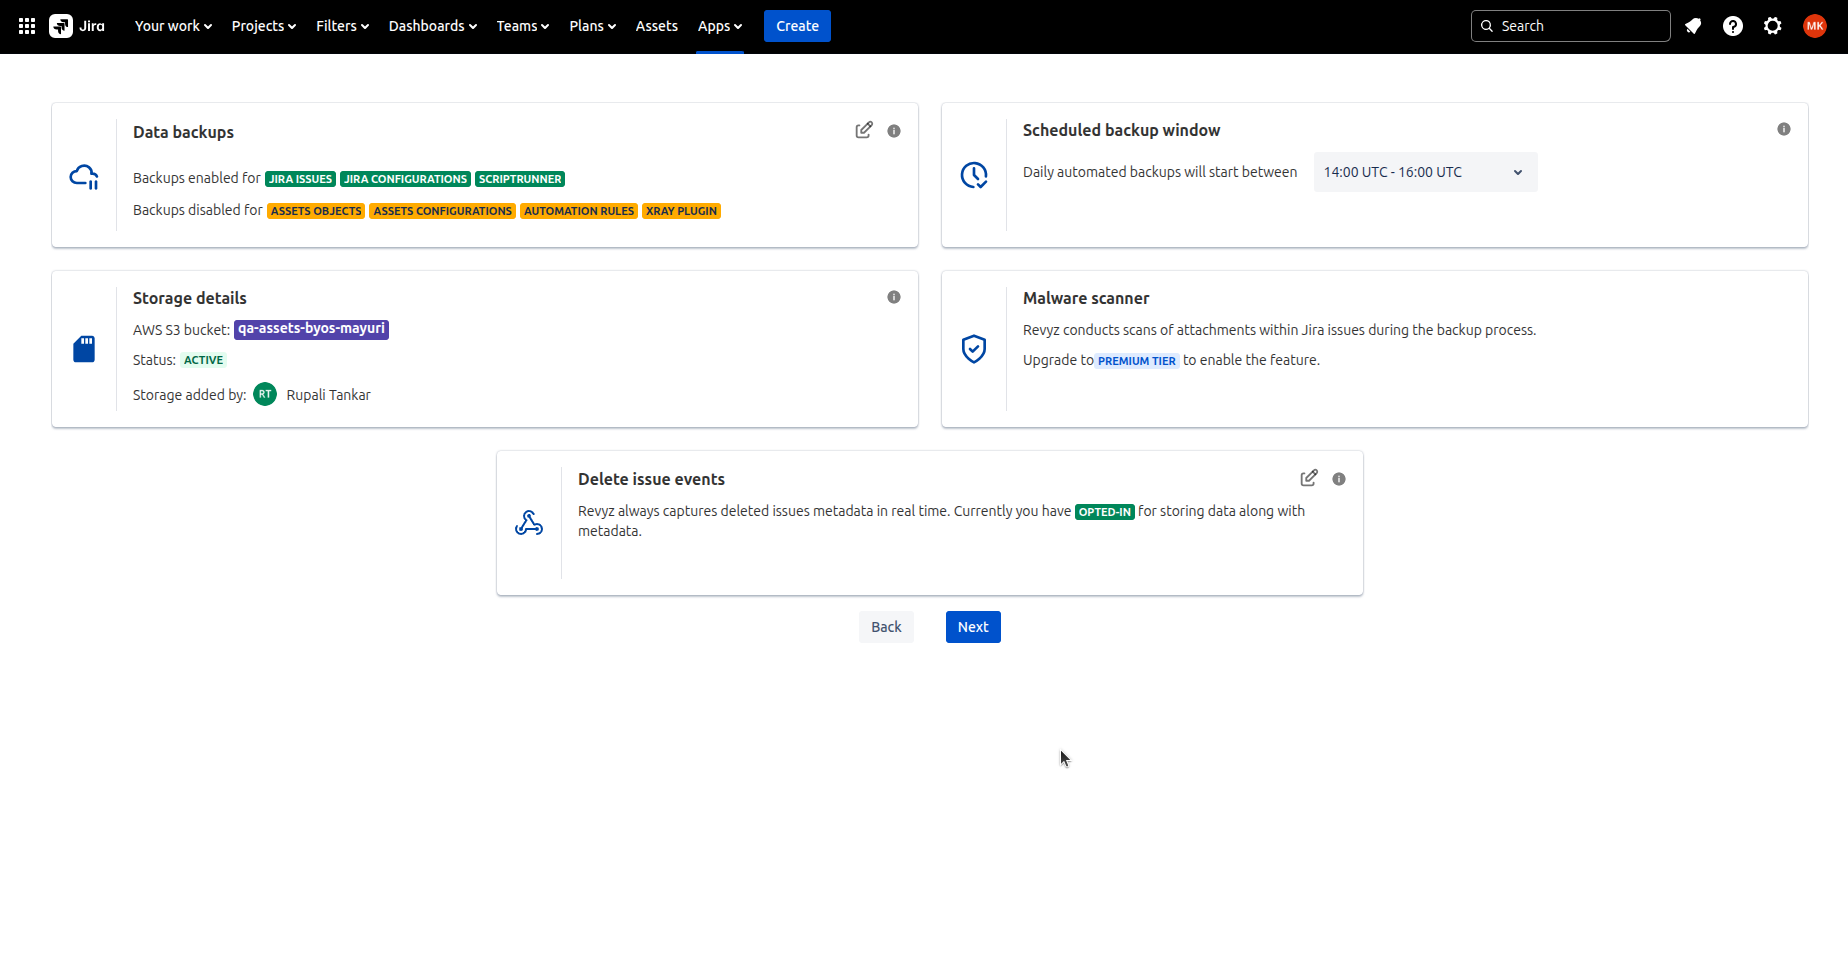
-
Configure which Jira projects gets backed up.
-
If you want to run backup immediately, then select Run data immediately option.
-
If you want to include new project’s issues to be backed up, Check “Include all new projects in the issues backup”. We recommend to check this option to auto include the new project’s issues backup.