About this Page
The Automation rules filters page is a targeted search interface that allows you to narrow down the specific automation rules you wish to recover from a configuration snapshot. This step ensures you can pinpoint exact rules without having to browse through the entire backup catalog.
What is the Use Case?
This filtering stage is critical for precise configuration recovery. Key use cases include:
-
Specific Rule Recovery: Finding a single critical automation rule that was deleted, using its exact name.
-
Ownership-Based Restoration: Filtering for all rules managed by a specific administrator who may have left the organization.
-
Permission Auditing: Isolating rules based on who has "edit" access to ensure security standards are maintained after restoration.
-
Scope Management: Limiting the search to rules that apply only to specific spaces or global configurations.
How to Deploy Automation Rules?
Step 1: Source Site Details
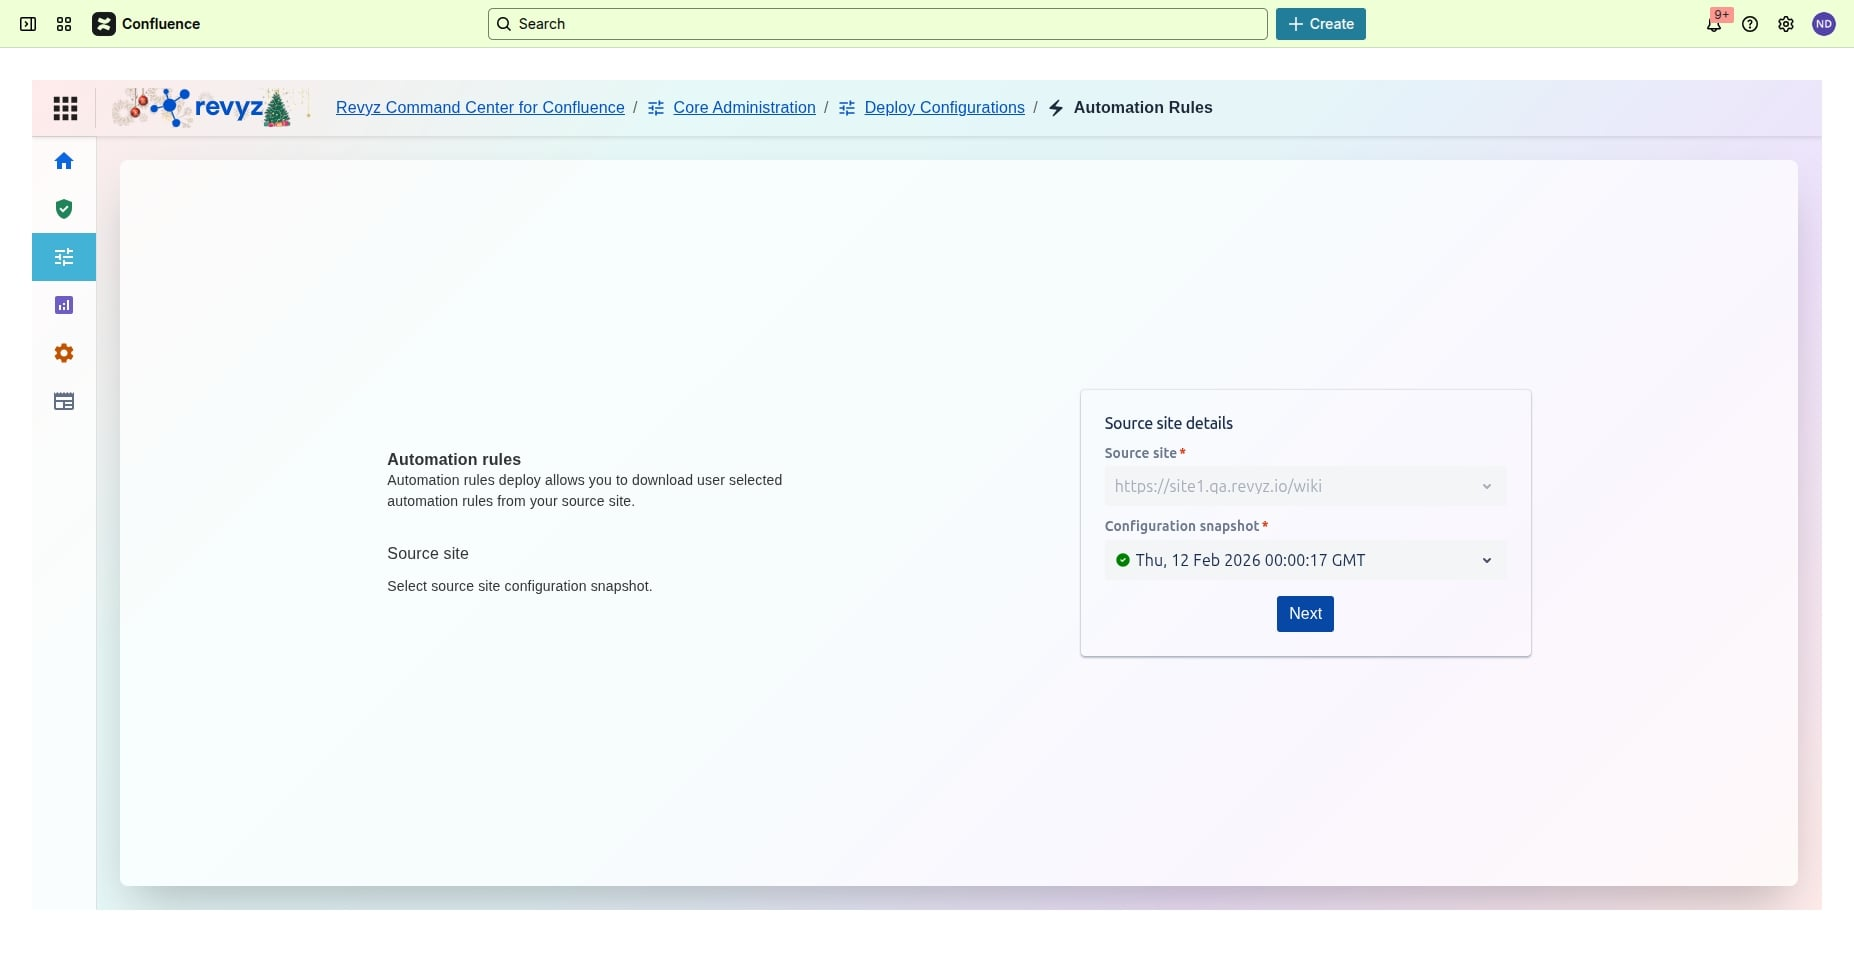
Click on source site details.
Step 2: Automation Rules Filters
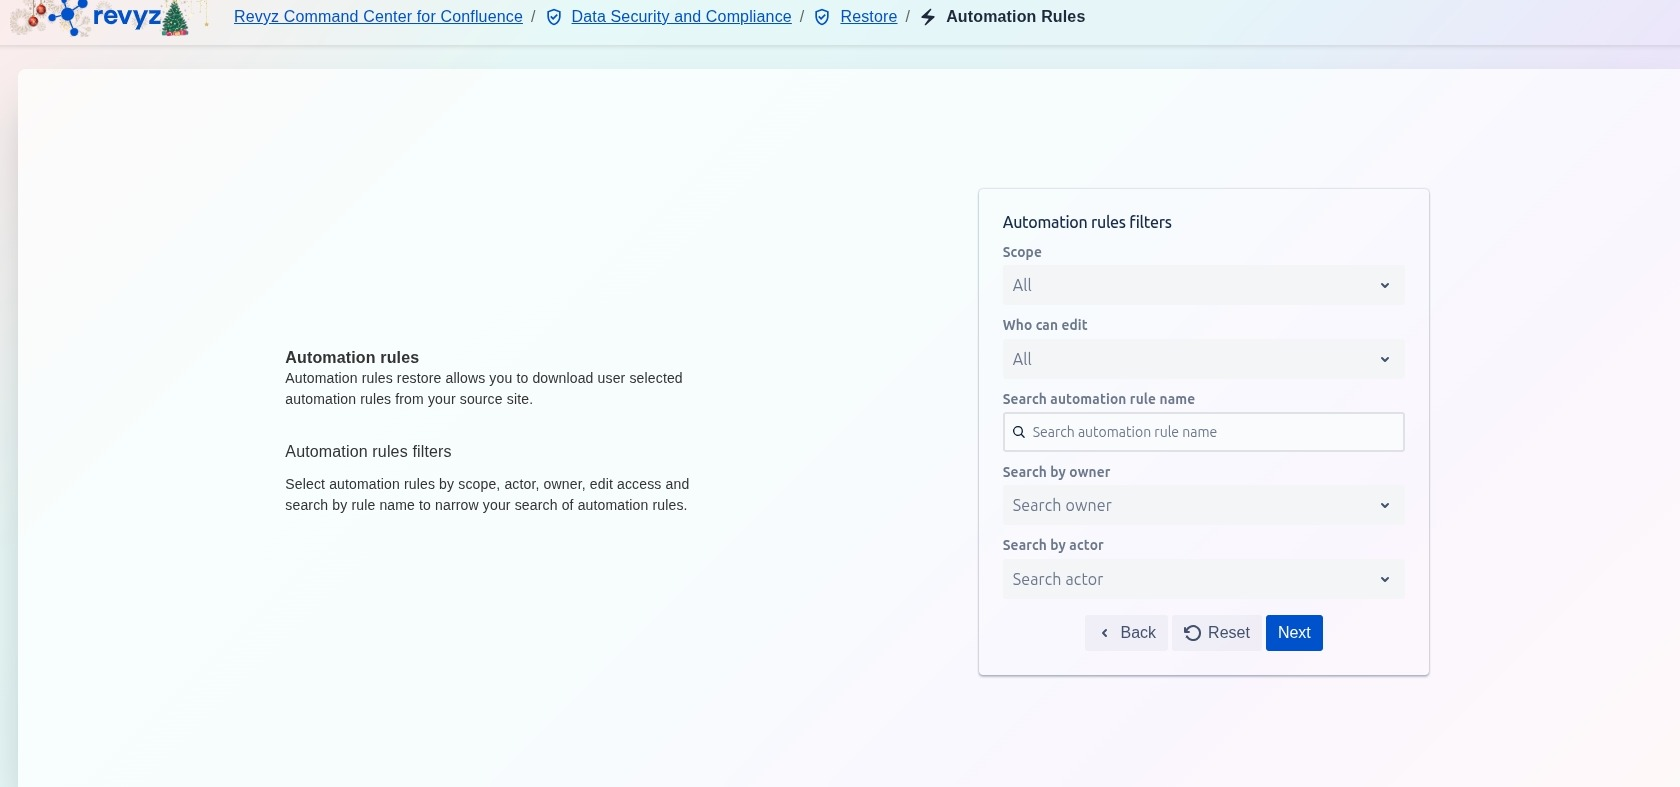
This step provides filtering options based on rule attributes like scope, owner, and edit access. The user interacts with these fields to efficiently narrow the list of available automation rules for migration.
Selection Parameters:
-
Scope: Select the rules' location (e.g., Global, Project-specific) to view a subset of rules.
-
Who can edit: Filter rules based on their edit access permissions.
-
Search automation rule name: Use keywords to quickly find rules by name.
-
Search by owner: Filter rules created by a specific user or team.
-
Search by actor: Filter rules based on the user or account that triggers the rule.
The Next button advances the user to the final review or execution step after filters are applied.
Step 3: Review Details
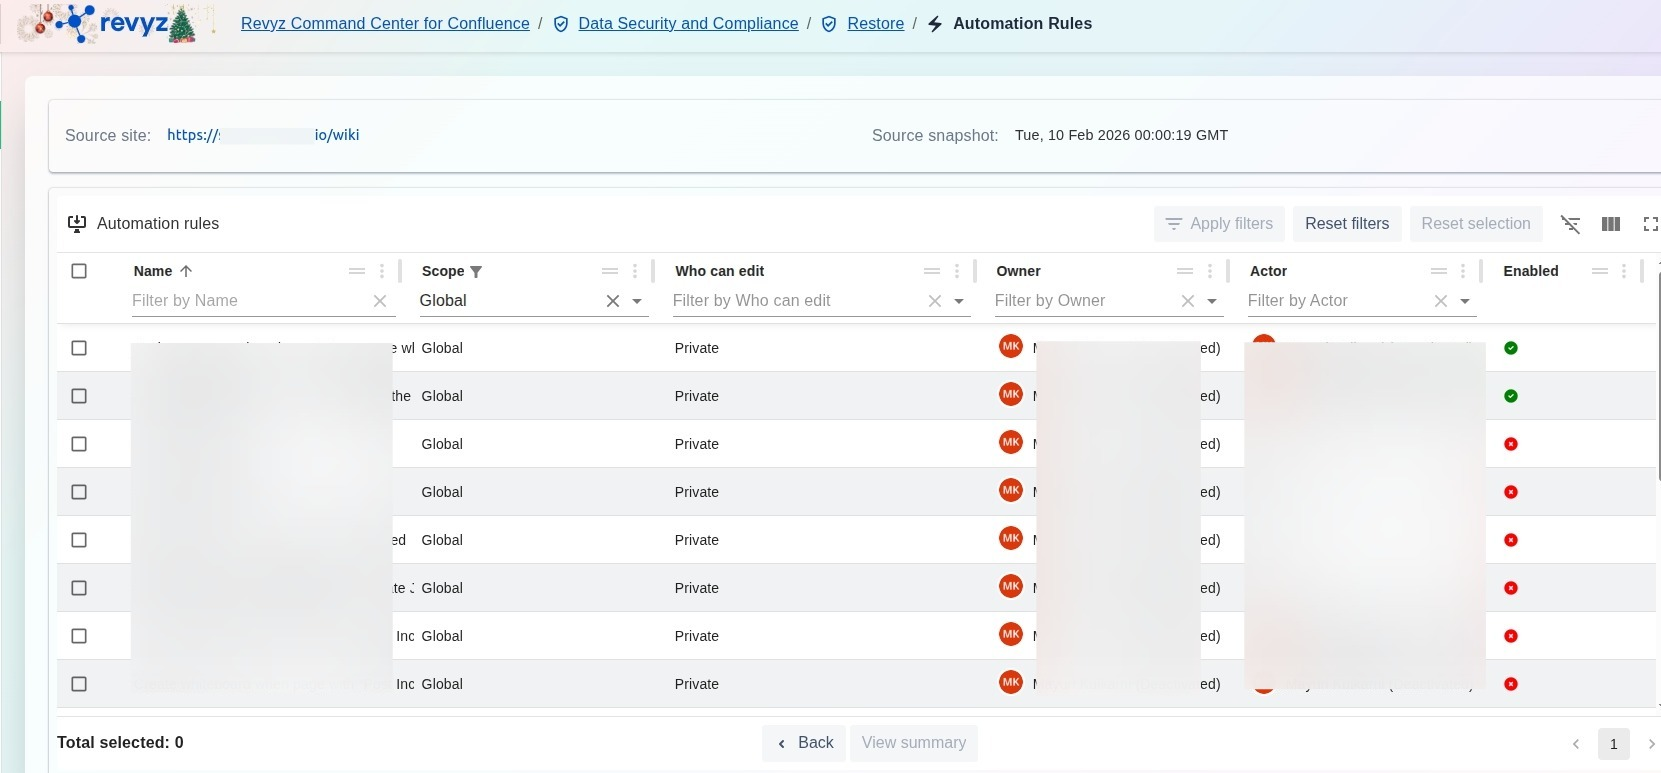
This step follows the filtering step and presents a detailed, sortable, and filterable list of all automation rules available in the selected source snapshot.
Step 4: Select Automation Rules
Select the desired automation rules and click on “Export Rules”.
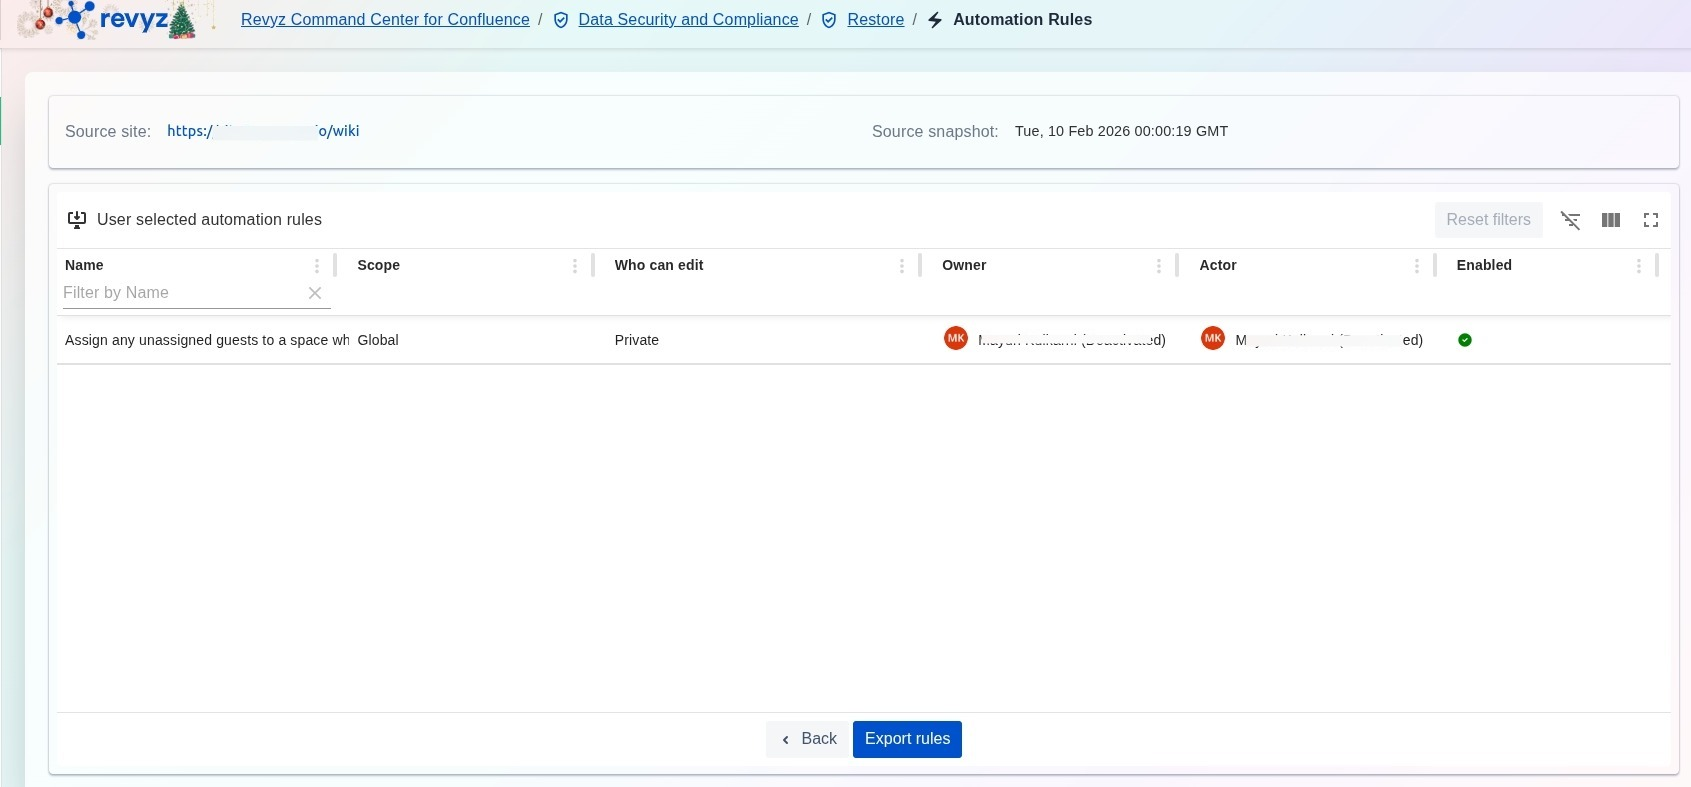
Step 5: Select Export Rules
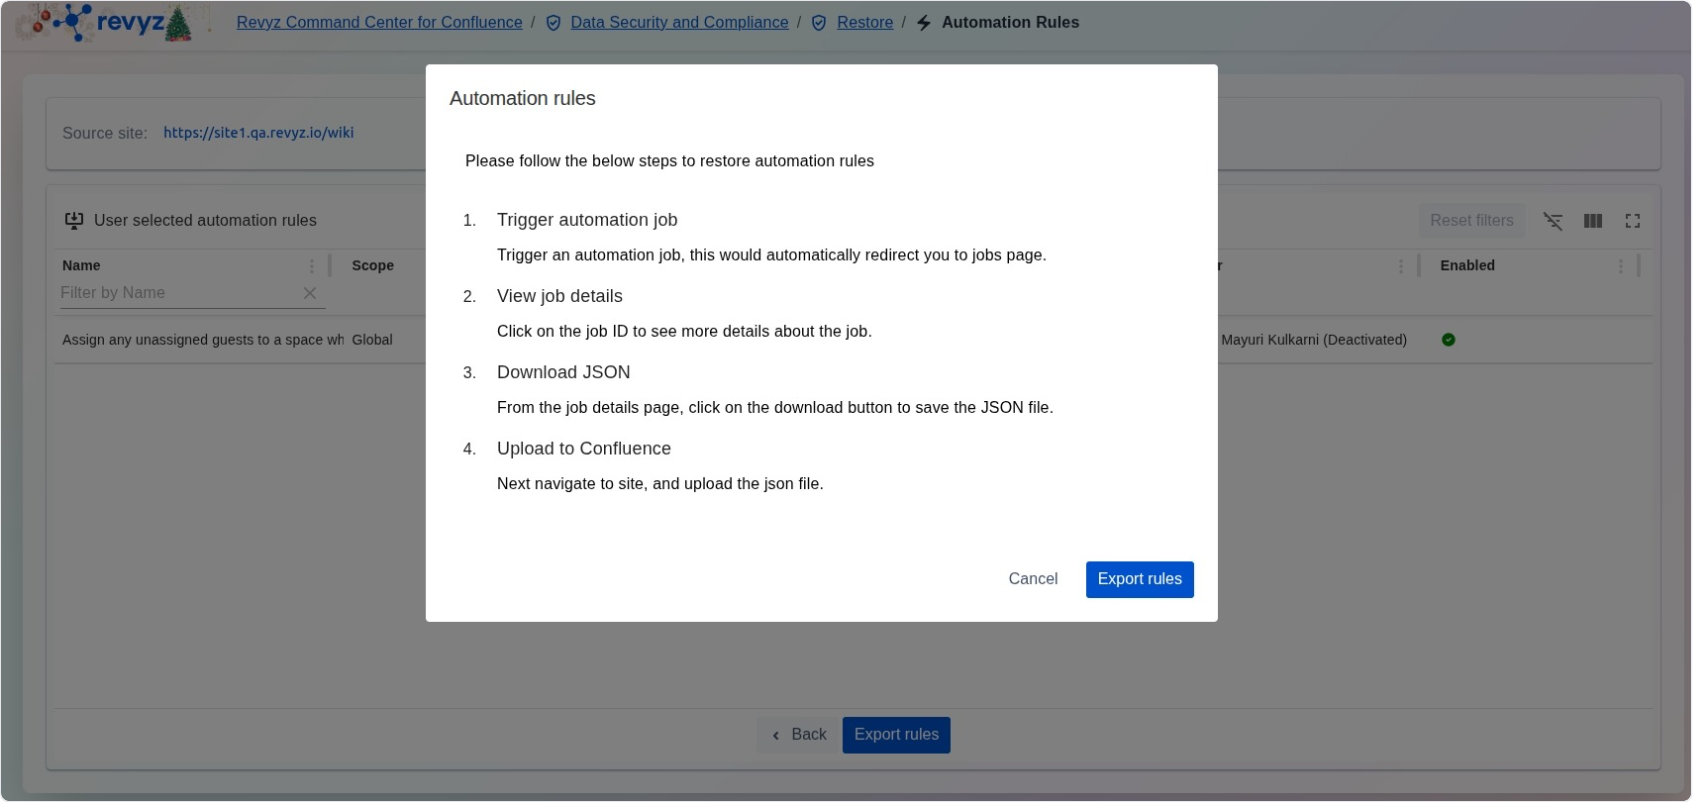
Follow the steps to start exporting the automation rules. Click on “Export Rules” to complete the process.
Step 6: Check Revyz Jobs
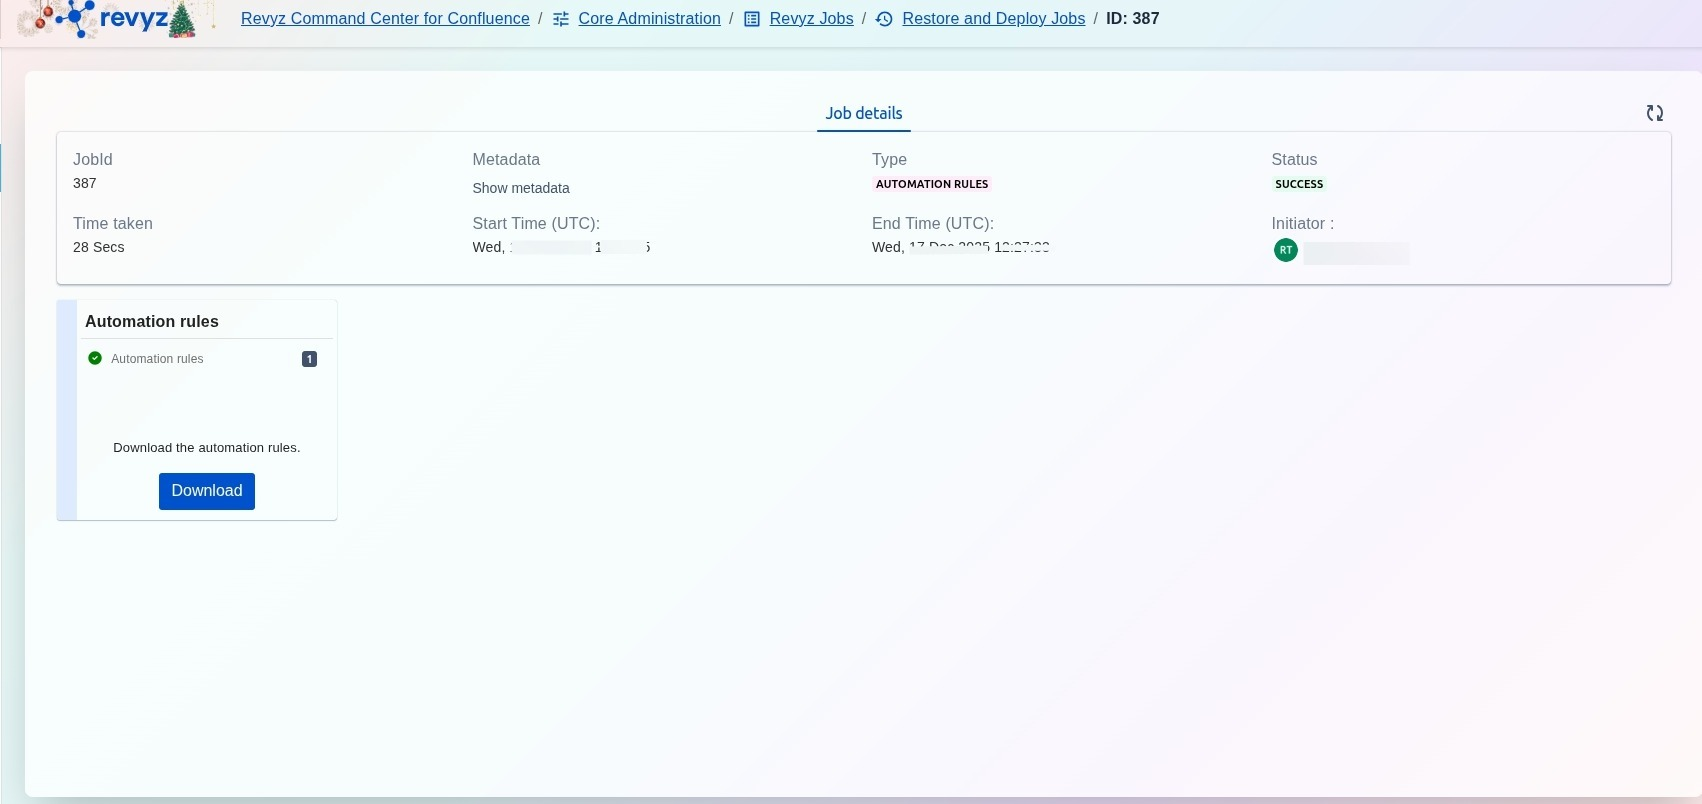
A new job will be triggered, click on the job id to see details and download the JSON file. Navigate to your site and then upload it to your Confluence sites, see the steps below.
How to upload the JSON file to your Confluence site?
Step 1: Go to Settings
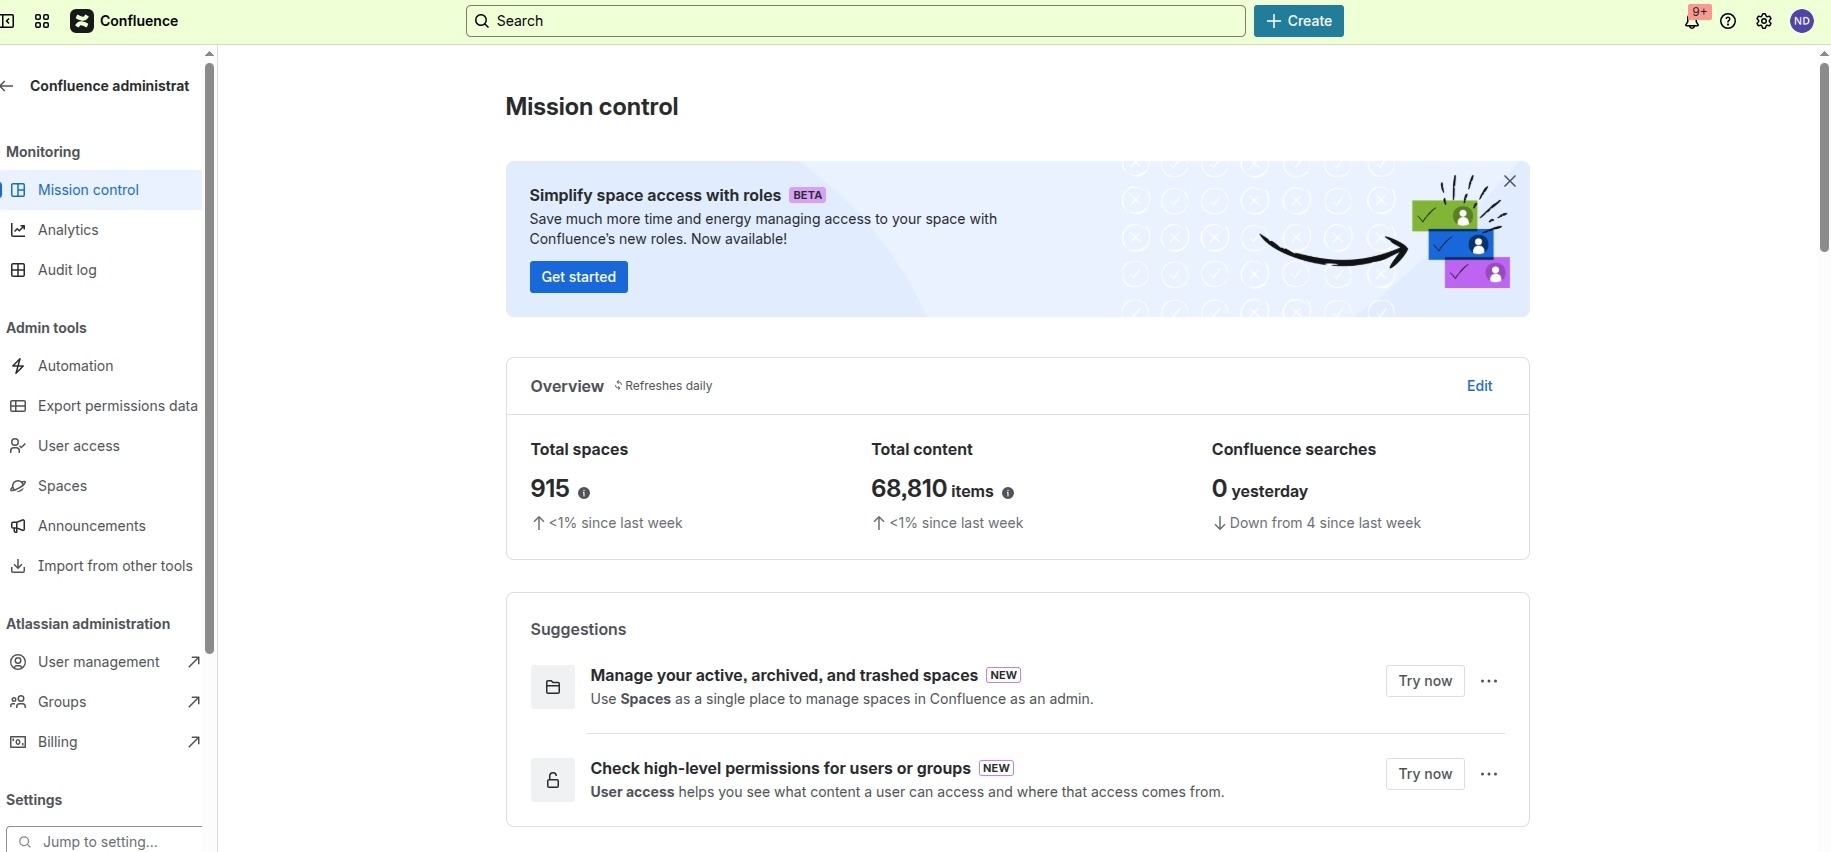
Login to your Confluence site and click on Settings on the right navbar.
Step 2: Select relevant rule
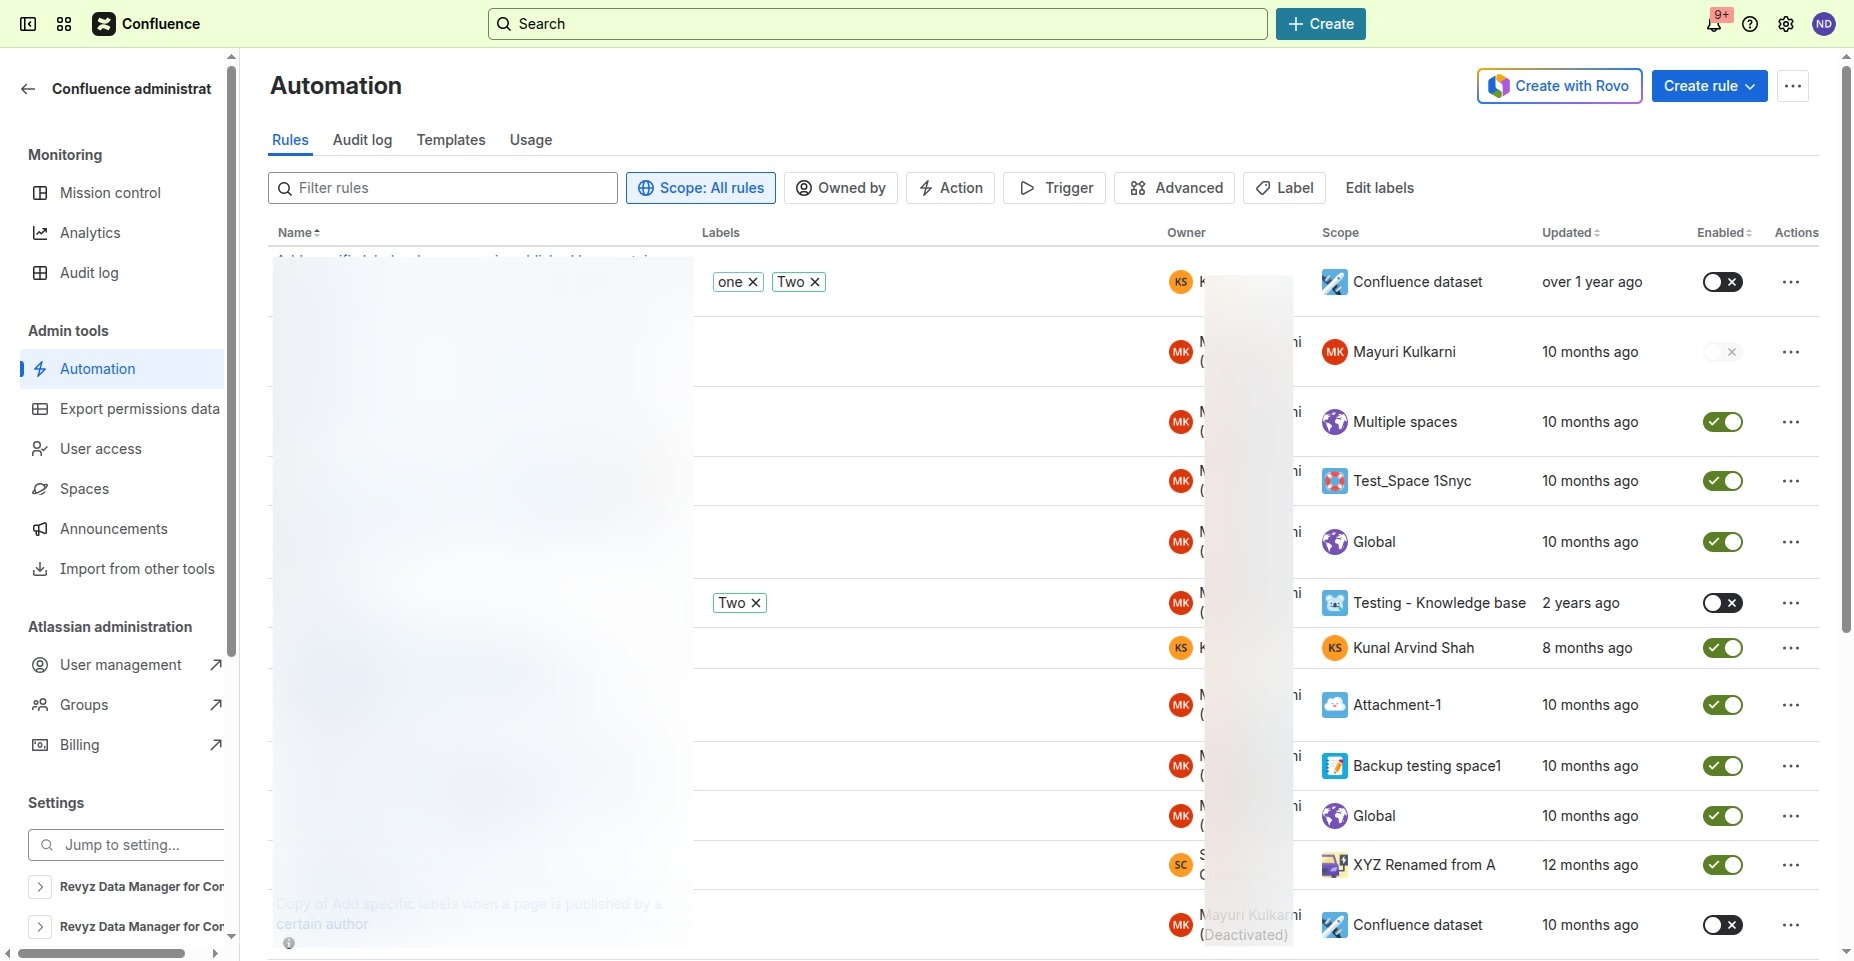
Click on “Automations” on the left navbar. Later, click on the three dots in the corner.
Step 3: Click on Import Rules

Click on the three dots on the right hand corner and select “Import Rules”
Step 4: Upload the JSON file
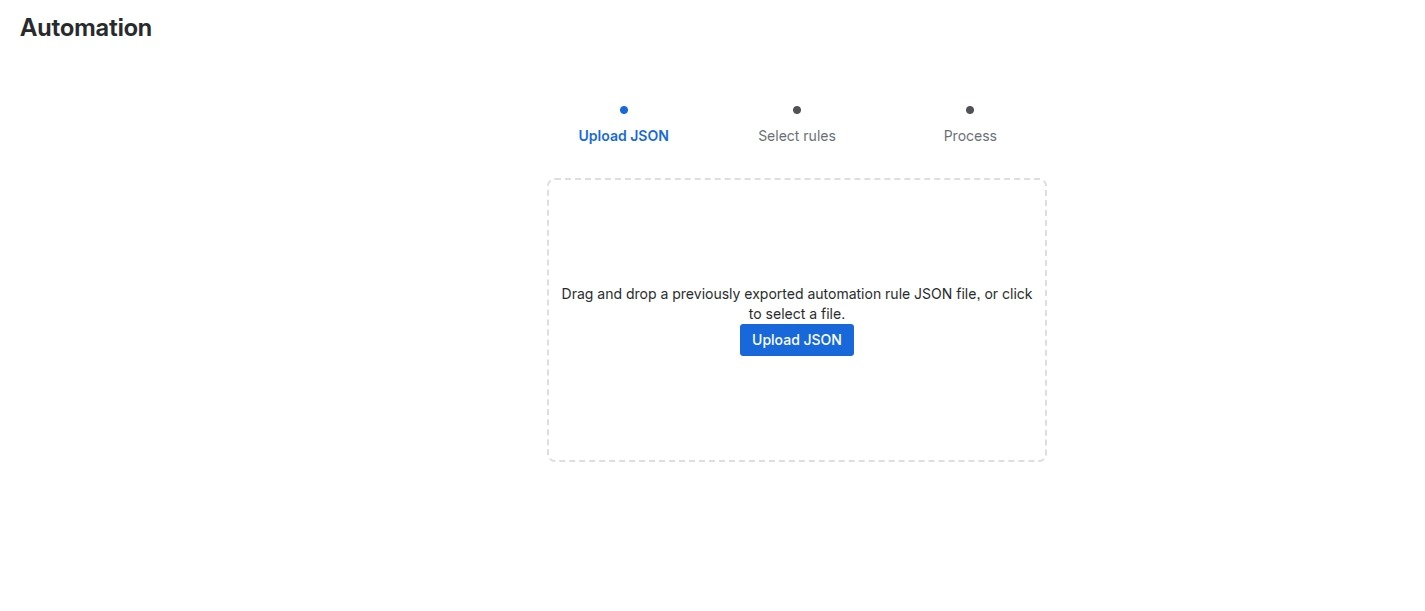
Upload the downloaded JSON file.
Note: Once the upload is complete, it is essential to review your configuration settings to ensure the environment is fully operational.About this Page