About this Page
The Restore spaces page is where you begin the recovery of one or more Confluence spaces. This tool provides the flexibility to restore selected spaces using their original names and keys or to assign alternate ones to avoid conflicts.
What is the use case?
The Restore spaces feature allows administrators to recover deleted or corrupted Confluence spaces from a historical backup to either the original site or an alternate environment.
How to restore spaces?
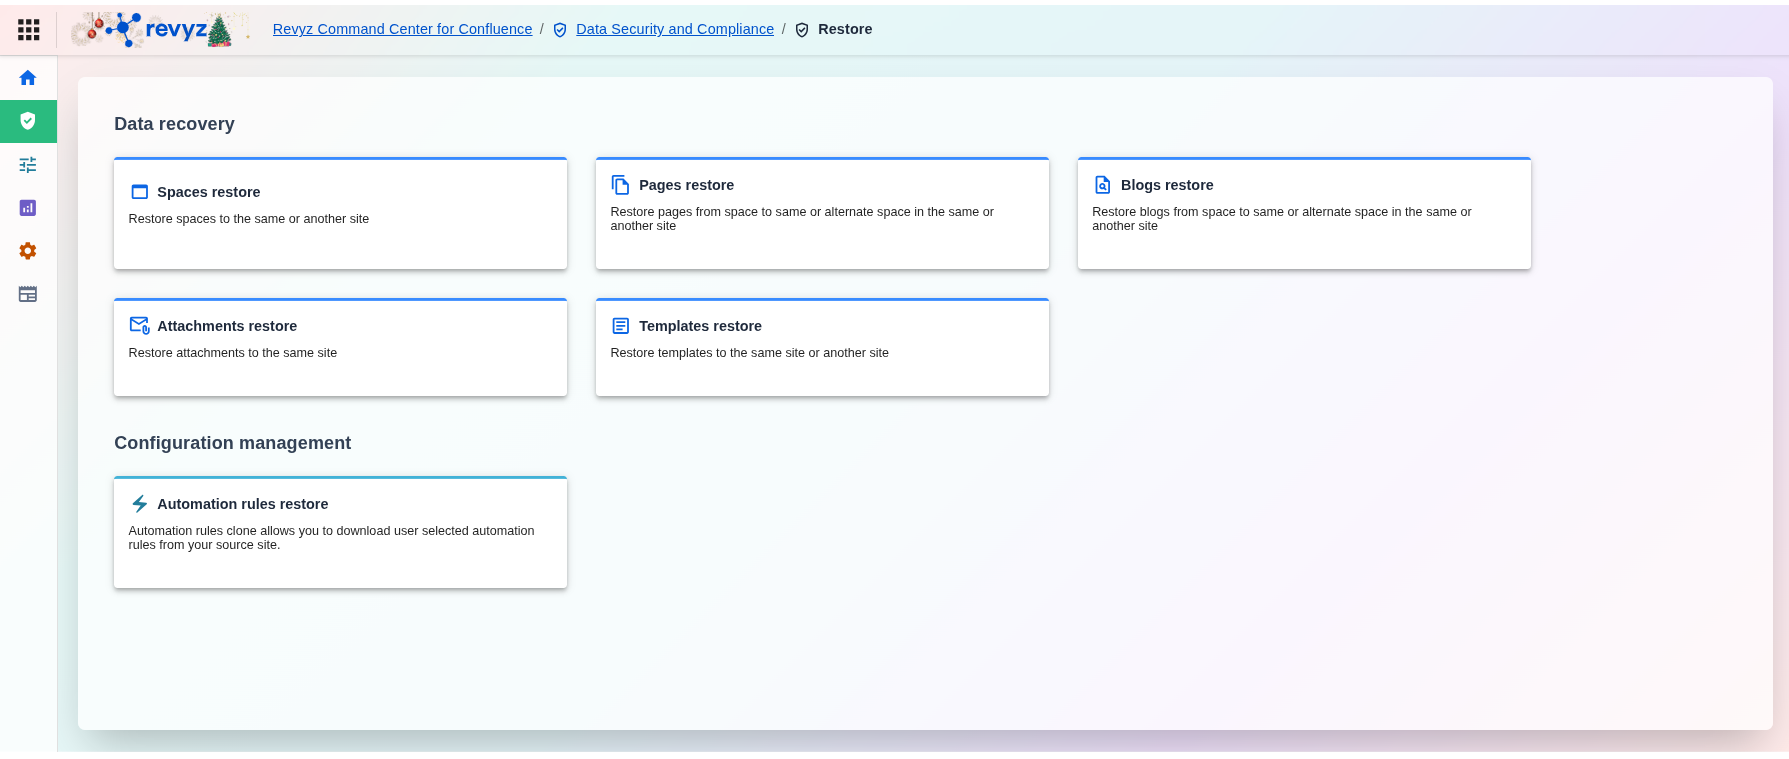
Step 1: Navigate to Spaces Restore
Step 2: Select the source site details

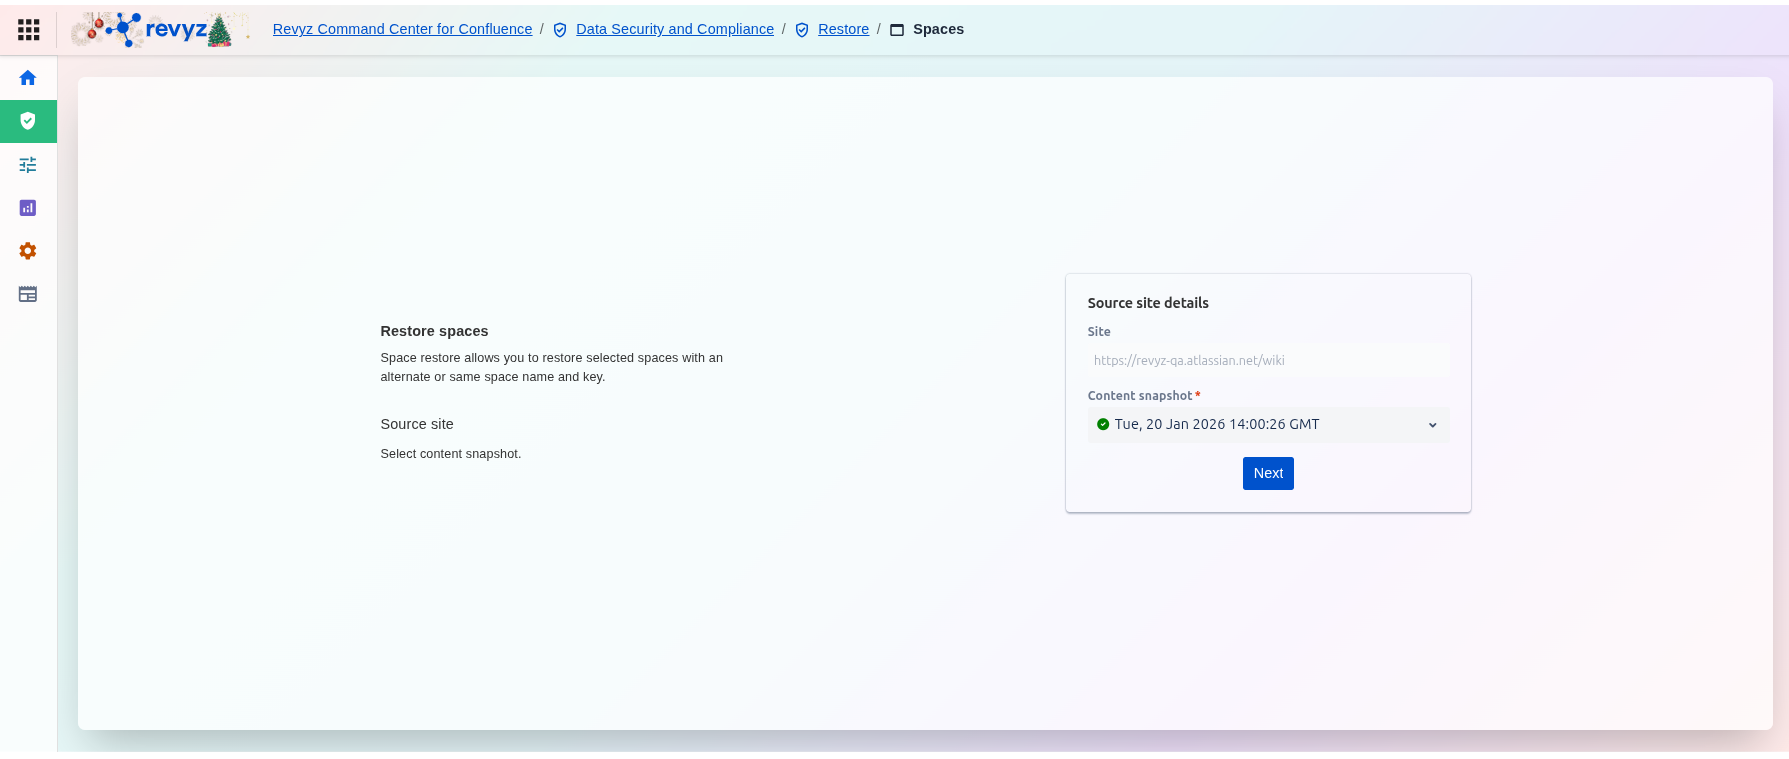
The Restore spaces landing page is where you begin the recovery of one or more Confluence spaces. This tool provides the flexibility to restore selected spaces using their original names and keys or to assign alternate ones to avoid conflicts.
Key Components
-
Source Site: Displays the specific Confluence URL from which the backup data will be retrieved.
-
Content Snapshot: A required dropdown menu where you select the specific point-in-time backup you wish to restore.
-
Example Snapshot: Tue, 20 Jan 2026 14:00:26 GMT.
-
-
Next Button: Proceeds to the next step where you will select the specific spaces and destination settings.
Step 3: Destination Site Details
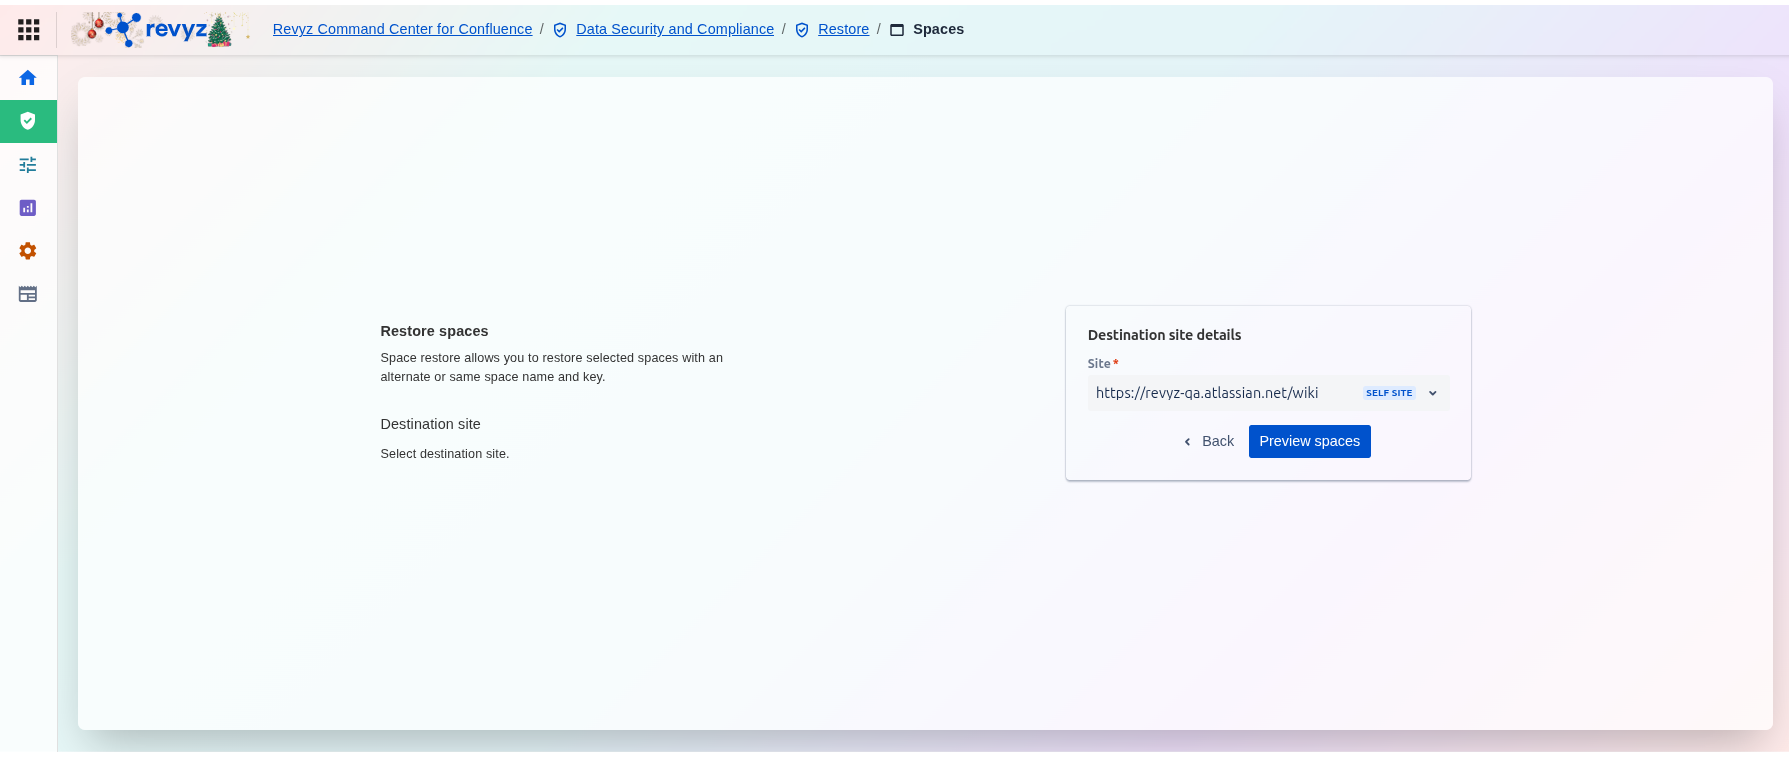
The Space Restore process is designed to be flexible, allowing administrators to restore selected spaces using either their original identifying information or alternate names and keys.
Once the source data is identified, you must determine where that data will be placed:
-
Destination Site: Select the target Confluence site for the restore.
-
Self Site: The interface allows you to restore directly back to the original source site (labeled as "SELF SITE").
-
Alternate Sites: You can also select other connected sites if you are performing a migration or creating a sandbox.
-
-
Navigation: You can click Back to change the source snapshot or Preview spaces to begin selecting the specific content you wish to recover.
Step 4: Space Selection and View Summary
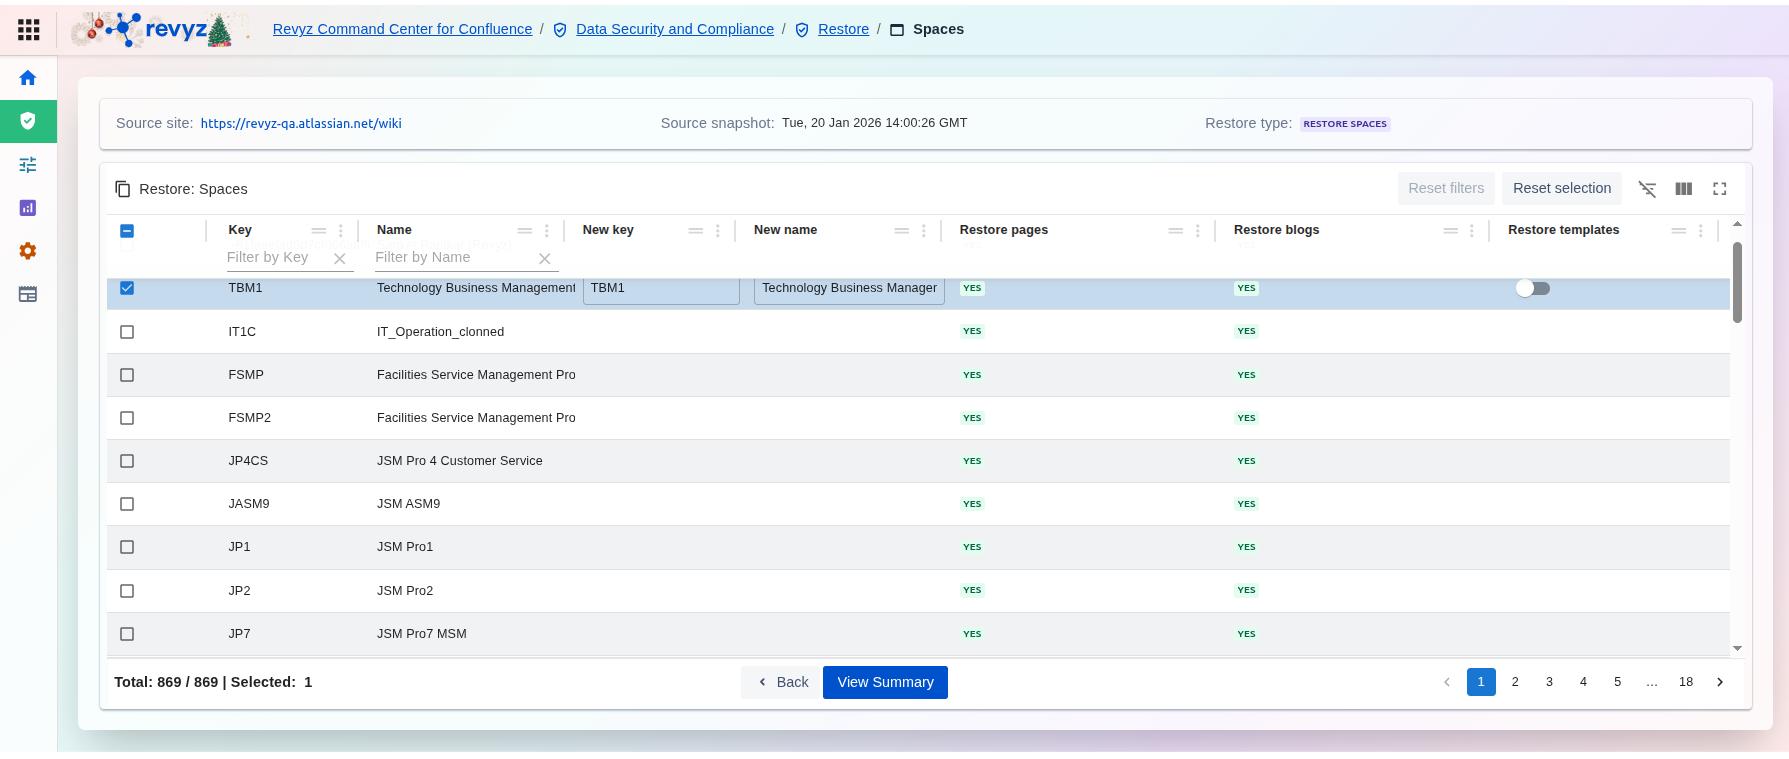
After defining the sites, the interface provides a granular list of all spaces available within the selected snapshot.
|
Space Identification |
Displays the original Key and Name for every space in the backup. |
|
Custom Identifiers |
Provides fields for a New key and New name. This allows users to restore a space without overwriting an existing one by giving it a unique ID. |
|
Content Verification |
Confirms if the snapshot includes Pages, Blogs, and Templates for each space (marked as "YES" if available). |
|
Filtering & Search |
Includes "Filter by Key" and "Filter by Name" boxes to quickly locate specific spaces in large environments. |
Step 5: Final Summary and Execution
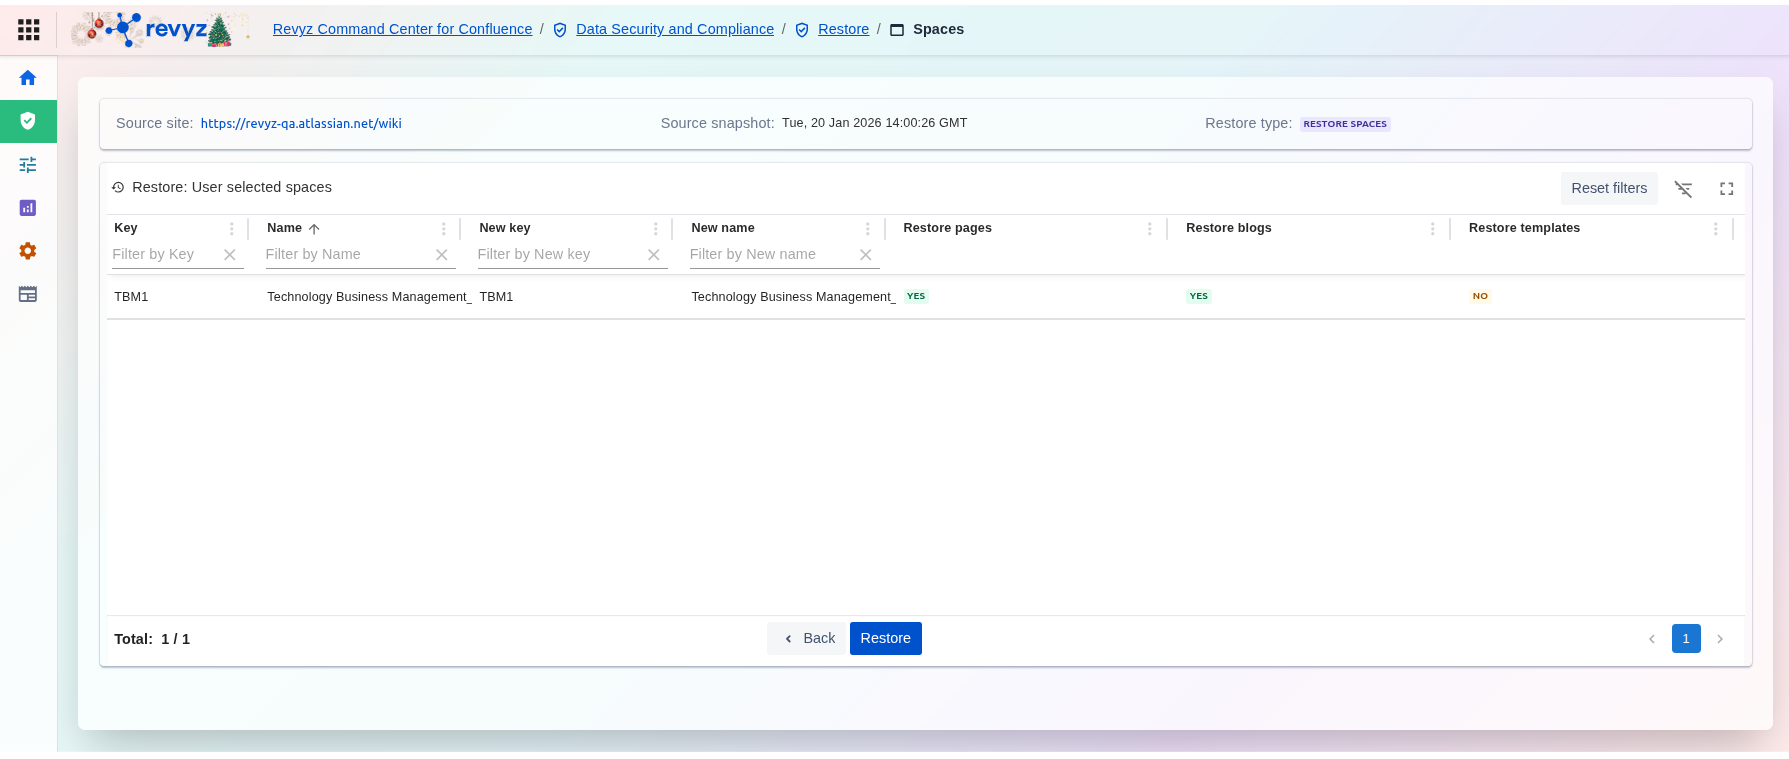
The final screen, Restore: User selected spaces, acts as a confirmation step:
-
Review Selection: Displays only the spaces selected in the previous step, along with any modified keys or names.
-
Content Confirmation: Confirms the final status of what will be restored (e.g., Pages and Blogs marked "YES", Templates marked "NO").
-
Initiate Restore: Clicking the Restore button starts the recovery job.