About this Page
This page provides step-by-step instructions for Jira administrators on how to install the Revyz Configuration Manager app from the Atlassian Marketplace. It covers the process from finding the app to the initial configuration, including the critical choice of setting up your data storage
Note: To install Config Manager for Jira app, you must be a site admin. Follow the steps below to download and install the app.
Steps for installing the Config Manager for Jira App
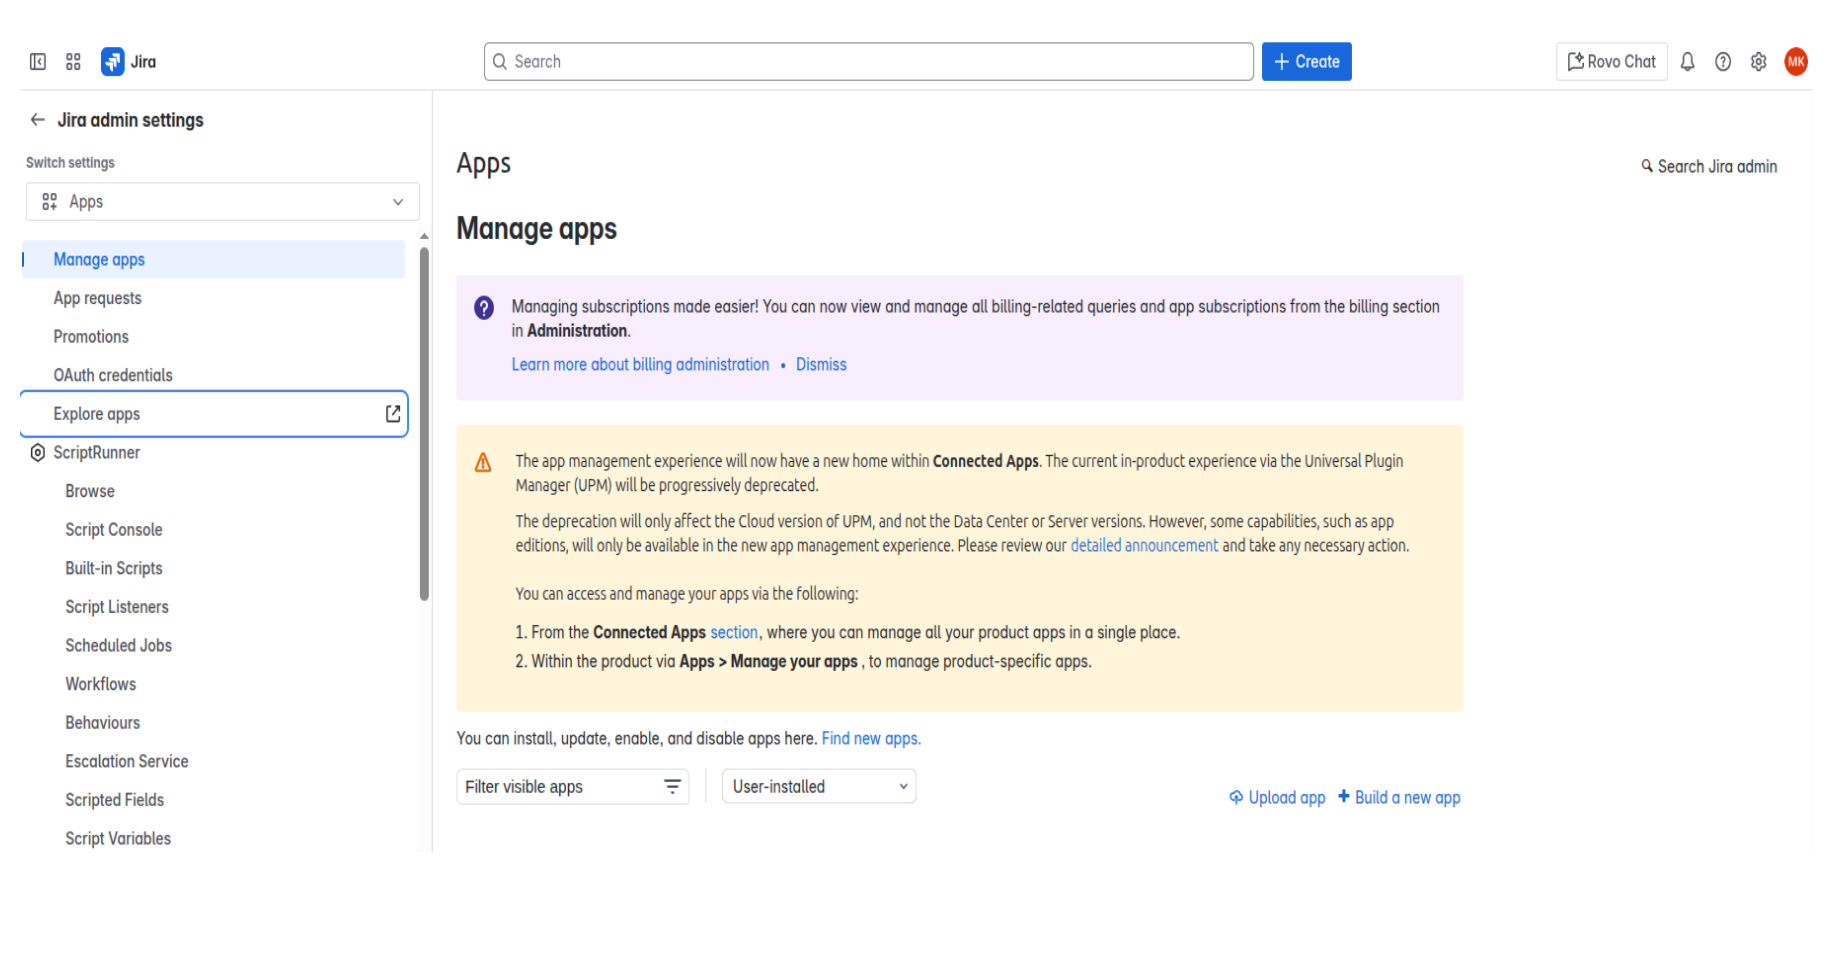
Step 1: Manage Apps
Log in to your Jira site as an admin
-
Click on “Apps” in left navbar.
-
Click on Manage apps and then click on Explore apps.
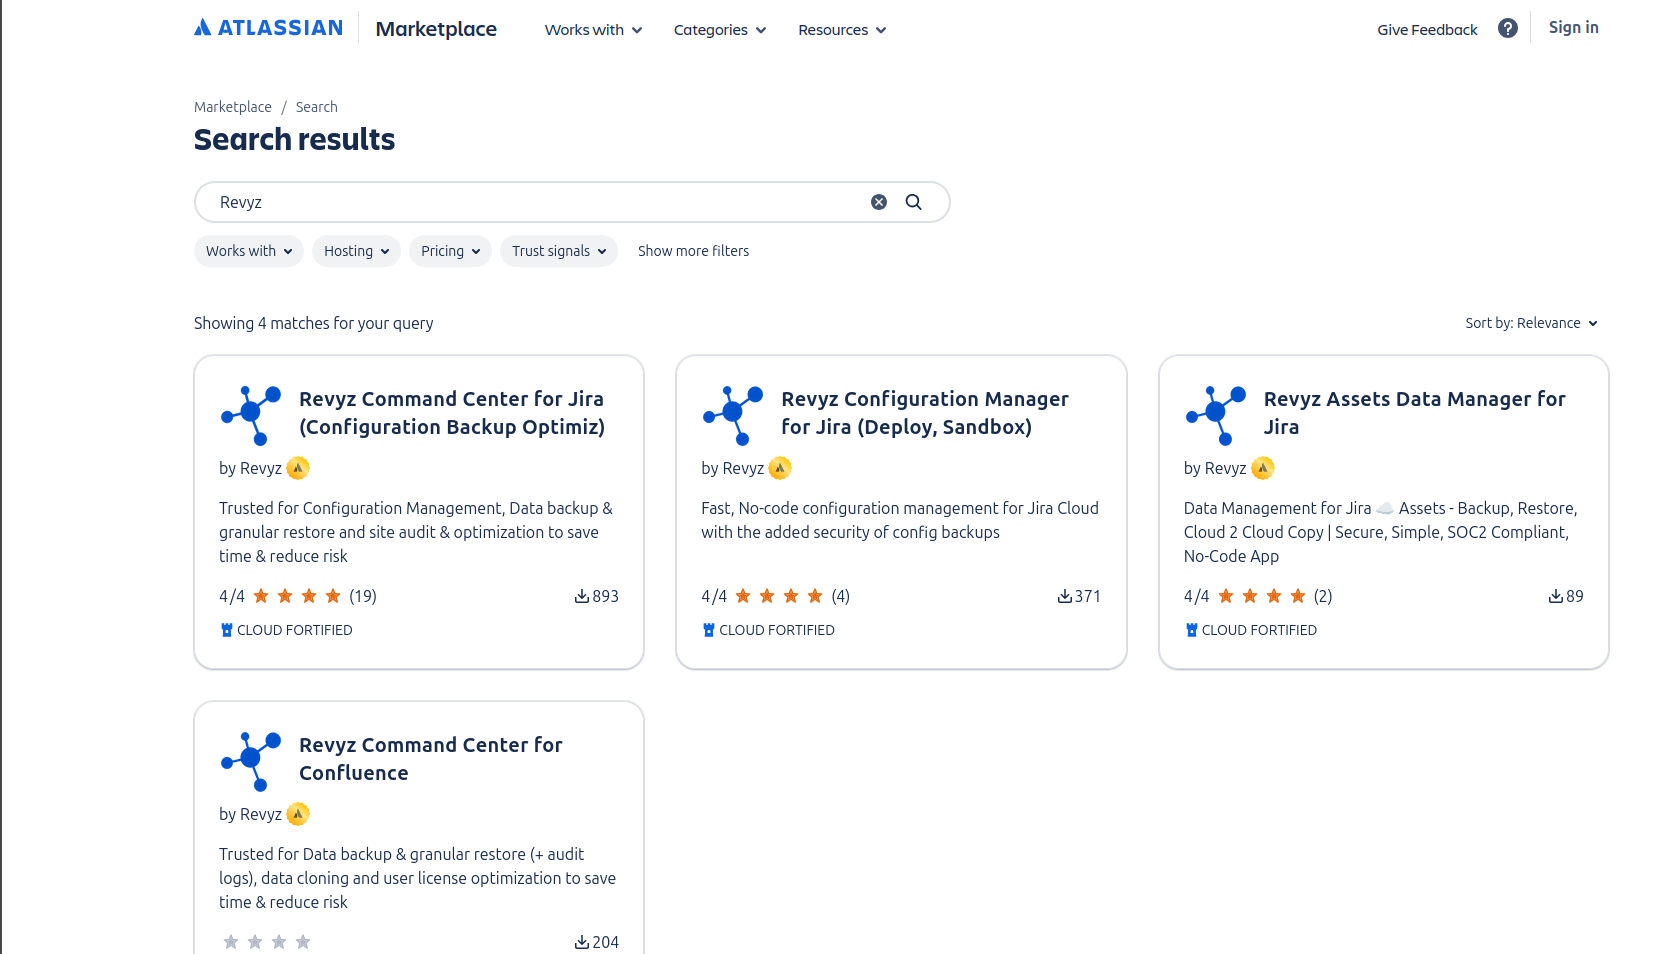
Step 2: Locating & downloading the app
-
Search for the Revyz app in the Atlassian marketplace
-
The app tile appears as the search results filter.
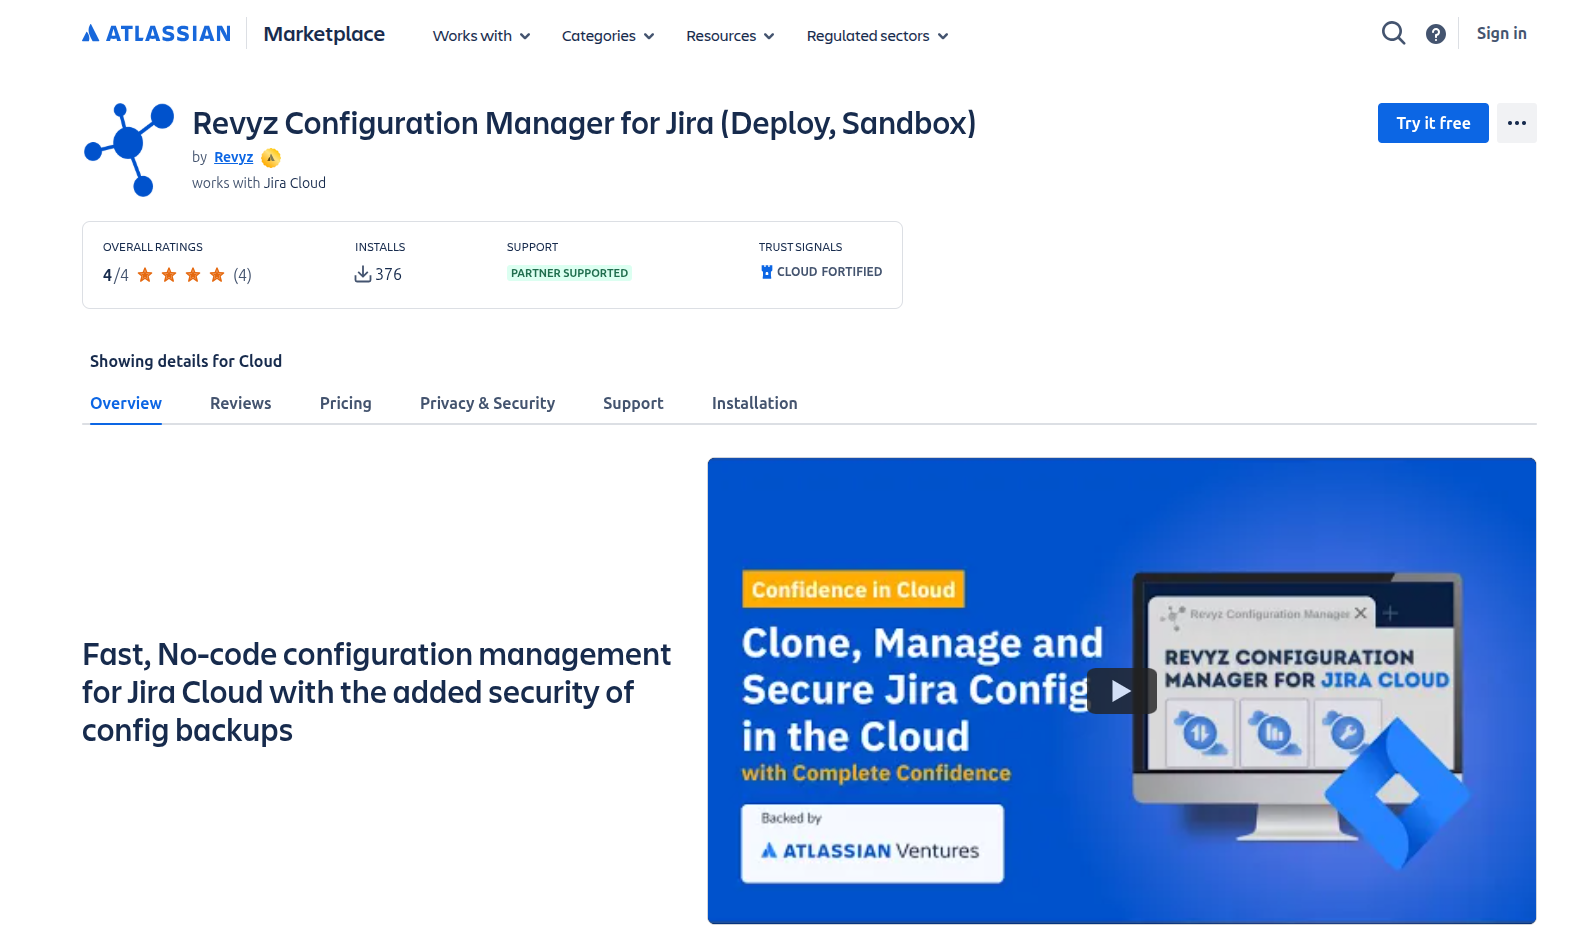
Step 3: Installing the app
-
Click on the “Config Manager for Jira” app tile to start the install process
-
Click on “Try it free”
-
Click on “Start free trial”
-
The app installation process starts and you will see two messages come up in the left bottom half of your screen
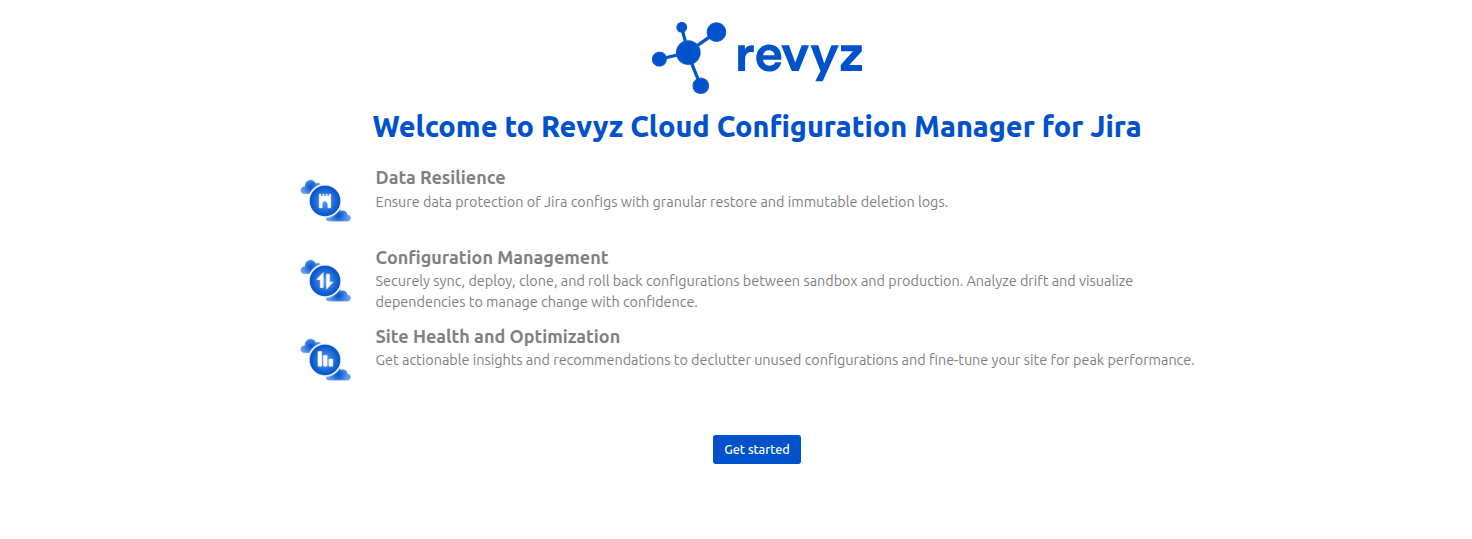
Step 4: Configure the app
-
Once the Installation completion message is seen - Click on ‘Apps’ in the left navbar.
-
Click on 'Get started'.
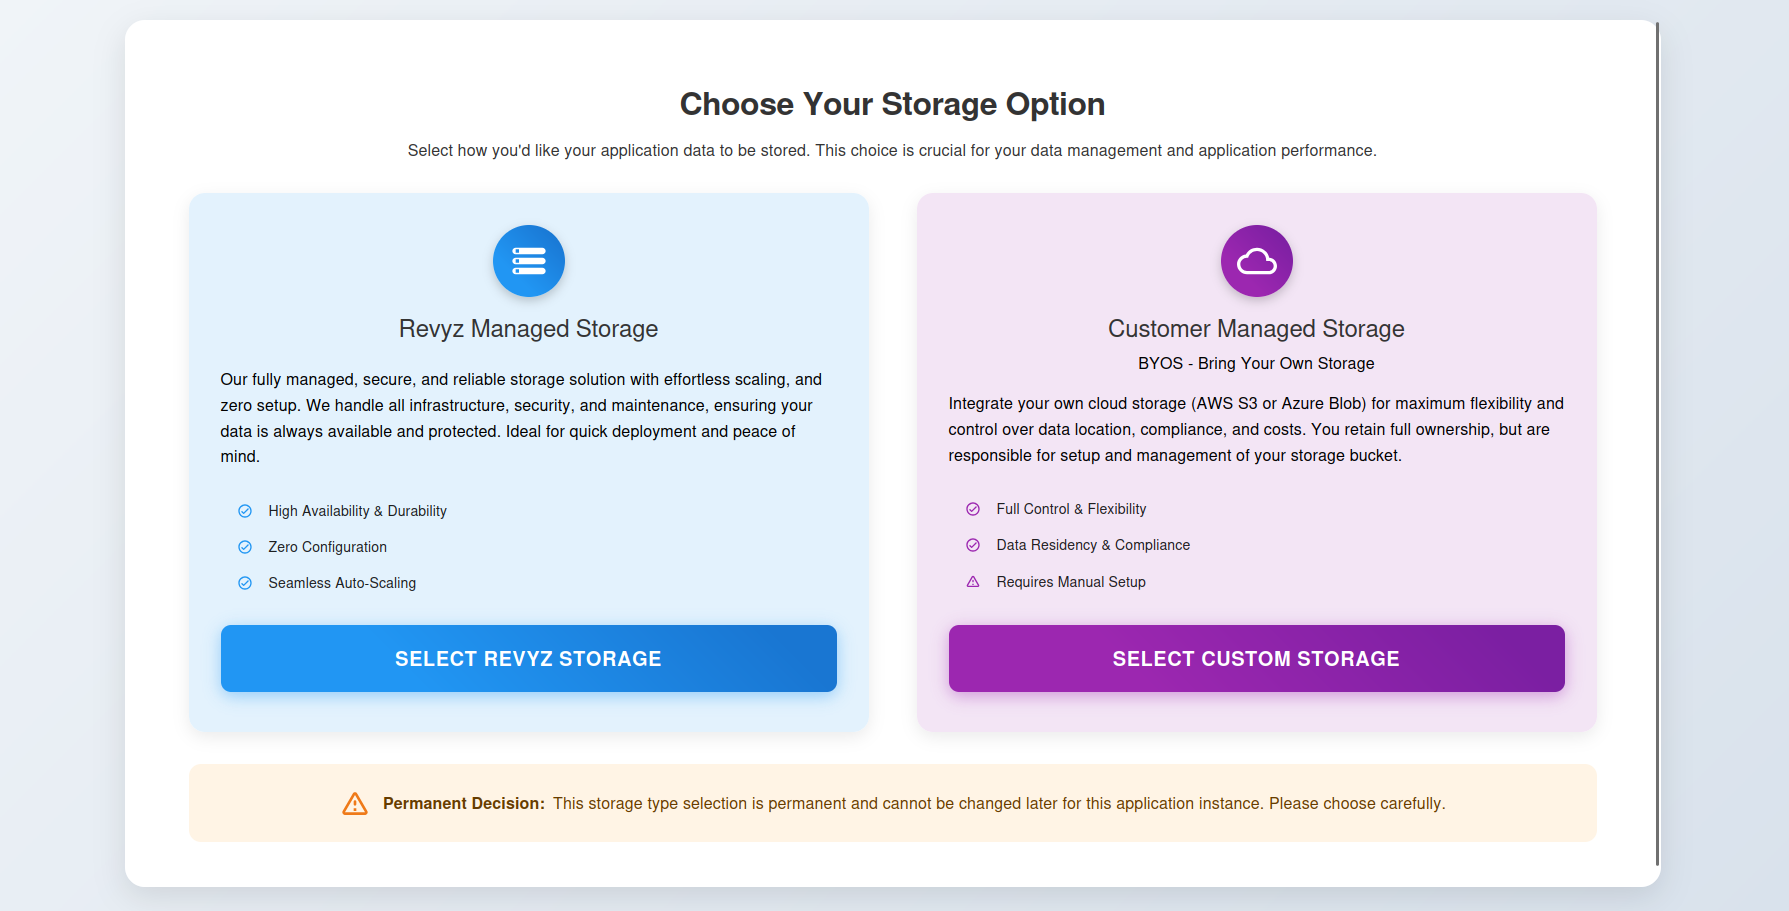
Step 5: Choosing Storage Option
To choose storage type click on: Revyz Managed Storage or Customer Managed Storage card.
Note: This storage type is permanent and cannot be changed later for the same Application instance. Please choose carefully.
-
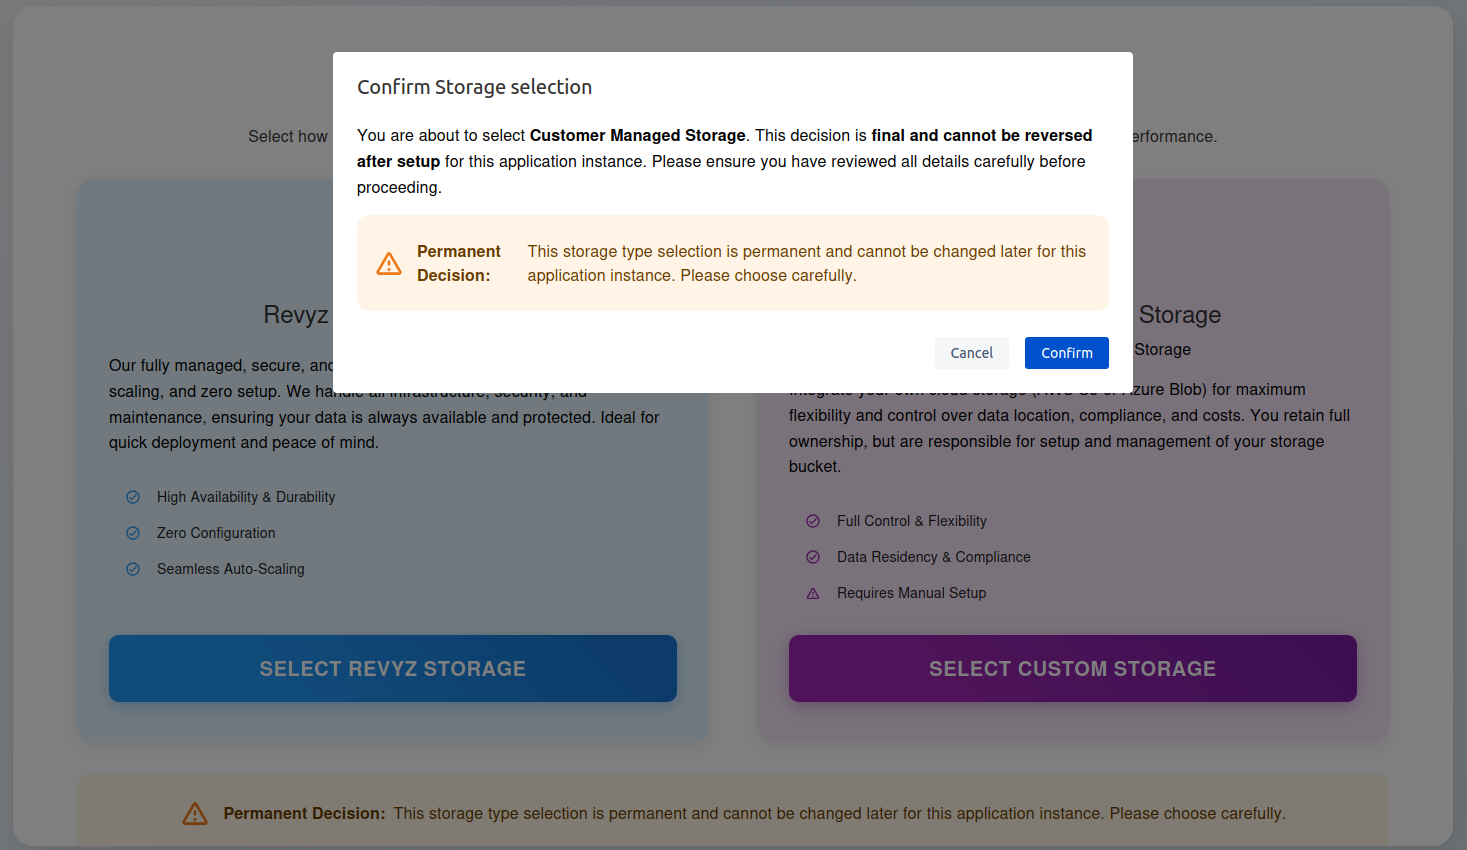
Confirm the message in the prompt and click on 'Confirm'.
Step 6: Configuring Settings
Option 1: You select on Revyz Managed Storage
Step 6.1: If you select Revyz managed storage, a Settings page will appear next.
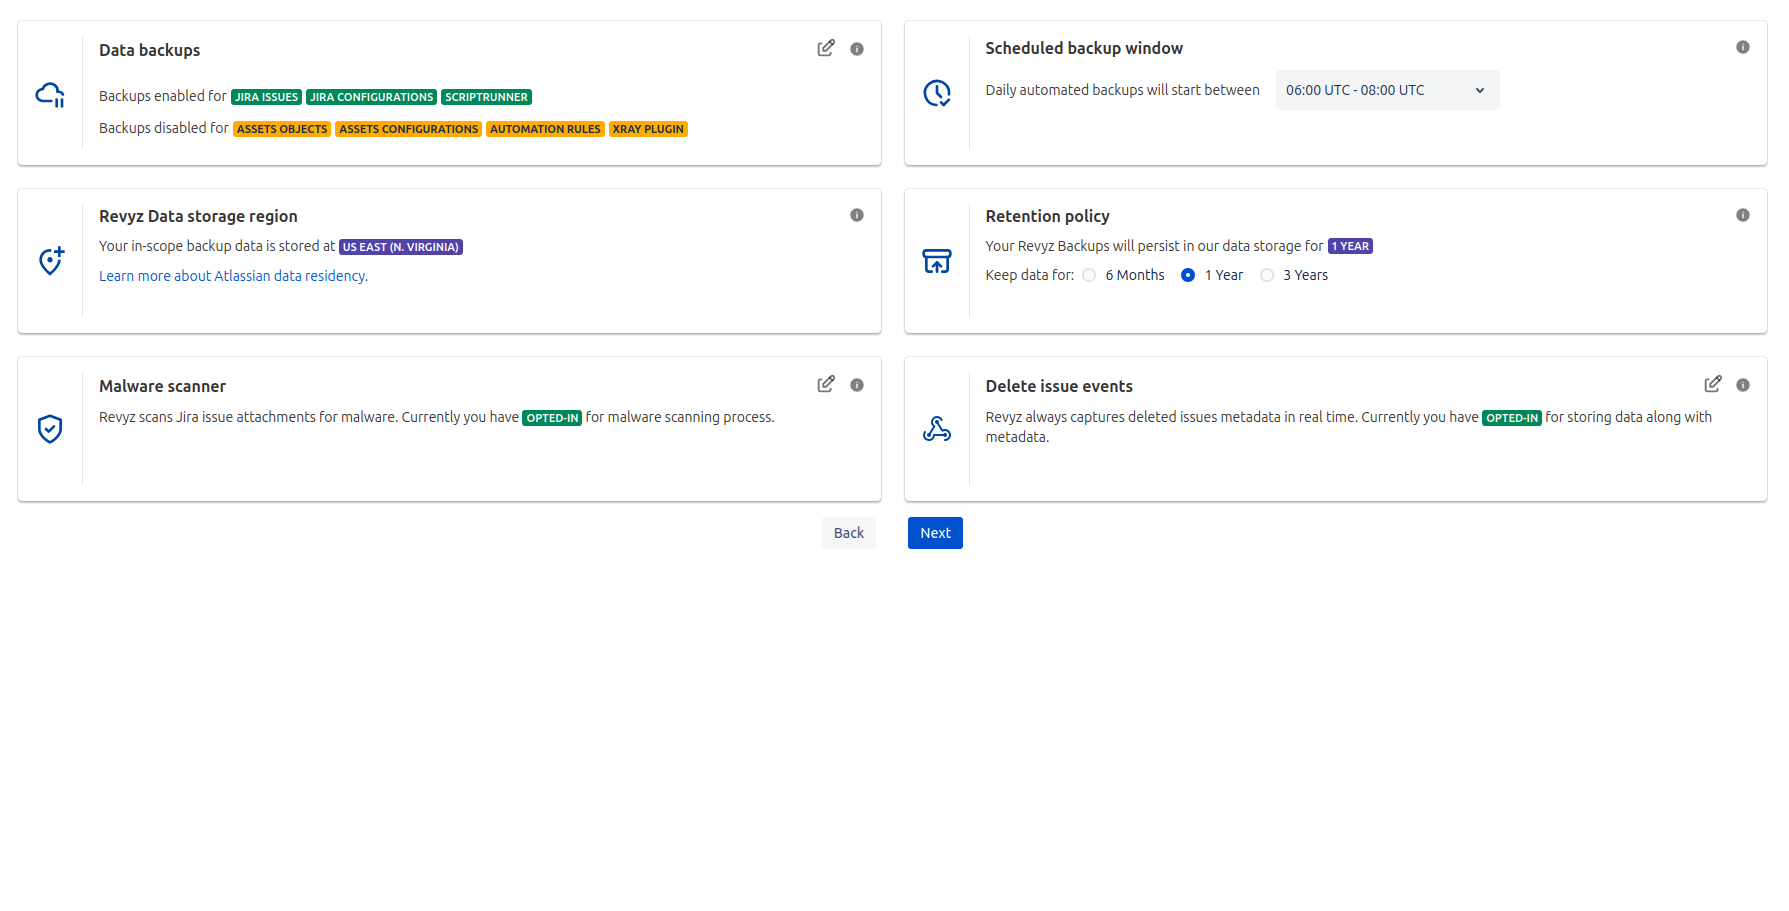
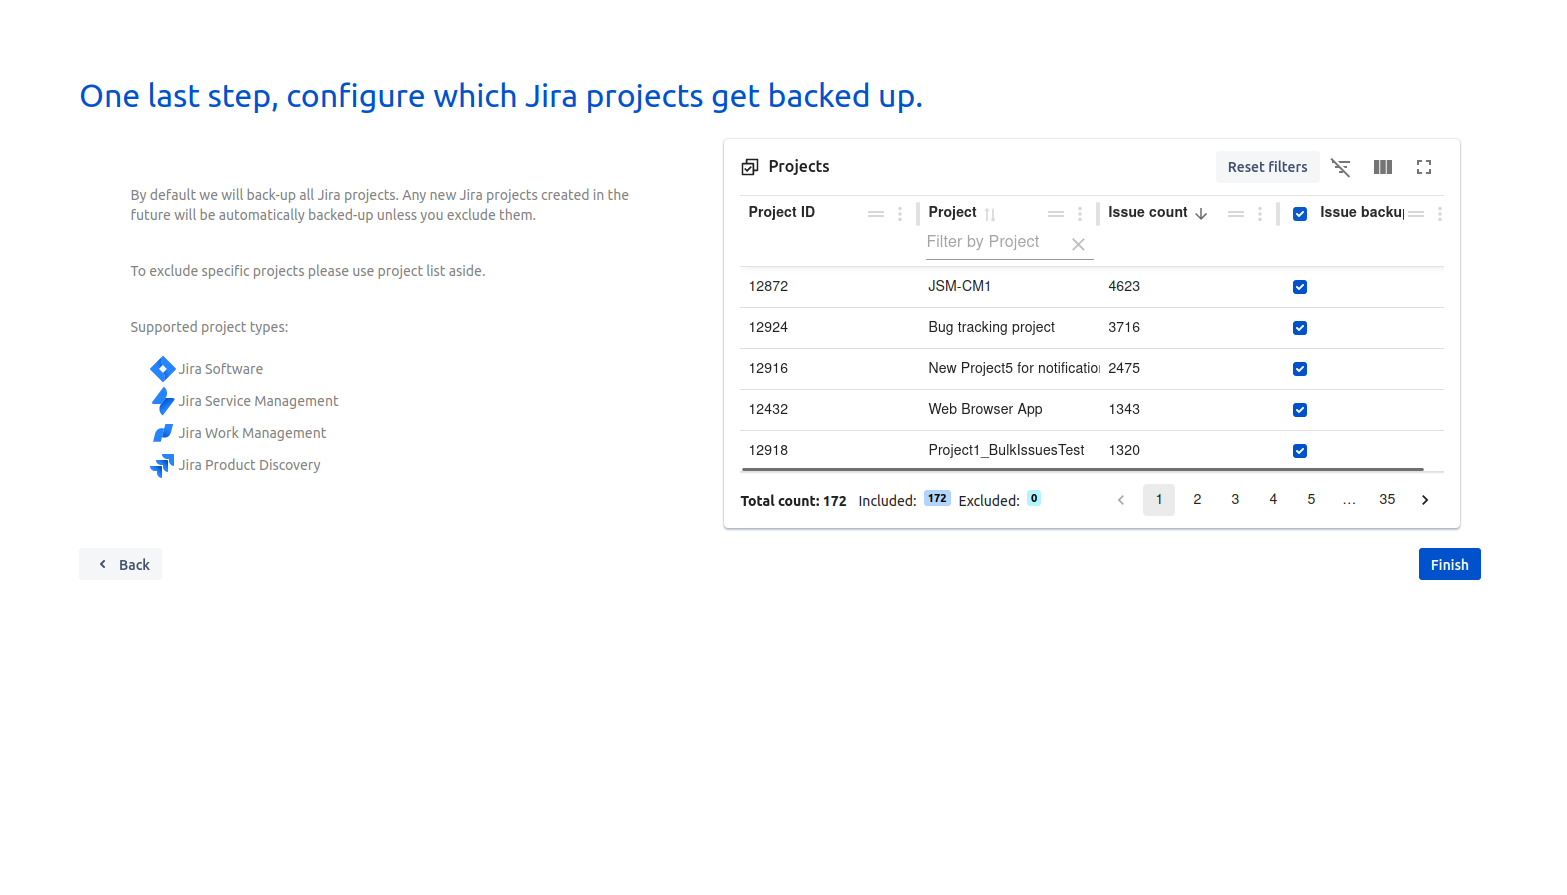
Step 6.2: Click on 'Next'. By default, all the projects on your site will be backed up. Click on 'Finish'.
Step 6.3: If you want to run data backup immediately then select the checkbox.
-
If you want to include new project’s issues to be backed up, Check “Include all new projects in the issues backup”.
-
Check ‘I agree to all the settings’. Click on 'Confirm'.

Option 2: Customer Managed Storage
If you choose Customer Managed Storage, you will get two options.

Select the respective pages for further steps.
-
AWS storage - AWS storage setup
-
Azure blob storage - Azure Blob storage setup