
About this Page
This page walks through the steps to locate your exported Jira data in cloud storage, retrieve it using the sync command with configured AWS CLI credentials, and set it up locally with the ExportViewer file for offline access during an outage.
For AWS customers
Initial setup on local before exporting data
Step 1: Copy the AWS credentials
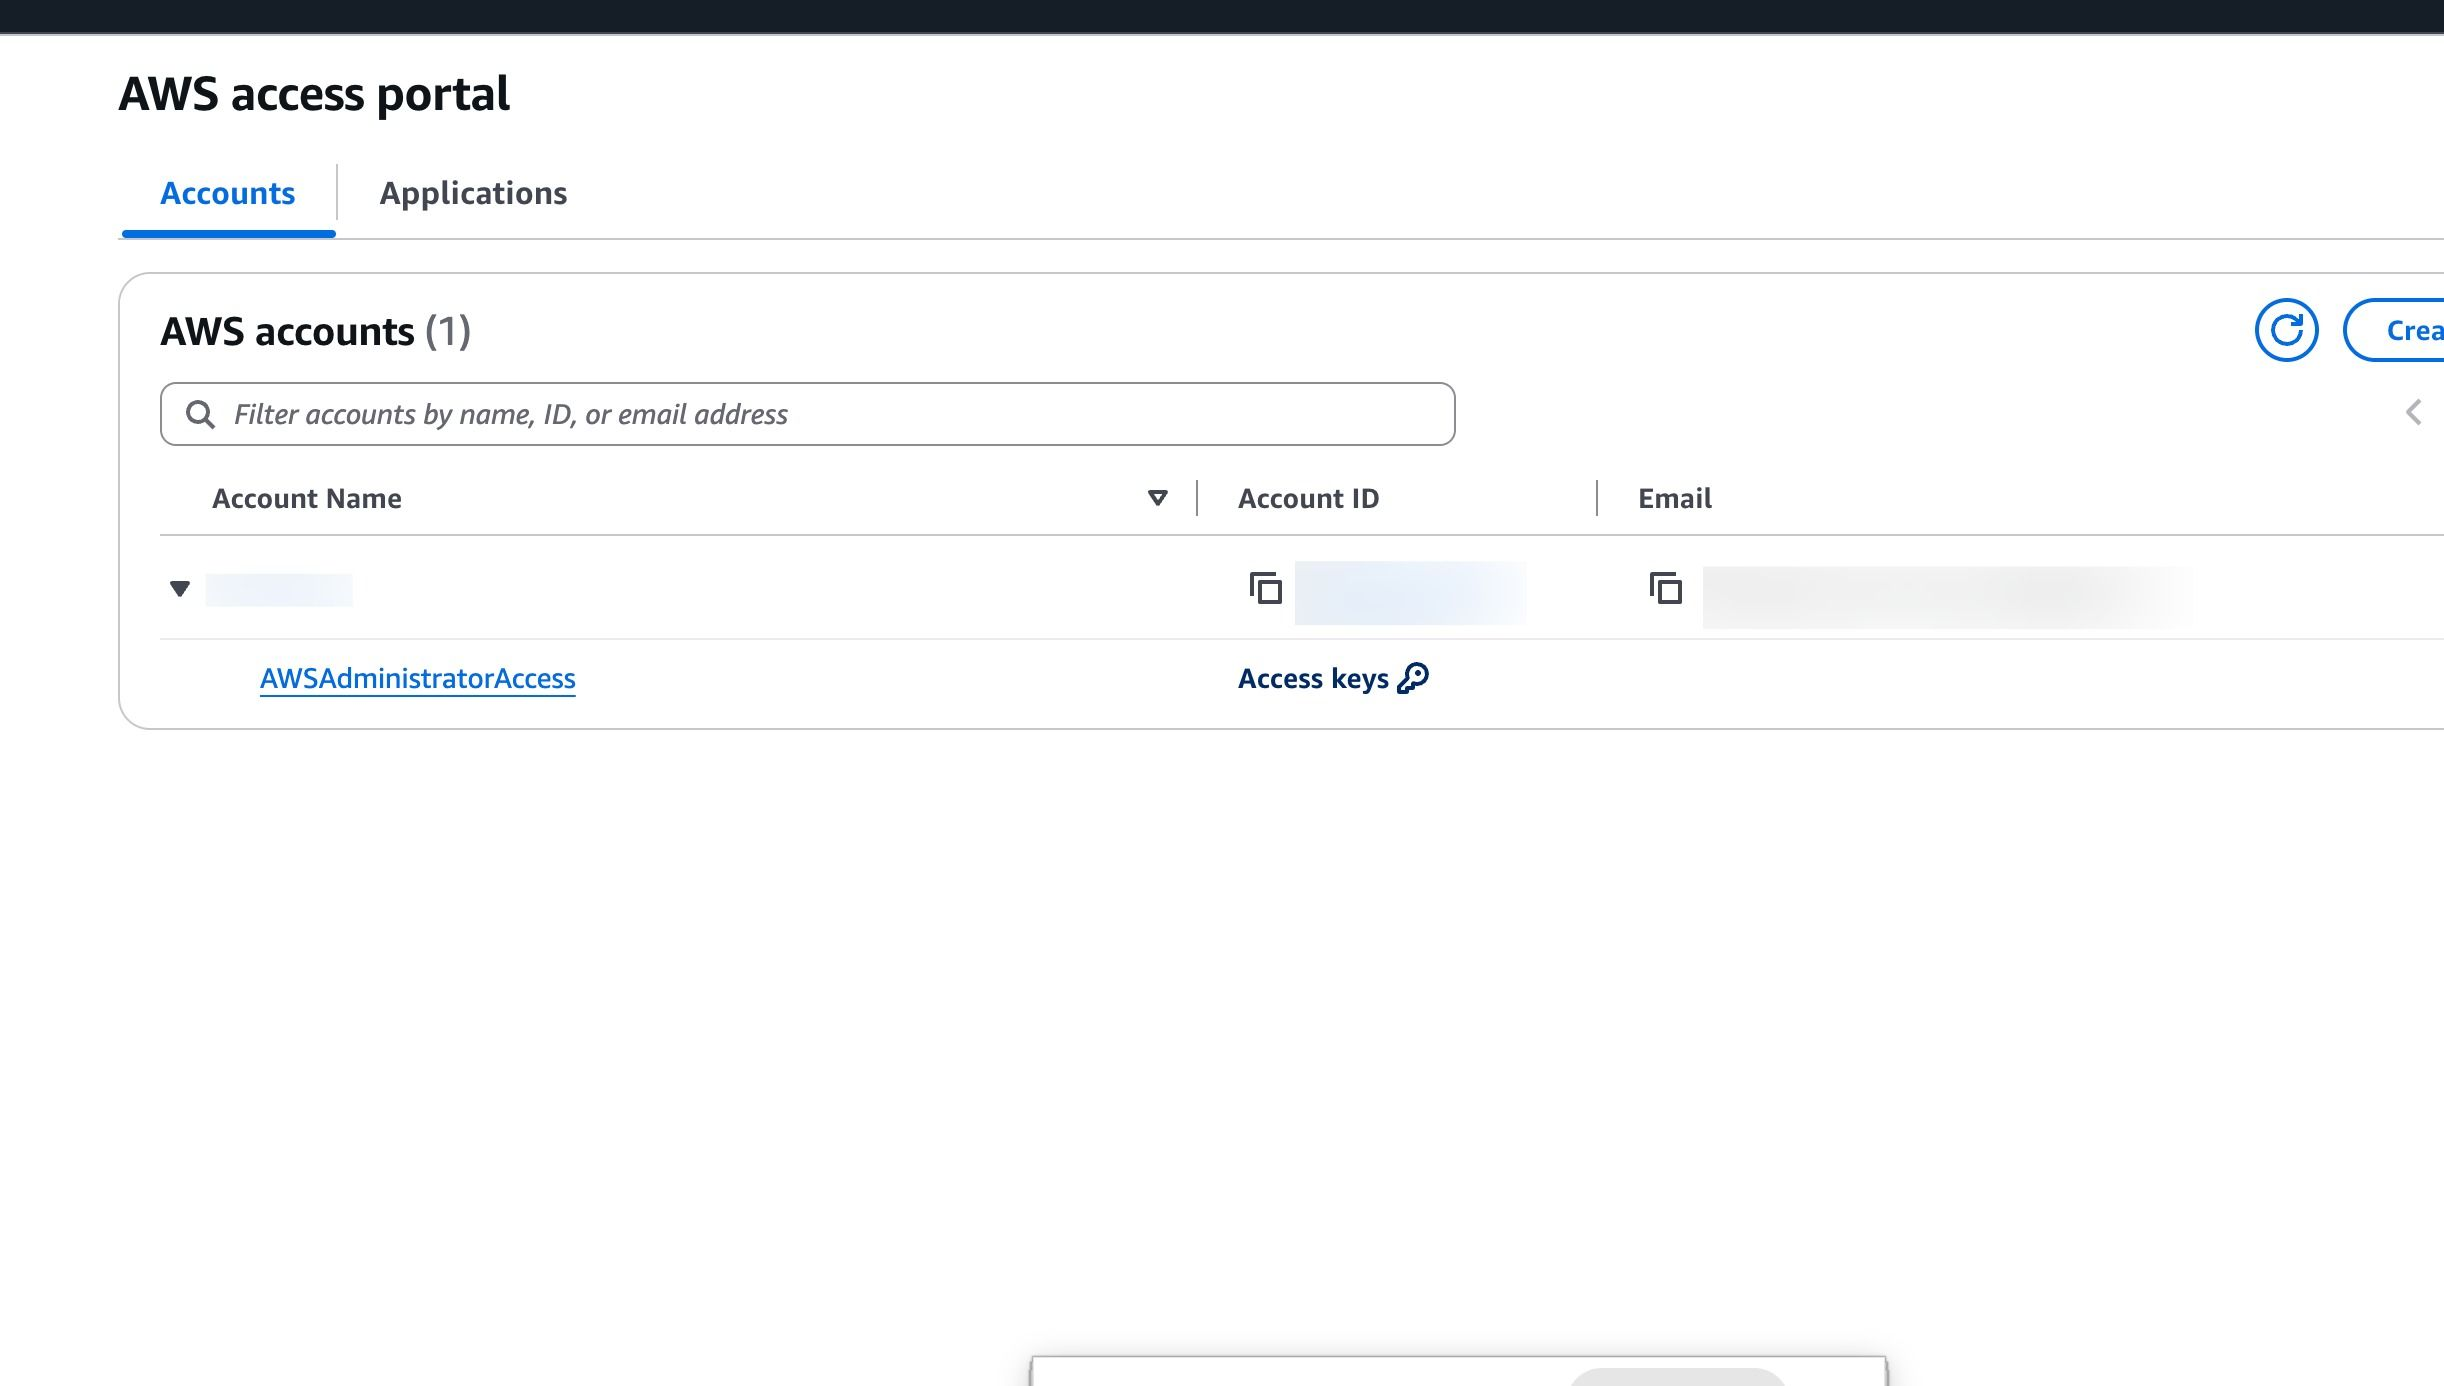
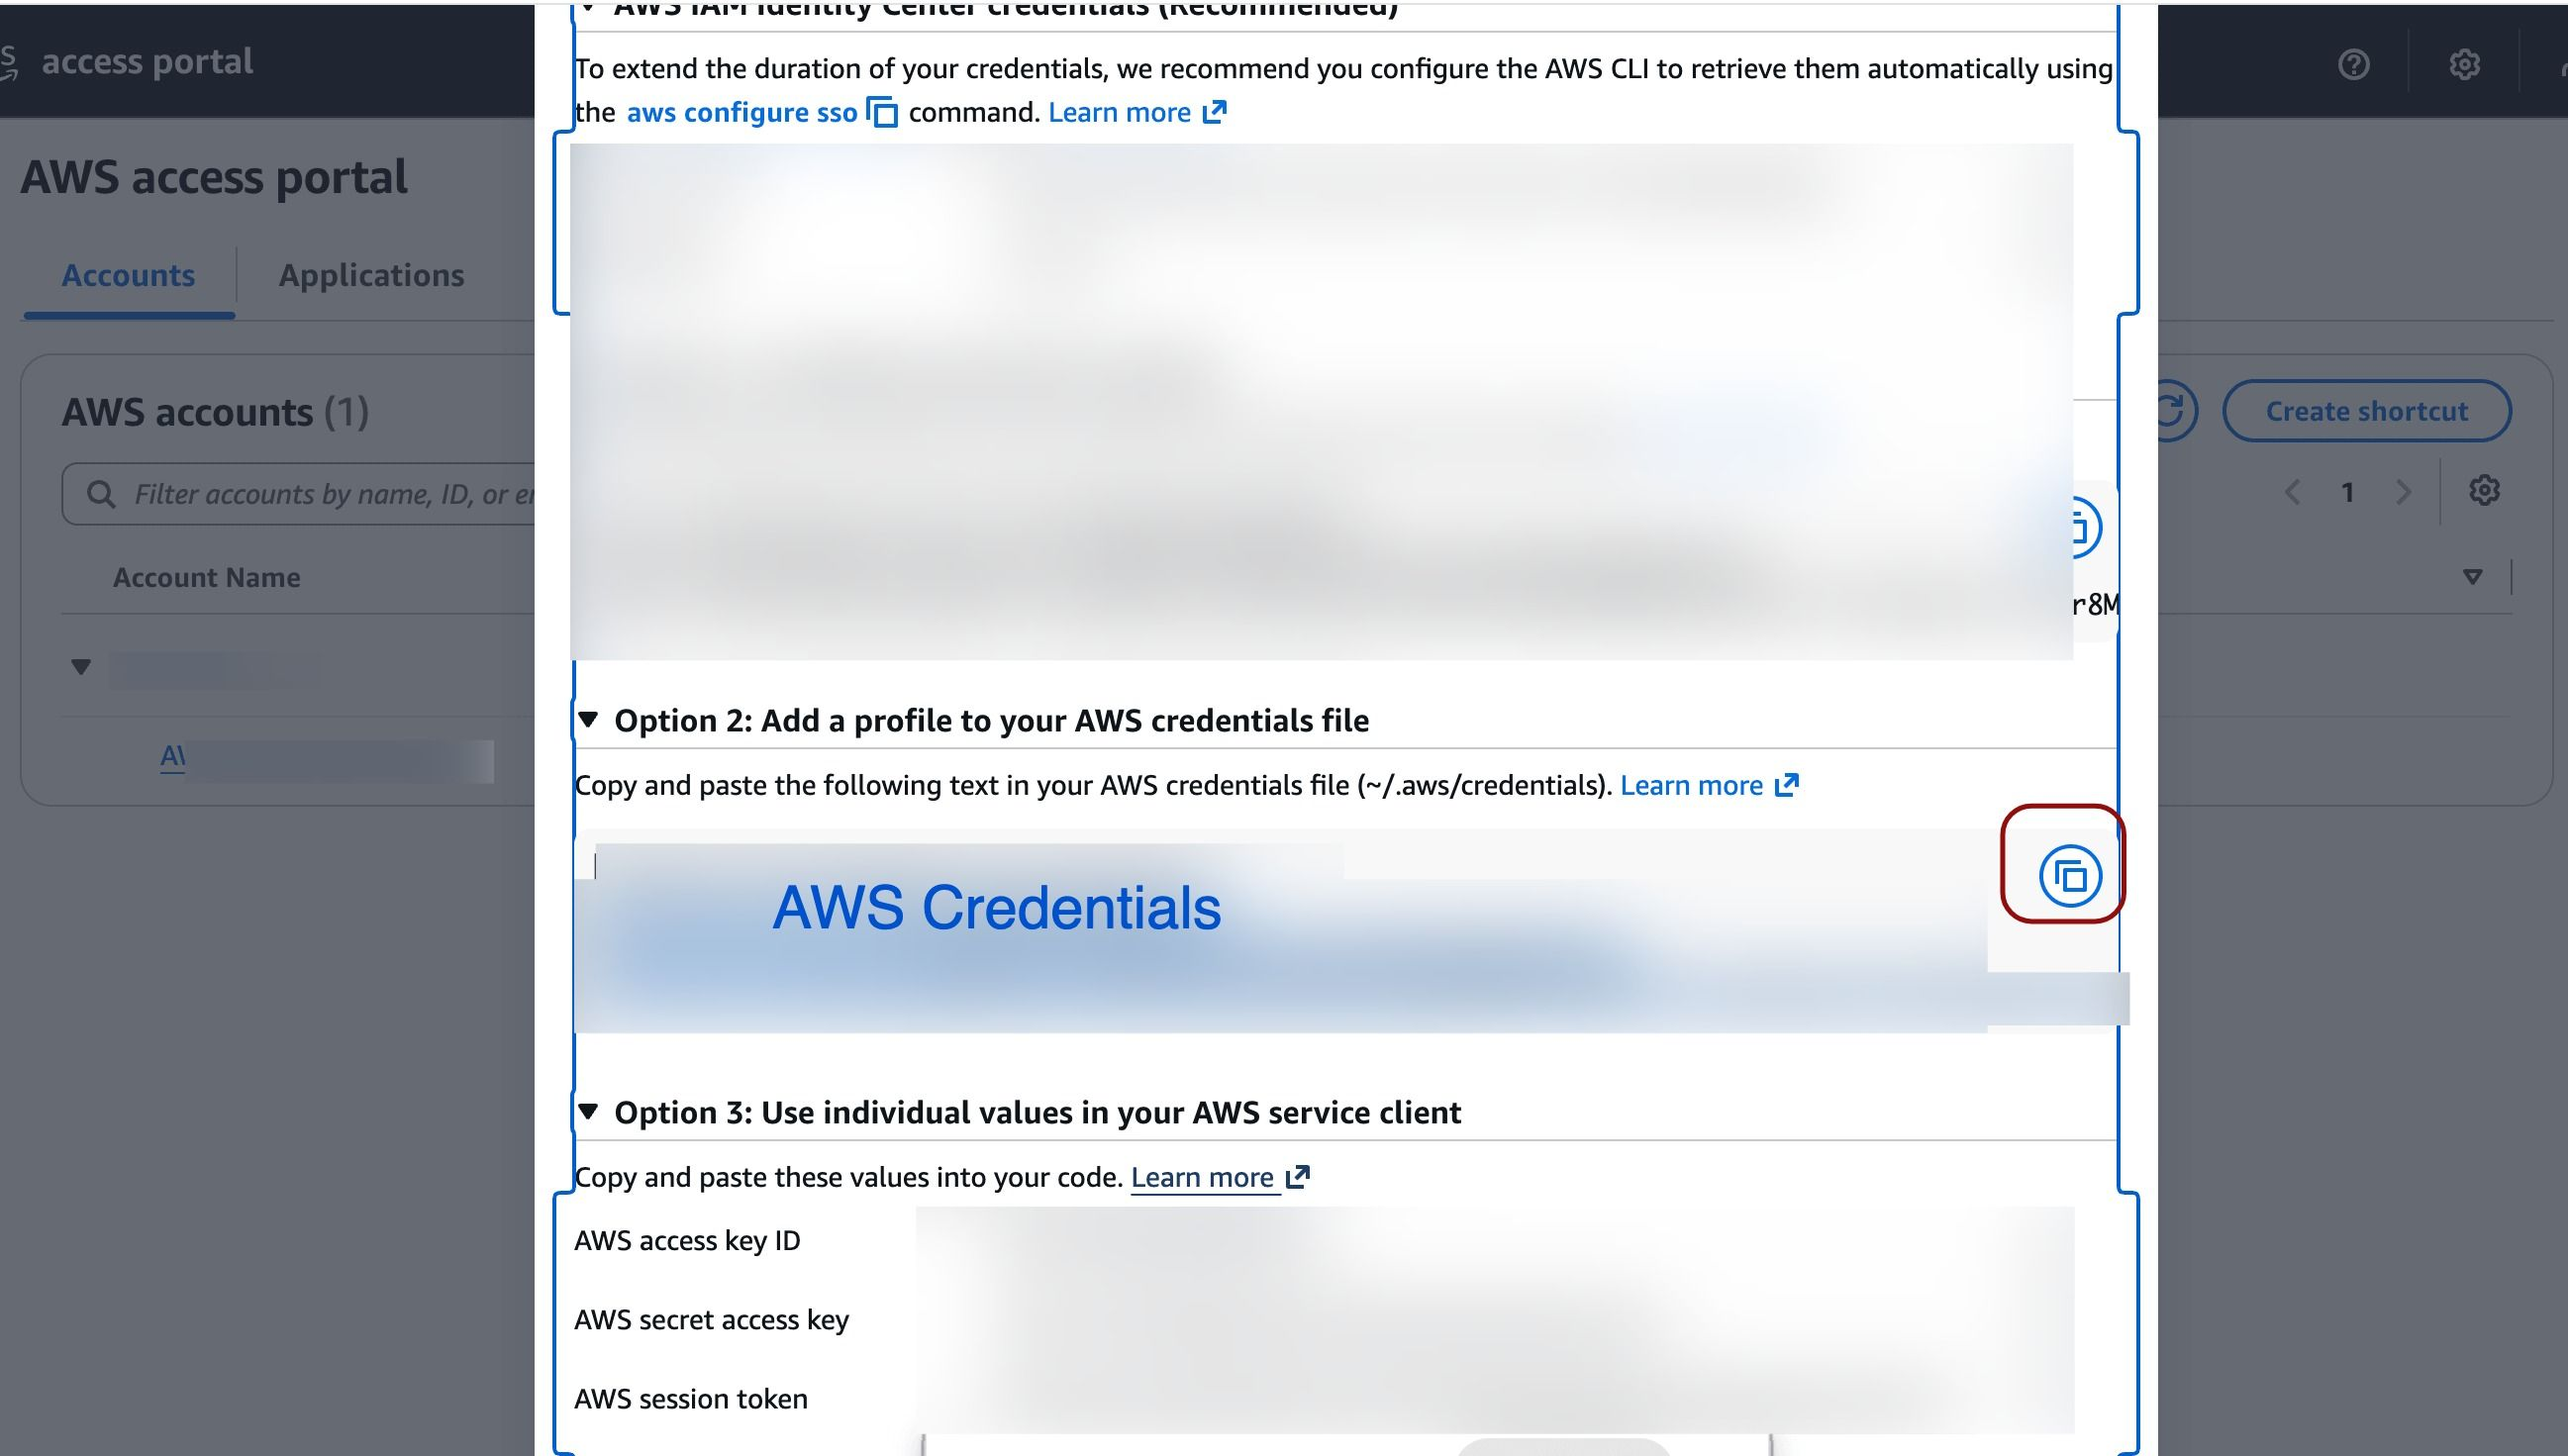
On your local machine (system), configure AWS CLI (download and install)
-
Configure AWS credentials:
-
Open terminal at root level (home)
-
Run the command: cd .aws
-
vim credentials
-
Paste AWS credentials (copy from AWS: Navigate to AWS | Access Key | Copy the Credentials)
-
Step 2: Create an Export Folder
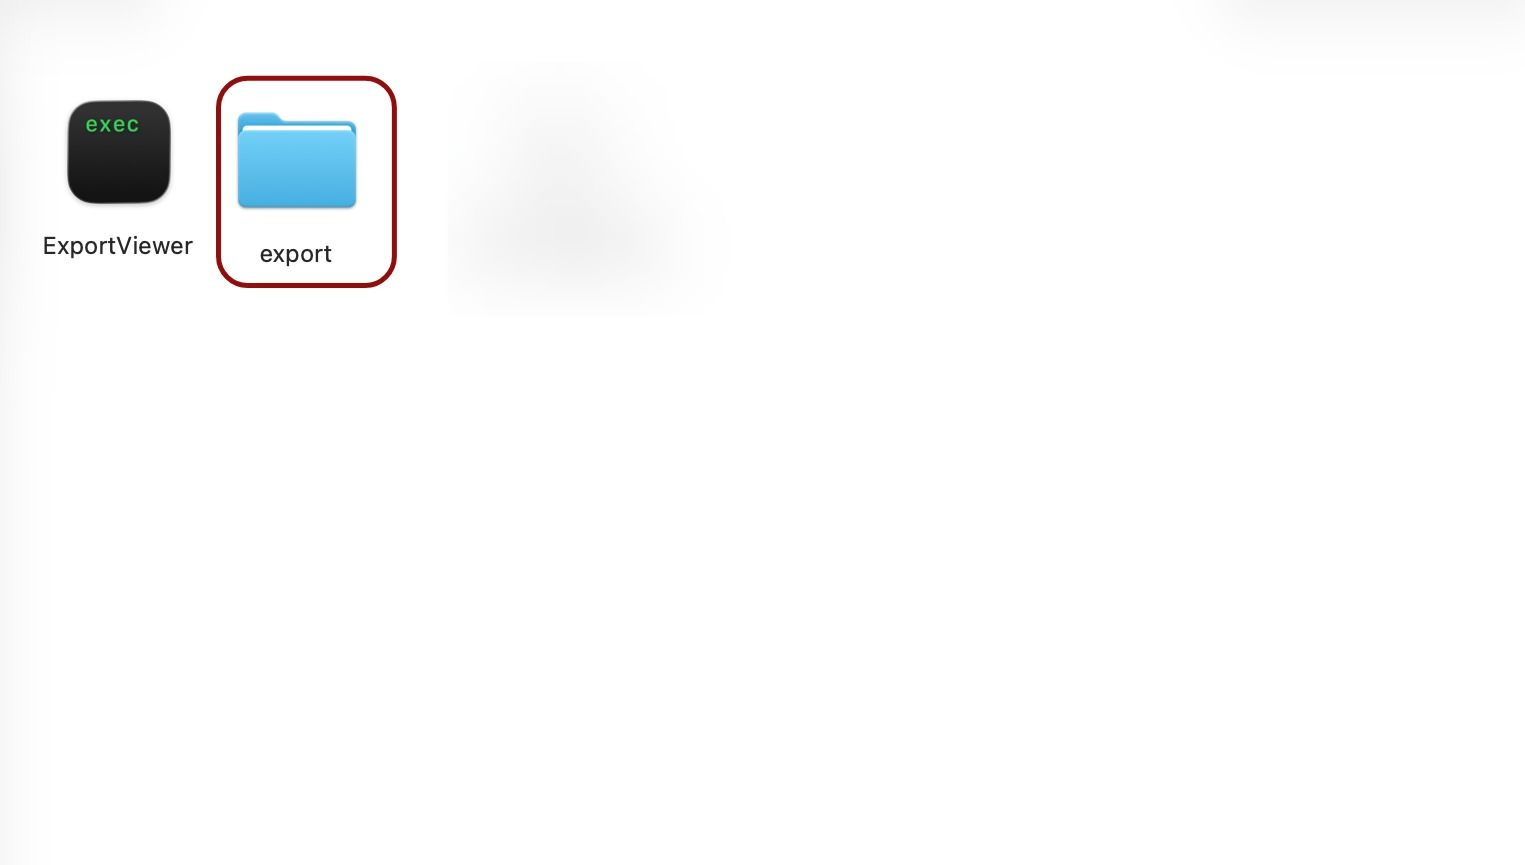
Create any folder where you want to store your exported data. For Example: Offline access | Export. In that folder, create folder Export (Your data will be exported in this folder).
Step 3: Download the execution file
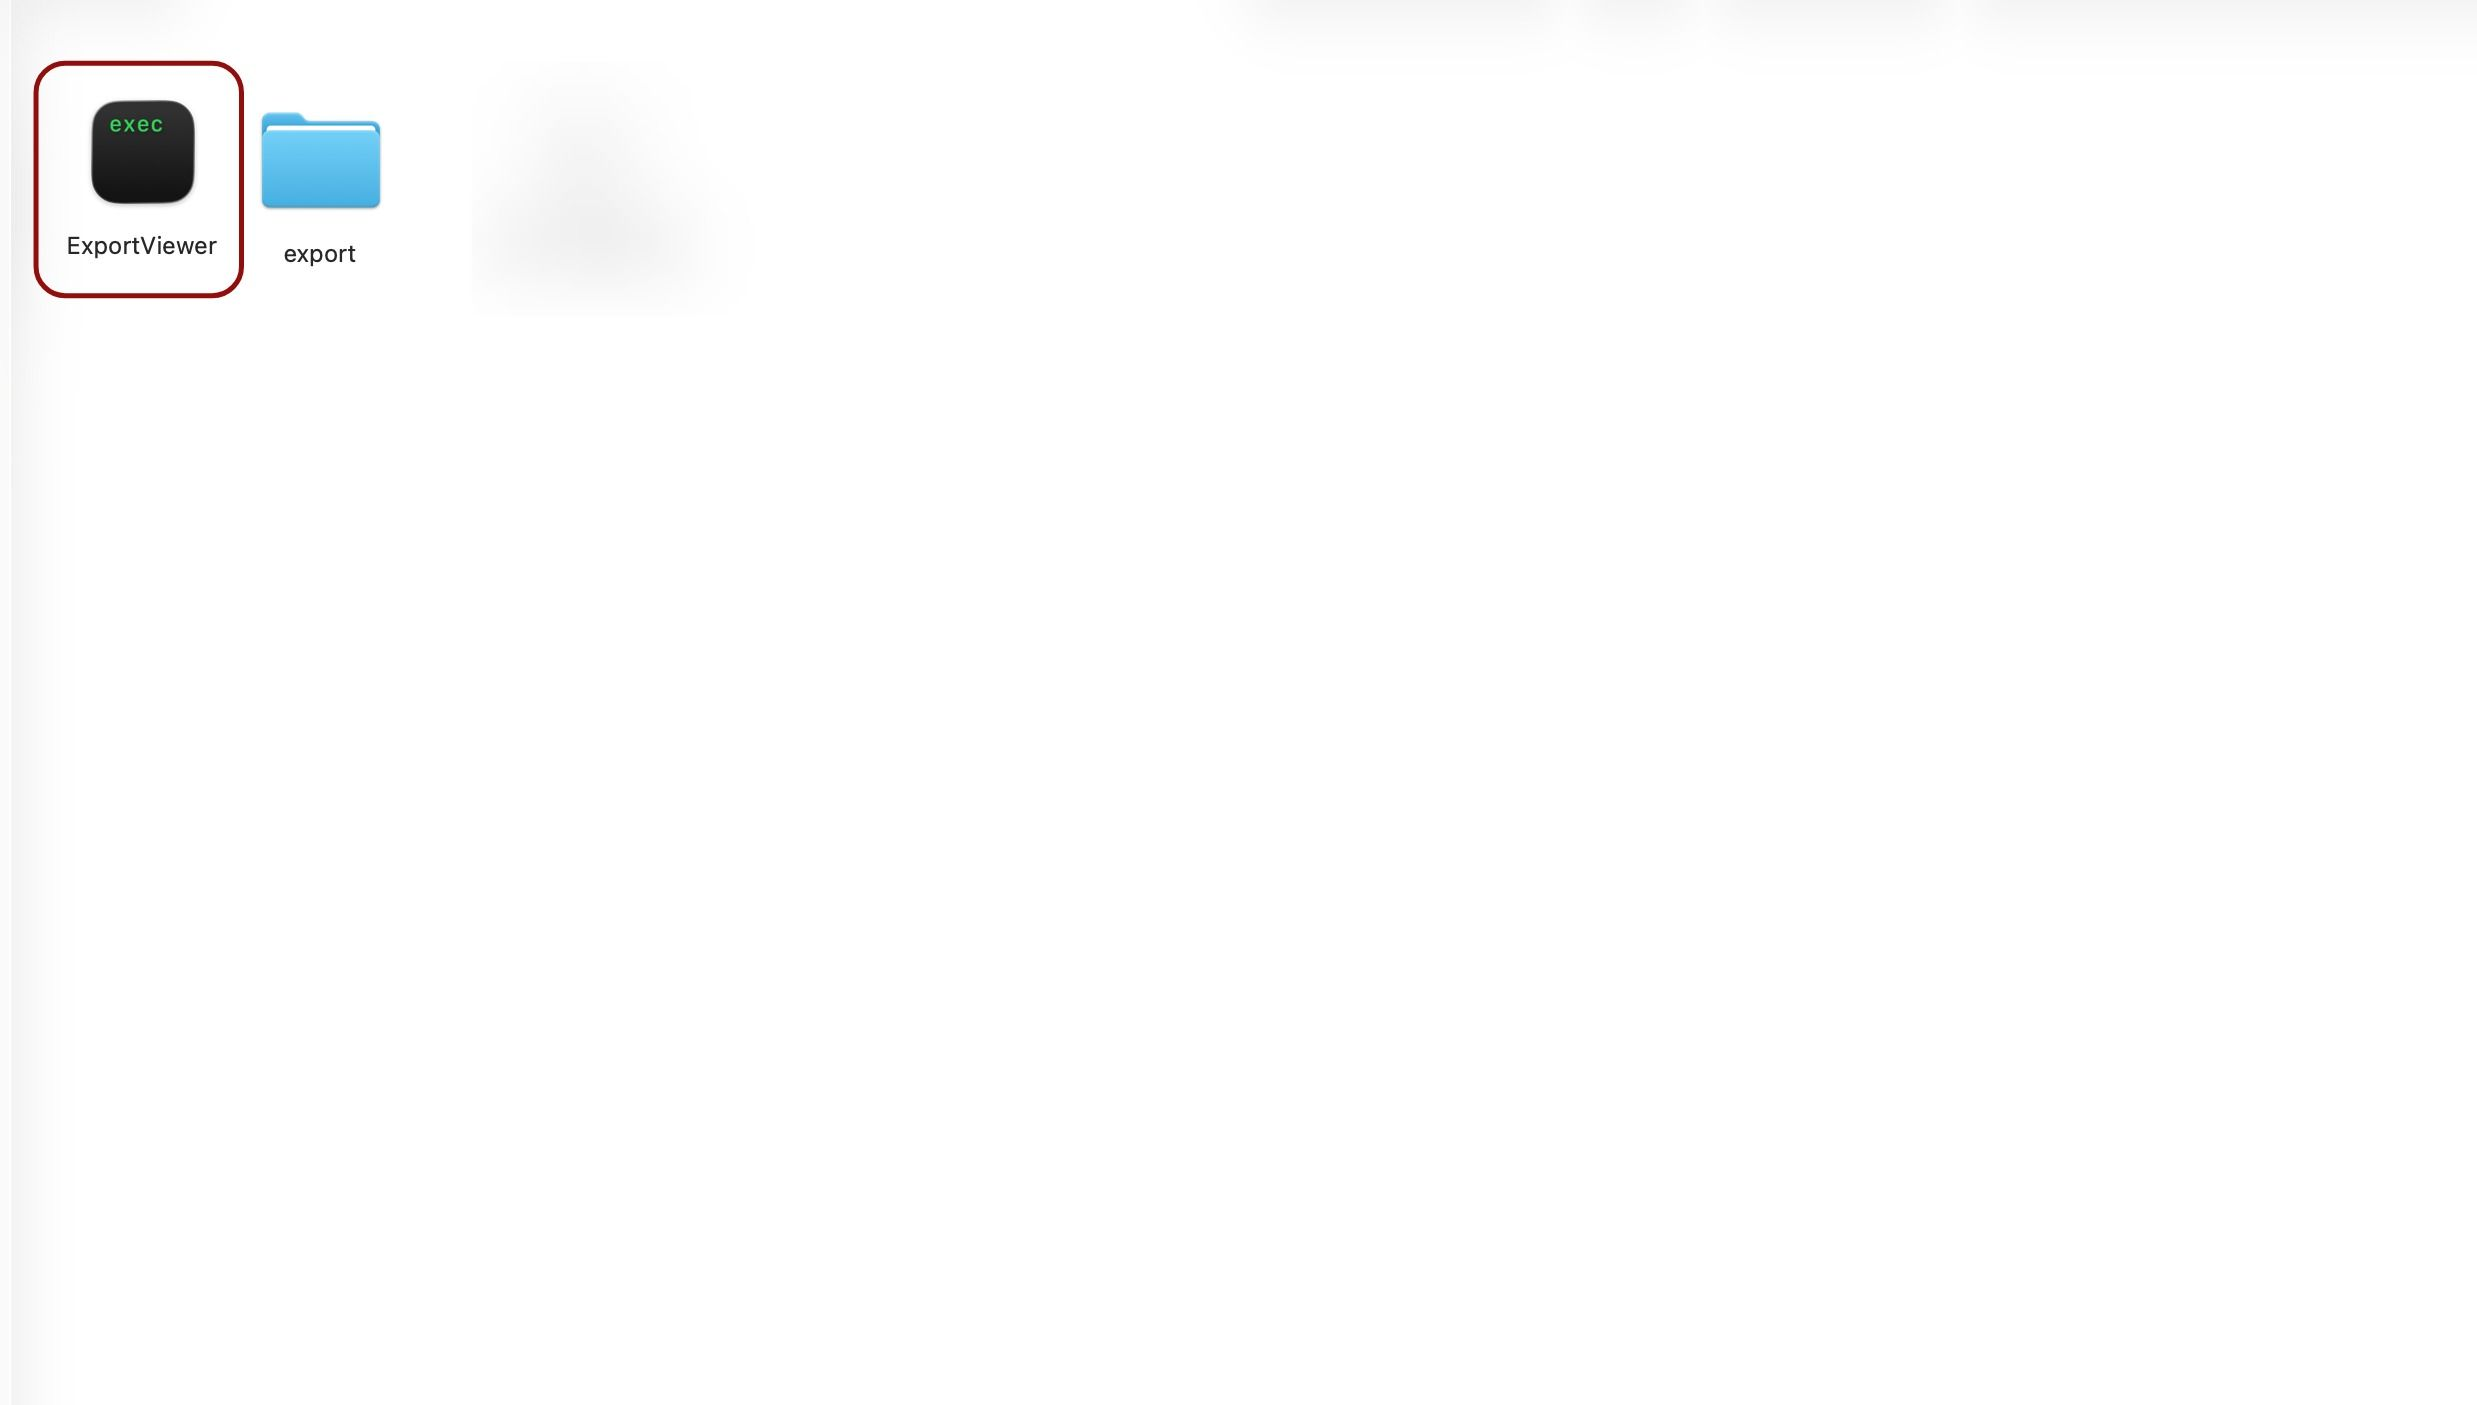
Download the execution file (provided by Revyz, contact support for the file) for Export Viewer and paste in this Folder Name >> Export folder.
A native cloud restore is impossible during severe Atlassian outages, you must host the locally downloaded offline snapshot using the ExportViewer execution file. This helps you make the exported data available to the users in the event of an active outage.
Note: Export folder and Execution file should be in the same folder.
How to Locate Stored Data and copy path to create command to export data into local machine?
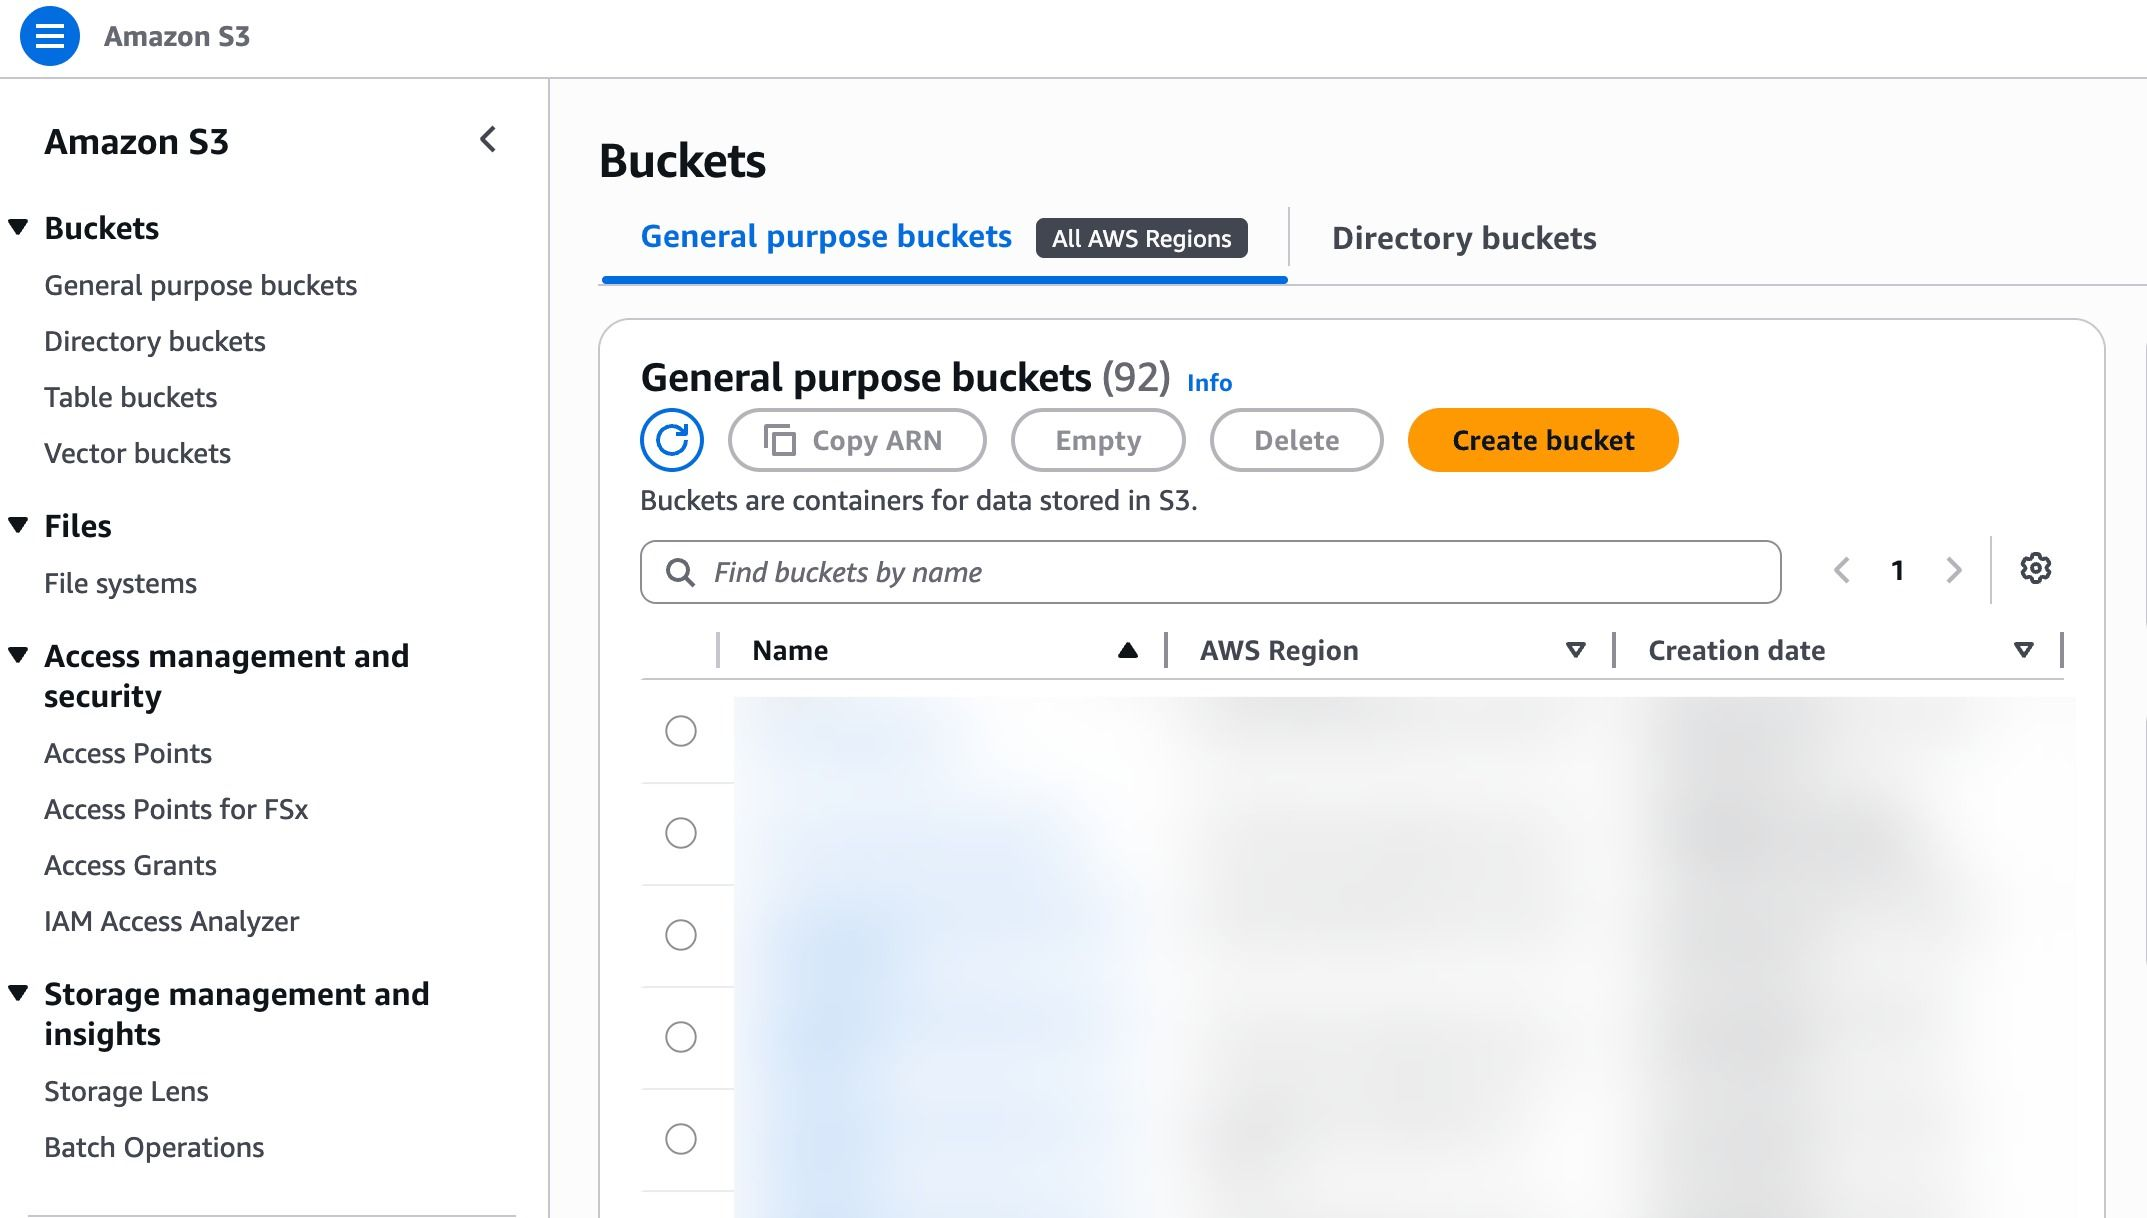
Step 1: Login to your storage account
-
Login to AWS
-
Go to the S3 service
-
Search for S3 bucket which is configured on your Revyz app
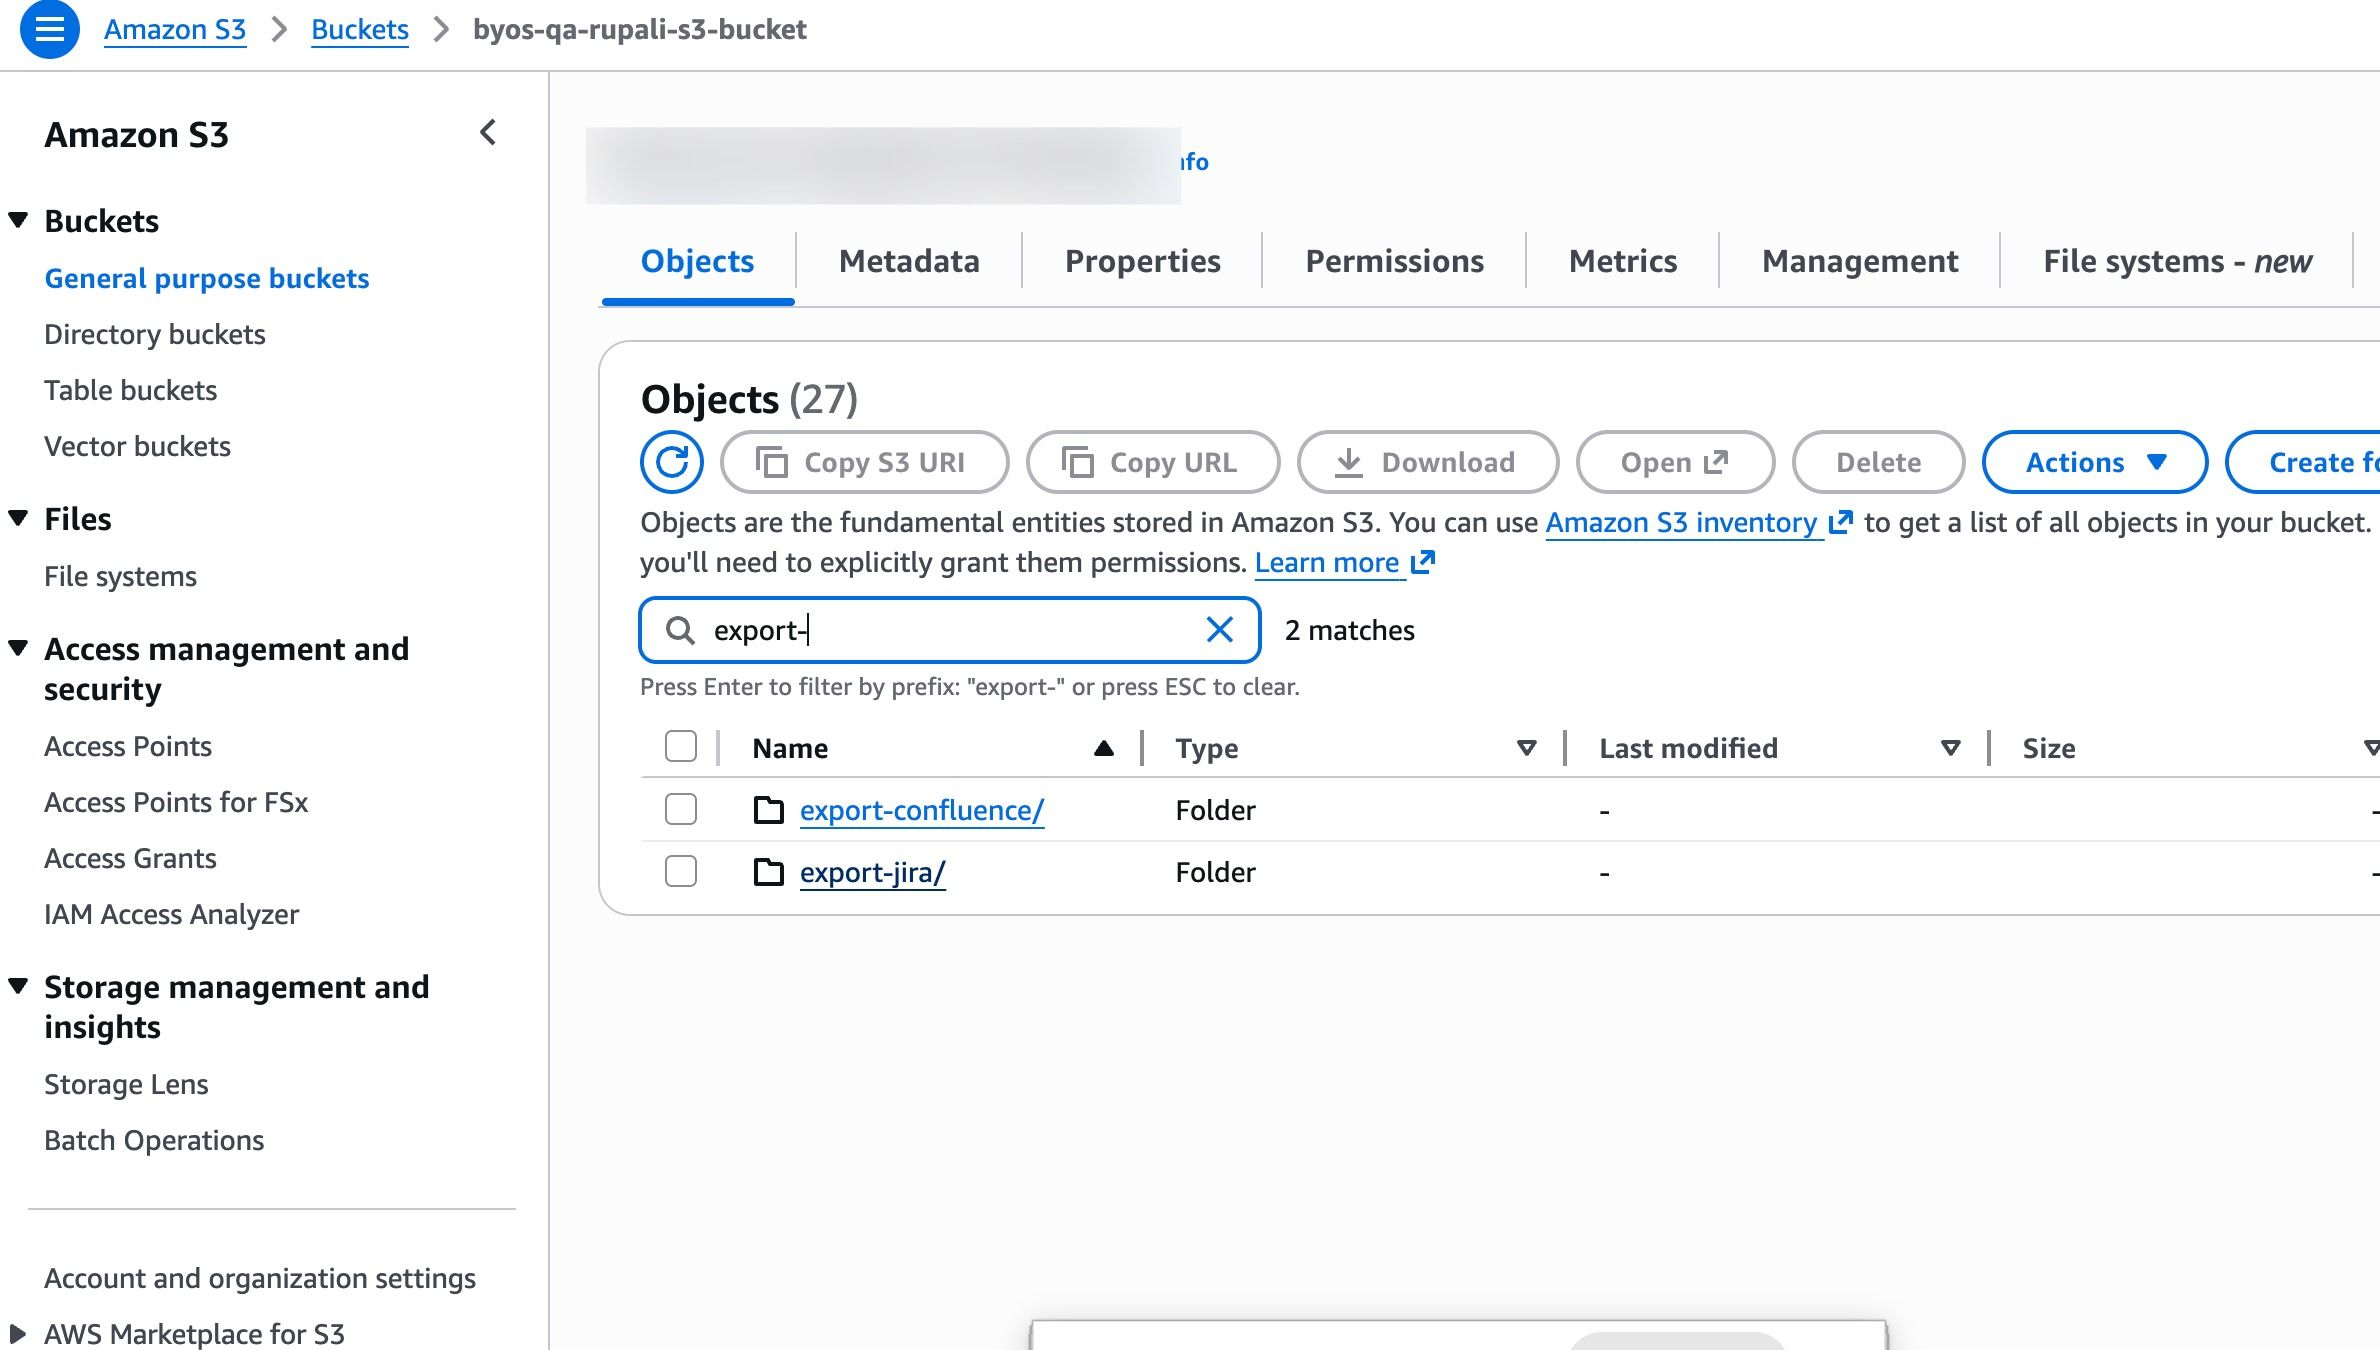
Step 2: Go to the S3 bucket
-
Go to the S3 bucket
-
Search for export-jira
Step 3: Locate the time-stamped folder
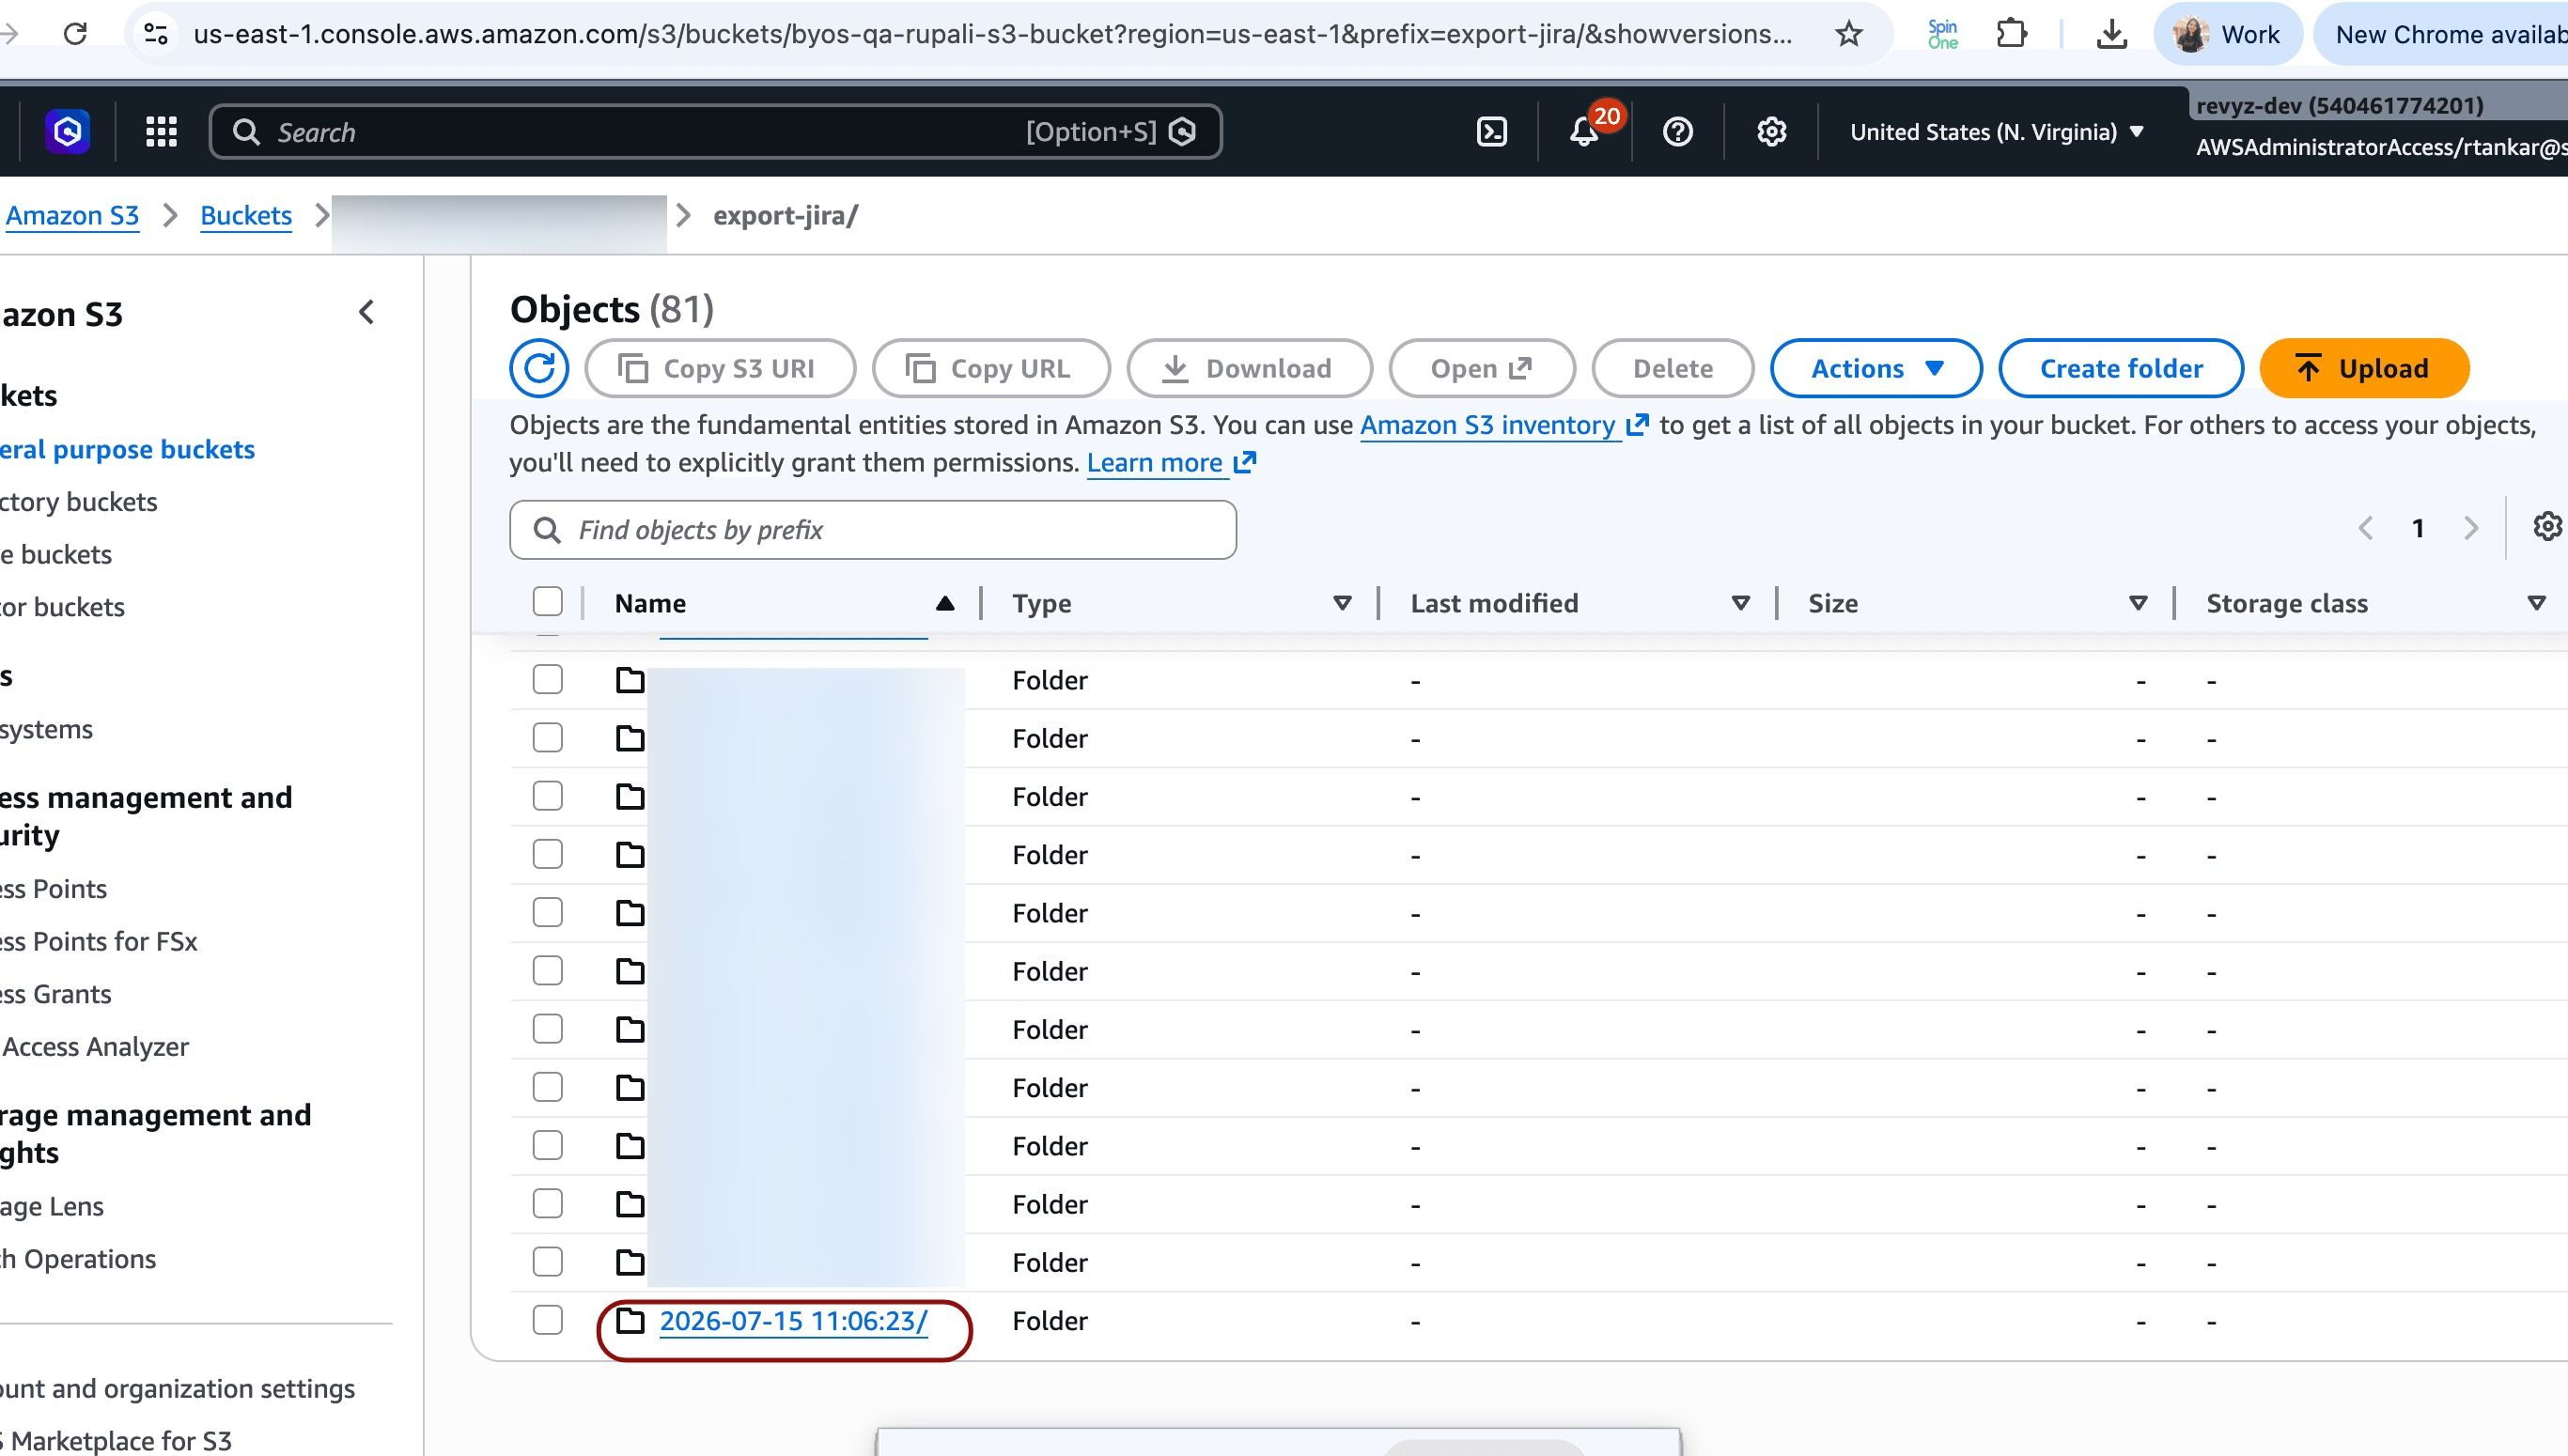
Go to the "export-jira" folder and search for your backup snapshot date folder 2026-07-15 11:06:23/, reflected in your export data job details.
Step 4: Copy S3 url
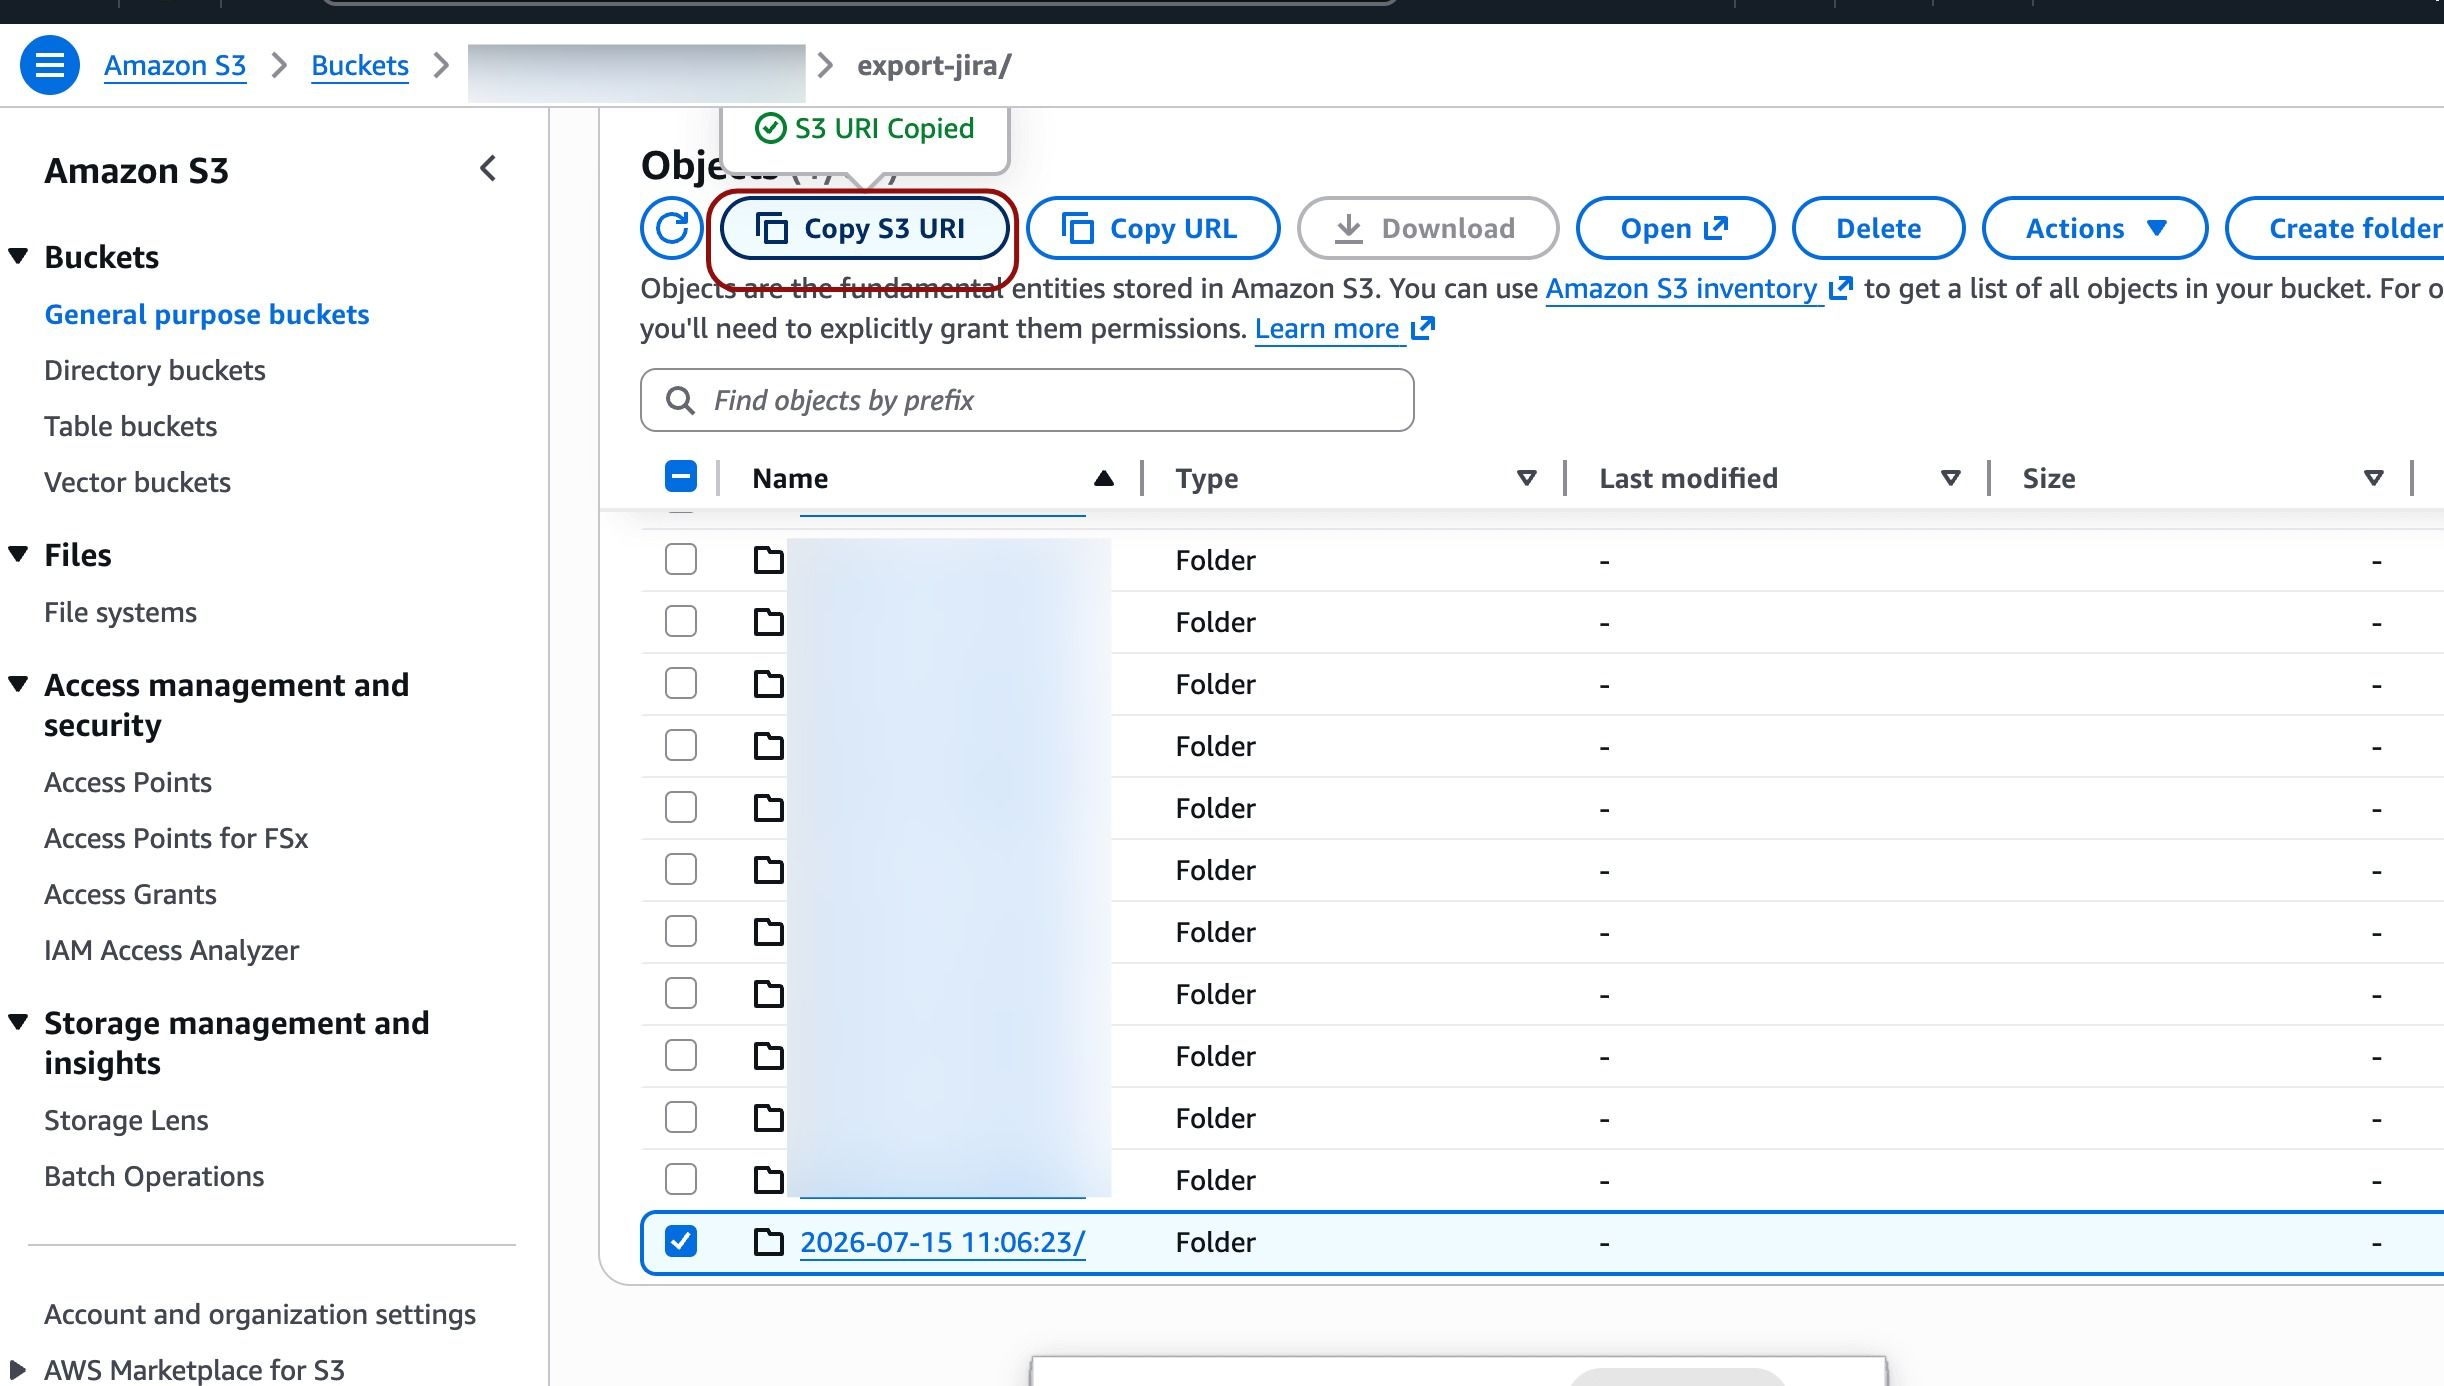
Select the folder and copy its s3 path uri (To copy, you can find the Copy S3 URL button at the top)
How to view the work items data?
Step 2: View the work items data
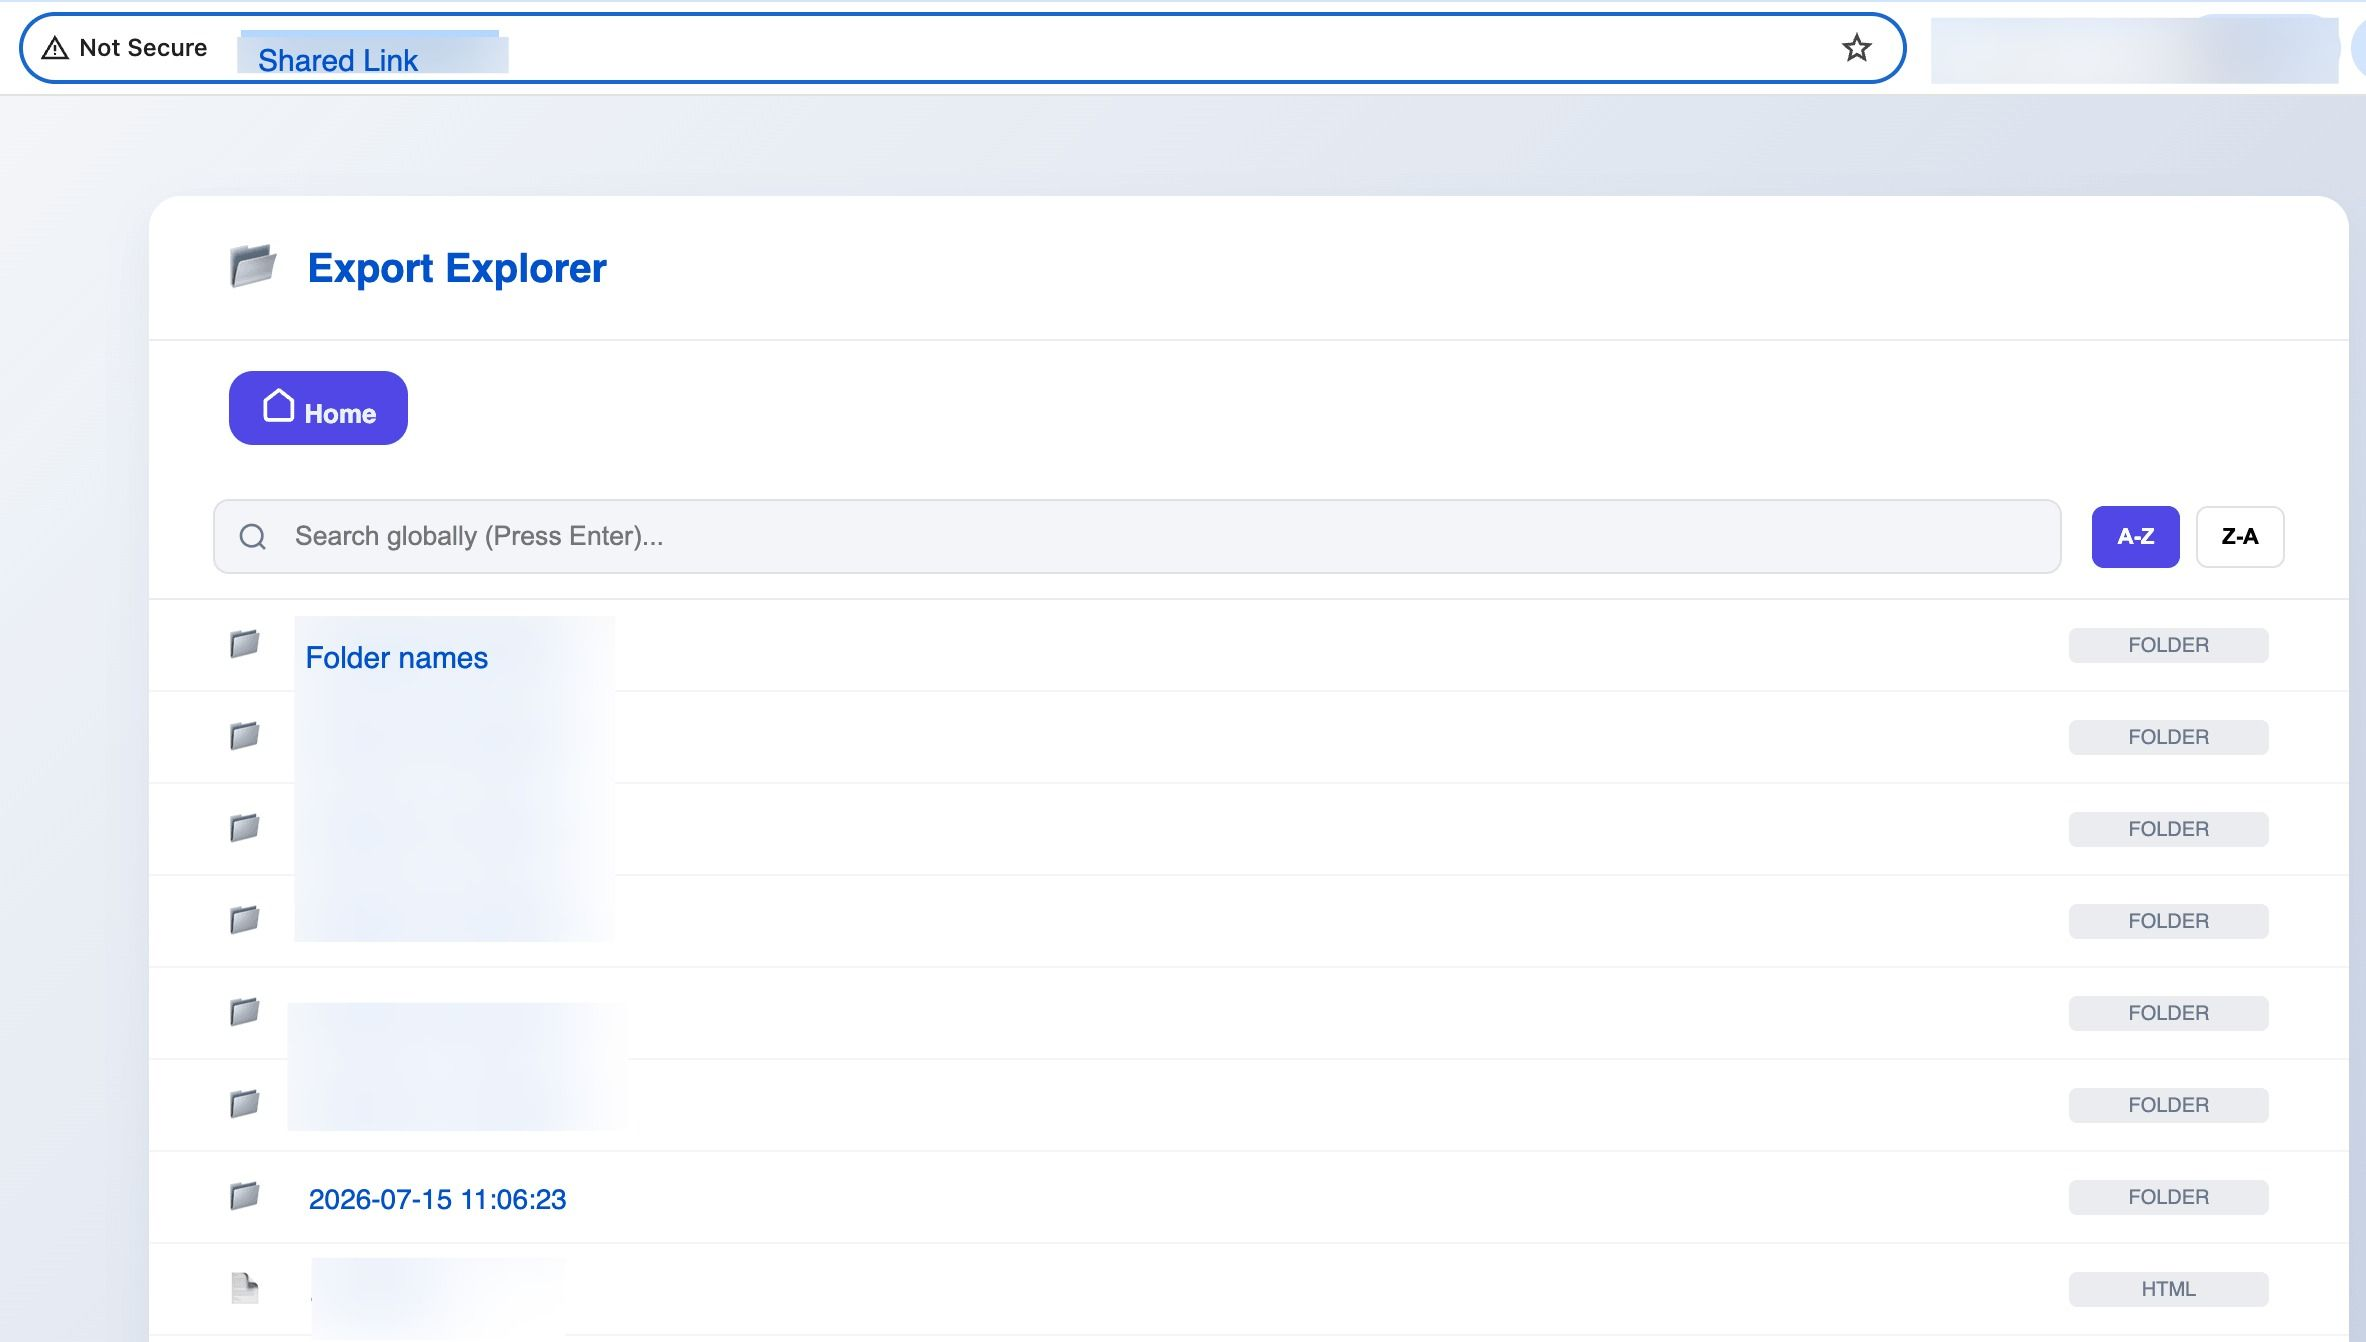
Your work items data will be exported to the Export folder. As an admin, you should periodically download these timestamped export folders to your local storage or local servers.